When it comes to creating websites and creating them with all the possible options available out there, “WordPress” is what comes in mind, although there are other options available as well. But it has its own place and importance in this world of web development. Moreover, there are a lot of options available to set up a website using WordPress but we are here to achieve the “One click WordPress set up“.
This can be achieved with the help of “docker” and “docker-compose“.
Note: This particular post is about “Setting up WordPress on AWS EC2 Ubuntu 18.04 instance with domain mapped to instance’s IP Address but without an SSL certificate”.
Before going further, make sure you go through the following guides:
One more thing, we haven’t discussed the components we are going to use in this project or about the stack type. Let us learn that also:
L = Linux system is being provided by the Linux based containers.
E = This stands for Nginx (Engine X) web server
M = This stands for “MySQL” or alternatively “MariaDB“
P = This stands for “PHP” and in this particular “PHP-FPM” for “Nginx“
By clubbing the above components, we get what we often calls a “LEMP” Stack.
This is necessary because, without these components combined, it is impossible to achieve this “One click WordPress set up“.
Question: But there is twist to all this, what?
Answer: Everything is going to be achieved with the help of “docker containers” which help in isolating the environment from the rest of the system.
After you have read the above guides, you are good to go.
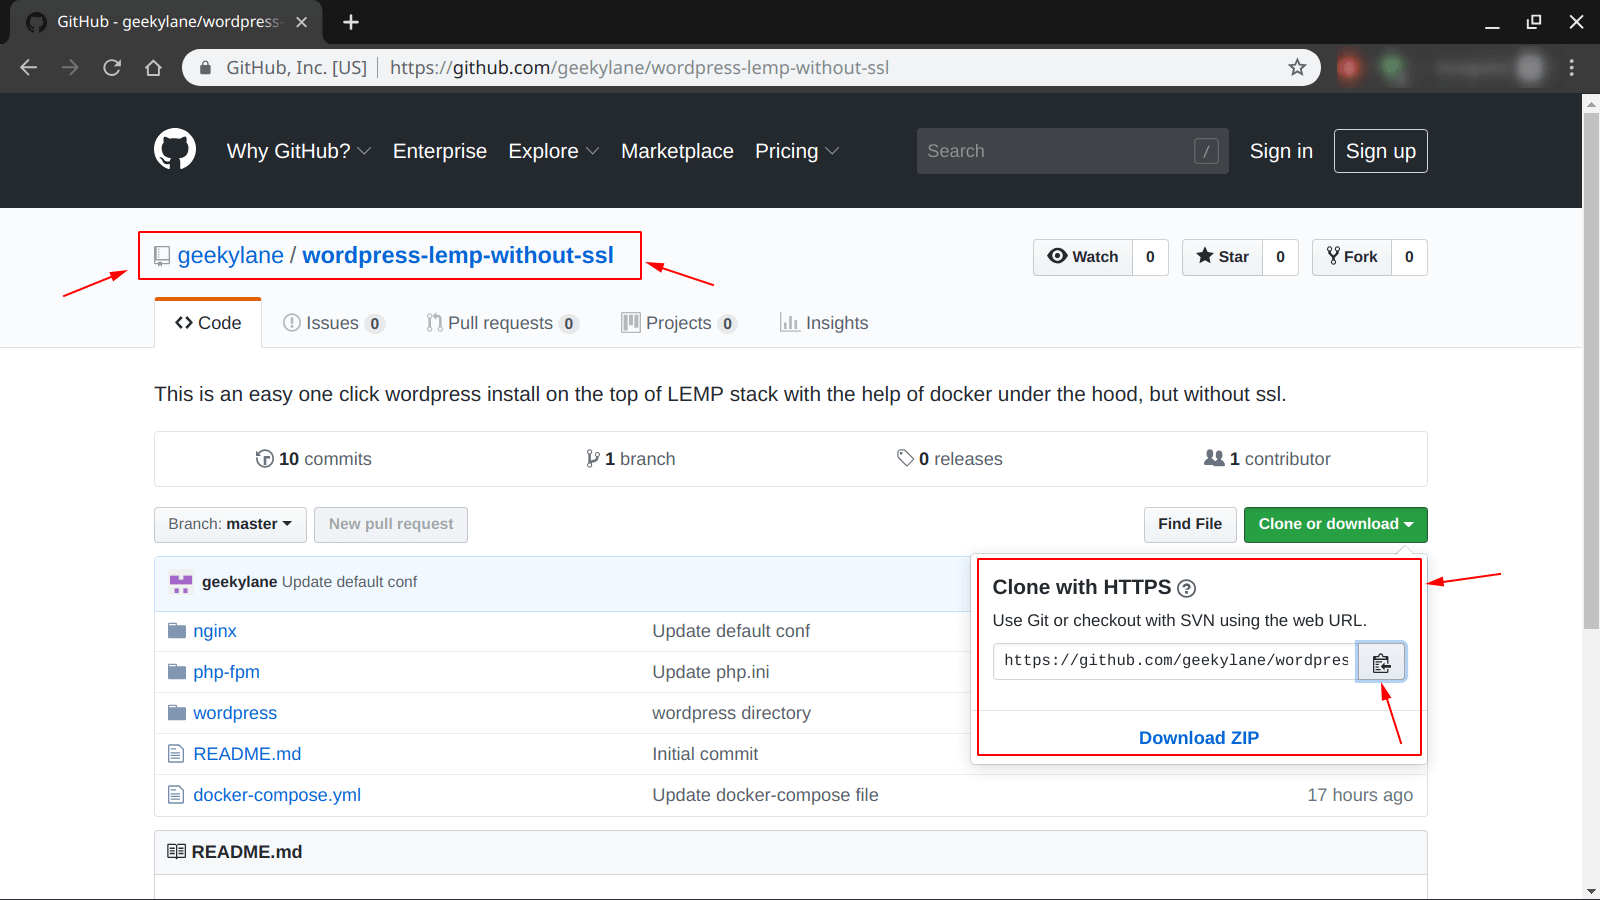
Step 1: We have created a specific GitHub repository for this, which makes it further easy to set up anywhere anytime.
As you can see from the picture below, you simply have to copy the repository’s URL, which is -> “https://github.com/geekylane/wordpress-lemp-without-ssl.git“
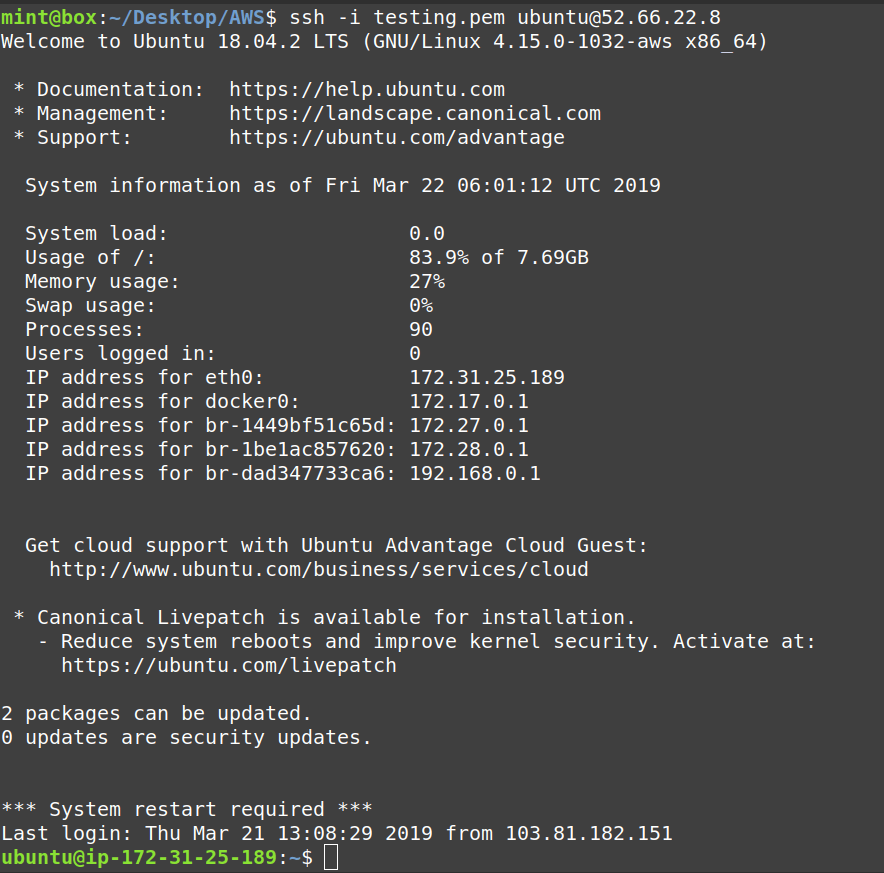
Step 2: Now, we have to log in to our AWS EC2 Ubuntu 18.04 instance, look at the picture below.
Step 3: It is time to clone our repository, URL of which we have copied in the Step 1.
Note: Make sure you have git installed on your system, in particular for Debian or Ubuntu users use “sudo apt install git” and you are good to go.
After installing git, use the command used in the photo below, in order to clone a repository.

Step 4: Check the cloned repository using the following command, and as we can see a folder/directory named as “wordpress-lemp-without-ssl” is created, which is actually the name of the repository which we have cloned.

Step 5: Now, we have to navigate to this folder/directory as we did and shown below.

Step 6: Check the contents of the directory, using the following command.

Step 7: Reason behind or meaning of each and every file we have used in this project. Check the screenshot below to understand each and every file and directory.

Step 8: Now, it is time to provide a custom configuration to our “Nginx” server running inside a Docker container.
Your “default.conf” which is sometimes called a virtual hosts file should look like as shown below.
Important, as this a universal solution for deploying WordPress with one click, we have the following possible options:
- Local Deployment = Replace “DOMAIN_NAME” with “localhost” or “127.0.0.1” or with some other “local IP Address“.
- Live Deployment = Replace “DOMAIN_NAME” with “Real Domain Name” like -> “geekylane.com www.geekylane.com” or you can also replace it with any “Public IP Address“.
Make sure you have your “DOMAIN_NAME” mapped to the “IP Address” of the machine/OS/system/instance you are running this project on.
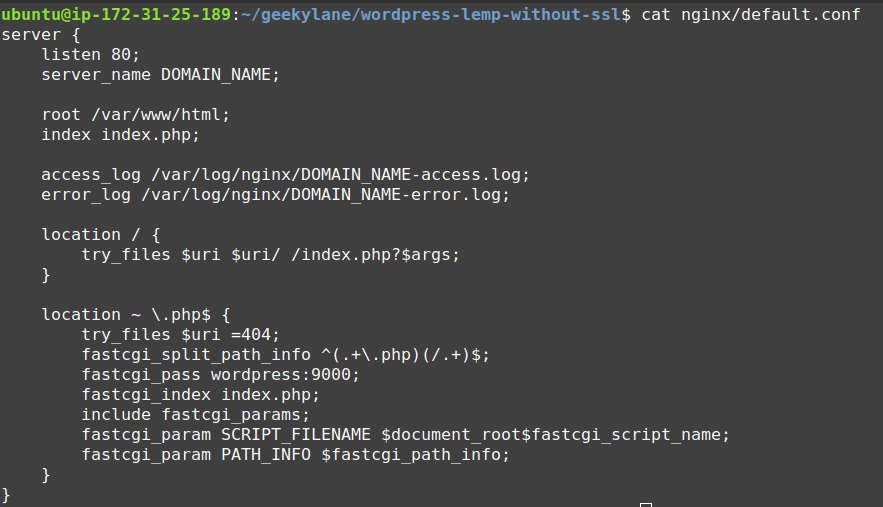
For convenience, you can copy the above configuration file from the box below:
server {
    listen 80;
    server_name DOMAIN_NAME;

    root /var/www/html;
    index index.php;

    access_log /var/log/nginx/DOMAIN_NAME-access.log;
    error_log /var/log/nginx/DOMAIN_NAME-error.log;

    location / {
        try_files $uri $uri/ /index.php?$args;
    }

    location ~ \.php$ {
        try_files $uri =404;
        fastcgi_split_path_info ^(.+\.php)(/.+)$;
        fastcgi_pass wordpress:9000;
        fastcgi_index index.php;
        include fastcgi_params;
        fastcgi_param SCRIPT_FILENAME $document_root$fastcgi_script_name;
        fastcgi_param PATH_INFO $fastcgi_path_info;
    }
}
Step 9: Now, it time to provide a reliable and error-free main configuration file to our “Nginx” web server, we have a simple yet powerful example shown below.
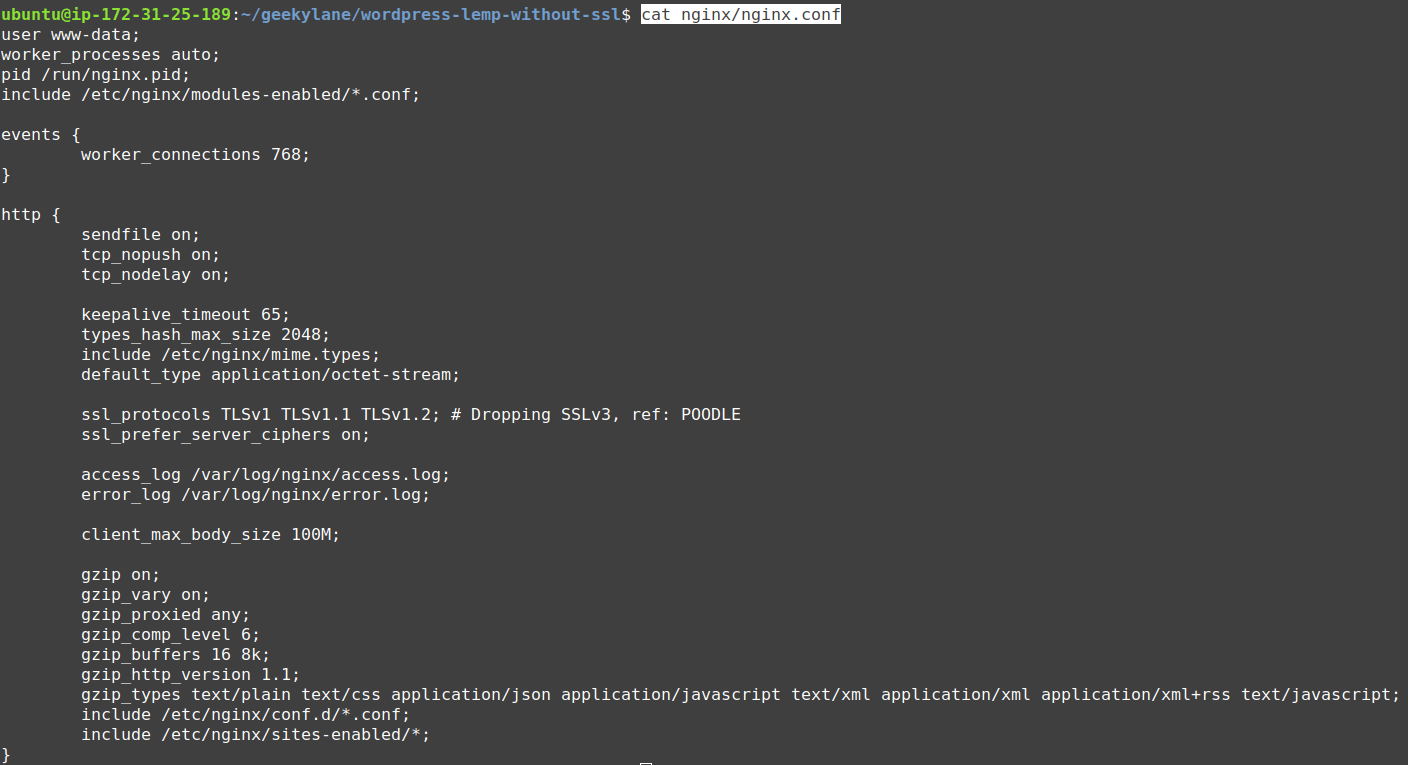
For convenience, you can copy the above “nginx.conf” configuration file from the box below:
user www-data;
worker_processes auto;
pid /run/nginx.pid;
include /etc/nginx/modules-enabled/*.conf;

events {
        worker_connections 768;
}

http {
        sendfile on;
        tcp_nopush on;
        tcp_nodelay on;

        keepalive_timeout 65;
        types_hash_max_size 2048;
        include /etc/nginx/mime.types;
        default_type application/octet-stream;

        ssl_protocols TLSv1 TLSv1.1 TLSv1.2; # Dropping SSLv3, ref: POODLE
        ssl_prefer_server_ciphers on;

        access_log /var/log/nginx/access.log;
        error_log /var/log/nginx/error.log;

        client_max_body_size 100M;

        gzip on;
        gzip_vary on;
        gzip_proxied any;
        gzip_comp_level 6;
        gzip_buffers 16 8k;
        gzip_http_version 1.1;
        gzip_types text/plain text/css application/json application/javascript text/xml application/xml application/xml+rss text/javascript;
        include /etc/nginx/conf.d/*.conf;
        include /etc/nginx/sites-enabled/*;
}
Step 10: As “php” is going to play an important part in this project, we also have to provide a dedicated configuration to it as well, shown below is one example.
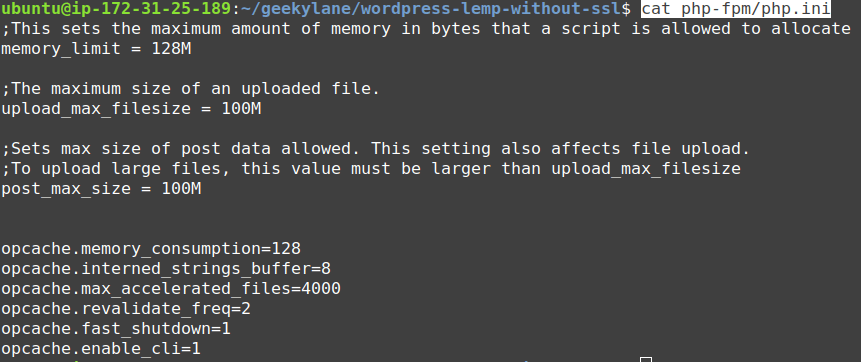
For convenience, you can copy the above “php.ini” configuration file from the box below:
;This sets the maximum amount of memory in bytes that a script is allowed to allocate
memory_limit = 128M

;The maximum size of an uploaded file.
upload_max_filesize = 100M

;Sets max size of post data allowed. This setting also affects file upload. To upload large files, this value must be larger than upload_max_filesize
post_max_size = 100M

opcache.memory_consumption=128
opcache.interned_strings_buffer=8
opcache.max_accelerated_files=4000
opcache.revalidate_freq=2
opcache.fast_shutdown=1
opcache.enable_cli=1
Step 11: Now that we have configured our environment, it is time to check whether both “docker” and “docker-compose” is installed or not.
To install “Docker“, run the following commands specifically for Debian and Ubuntu based systems:
curl -fsSL https://get.docker.com -o get-docker.shsudo sh get-docker.shsudo usermod -aG docker $USERTo install “docker-compose“, run the following commands, again specifically for Debian and Ubuntu based systems:
sudo apt install python3-pipsudo pip3 install docker-compose
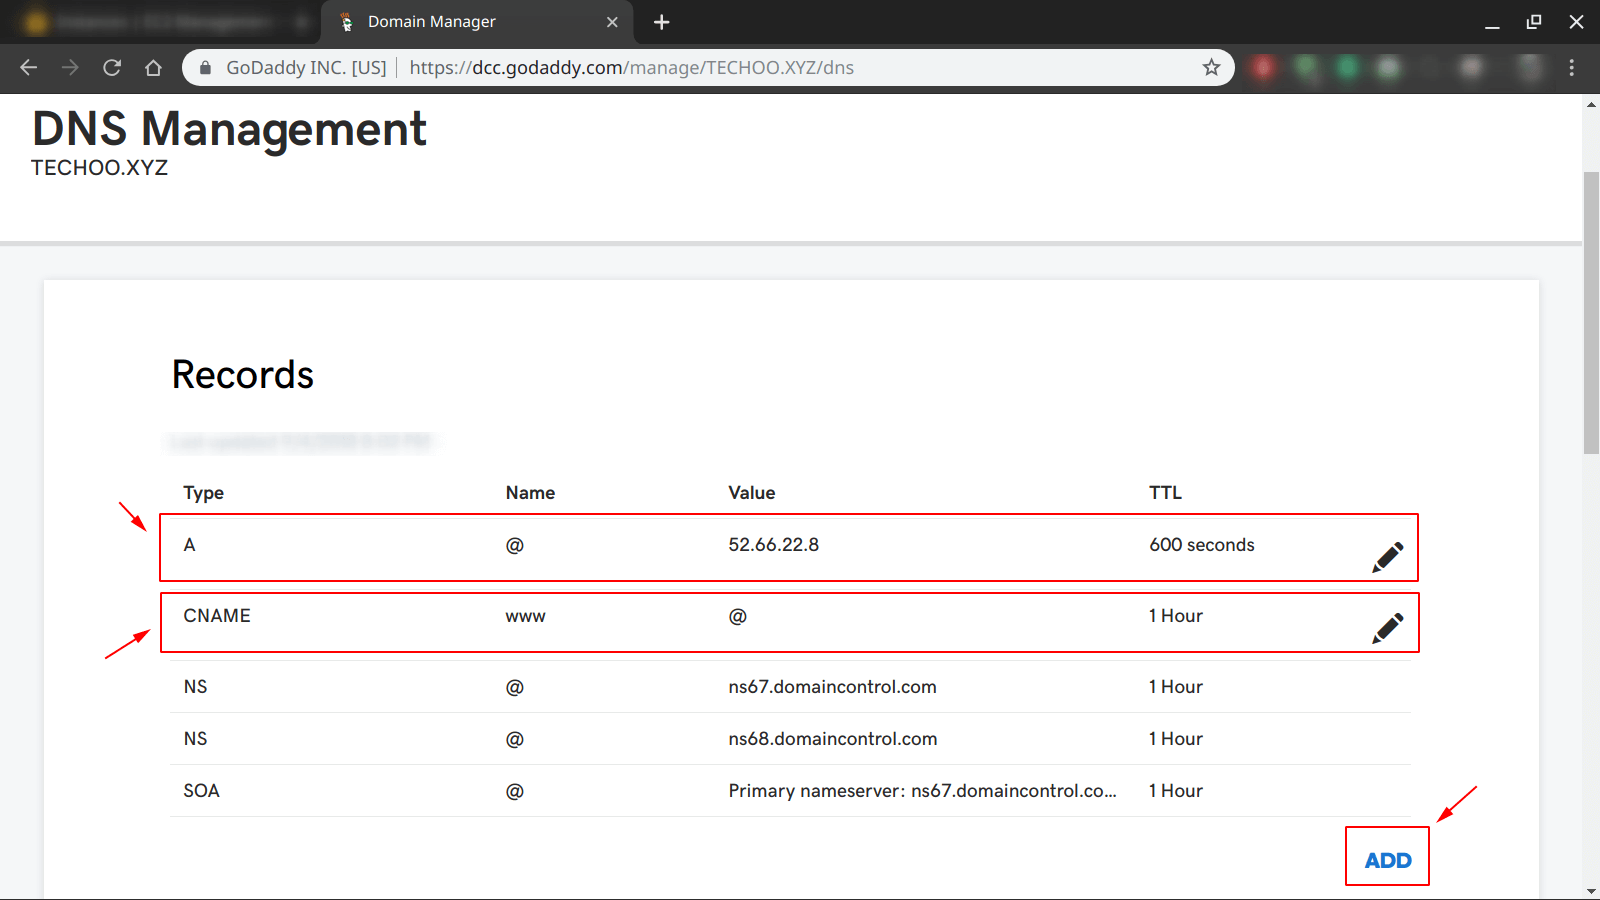
Note: If you are using a “Real Domain” and used the same in the “default.conf” file above then make sure you have mapped it on the IP Address used by your cloud machine.
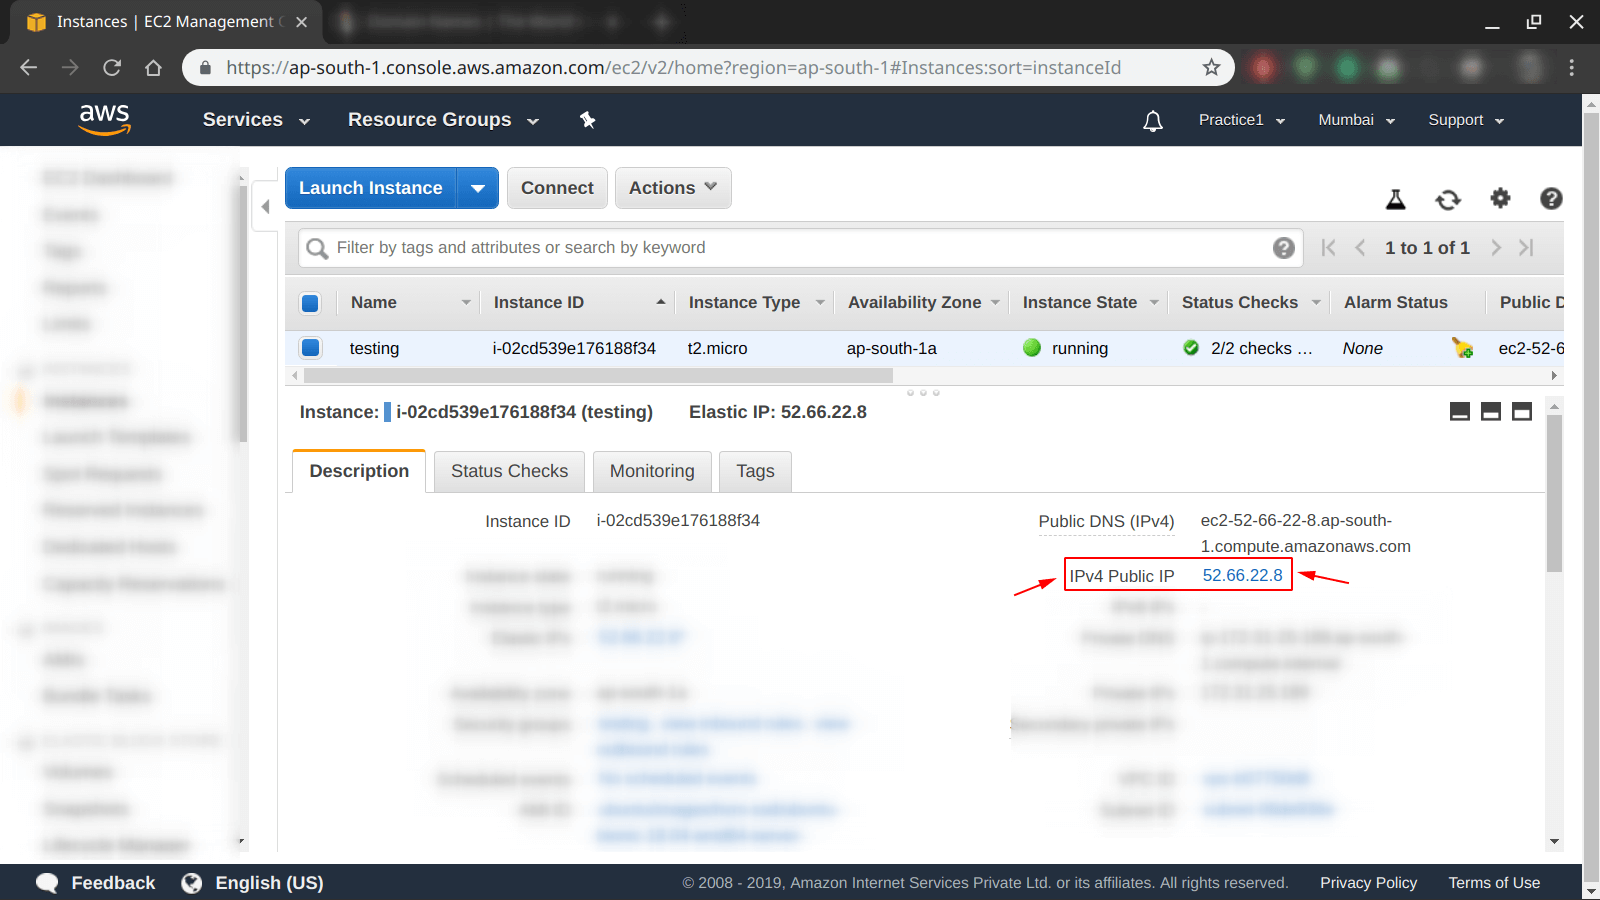
Step 12: In our case, we are using an EC2 instance, so we have to copy it IP Address from the AWS EC2 dashboard, as shown below.
Step 13: After copying the IP Address, open the control panel of your “domain’s” authority, in our case it is “GoDaddy” as shown below, and set the IP Address as we did. One more thing, if you want to access your particular website with a “www.your-domain.com” then you also have to add a “canonical name” under your DNS settings, shortened to “CNAME” in our case.
Step 14: Before proceeding further to our final steps have a look at our most important file of this project -> “docker-compose.yml”
version: "3.7"
services:
  wordpress:
      image: wordpress:5.1.1-php7.3-fpm
      volumes:
         - type: bind
           source: ./wordpress
           target: /var/www/html
         - type: bind
           source: ./php-fpm/php.ini
           target: /usr/local/etc/php/conf.d/opcache-recommended.ini
      environment:
         - WORDPRESS_DB_HOST=mysql
         - WORDPRESS_DB_USER=myuser
         - WORDPRESS_DB_PASSWORD=secret
         - WORDPRESS_DB_NAME=mydb
      expose:
         - "9000"
  nginx:
      image: nginx
      volumes:
        - type: bind
          source: ./wordpress
          target: /var/www/html
        - type: bind
          source: ./nginx/default.conf
          target: /etc/nginx/conf.d/default.conf
        - type: bind
          source: ./nginx/nginx.conf
          target: /etc/nginx/nginx.conf
      ports:
        - "80:80"
  mysql:
      image: mariadb
      environment:
        - MYSQL_DATABASE=mydb
        - MYSQL_USER=myuser
        - MYSQL_PASSWORD=secret
        - MYSQL_ROOT_PASSWORD=docker
Step 15: Now after installation, it is time to bring wordpress lemp stack up, use the command used in the picture below.

Step 16: We can see the services used and running with the help of the following command.

Step 17: This is a confirmation check step, you have to enter your particular “DOMAIN_NAME” or “Public IP Address” or “localhost” or “127.0.0.1” or any other “local IP Address“.
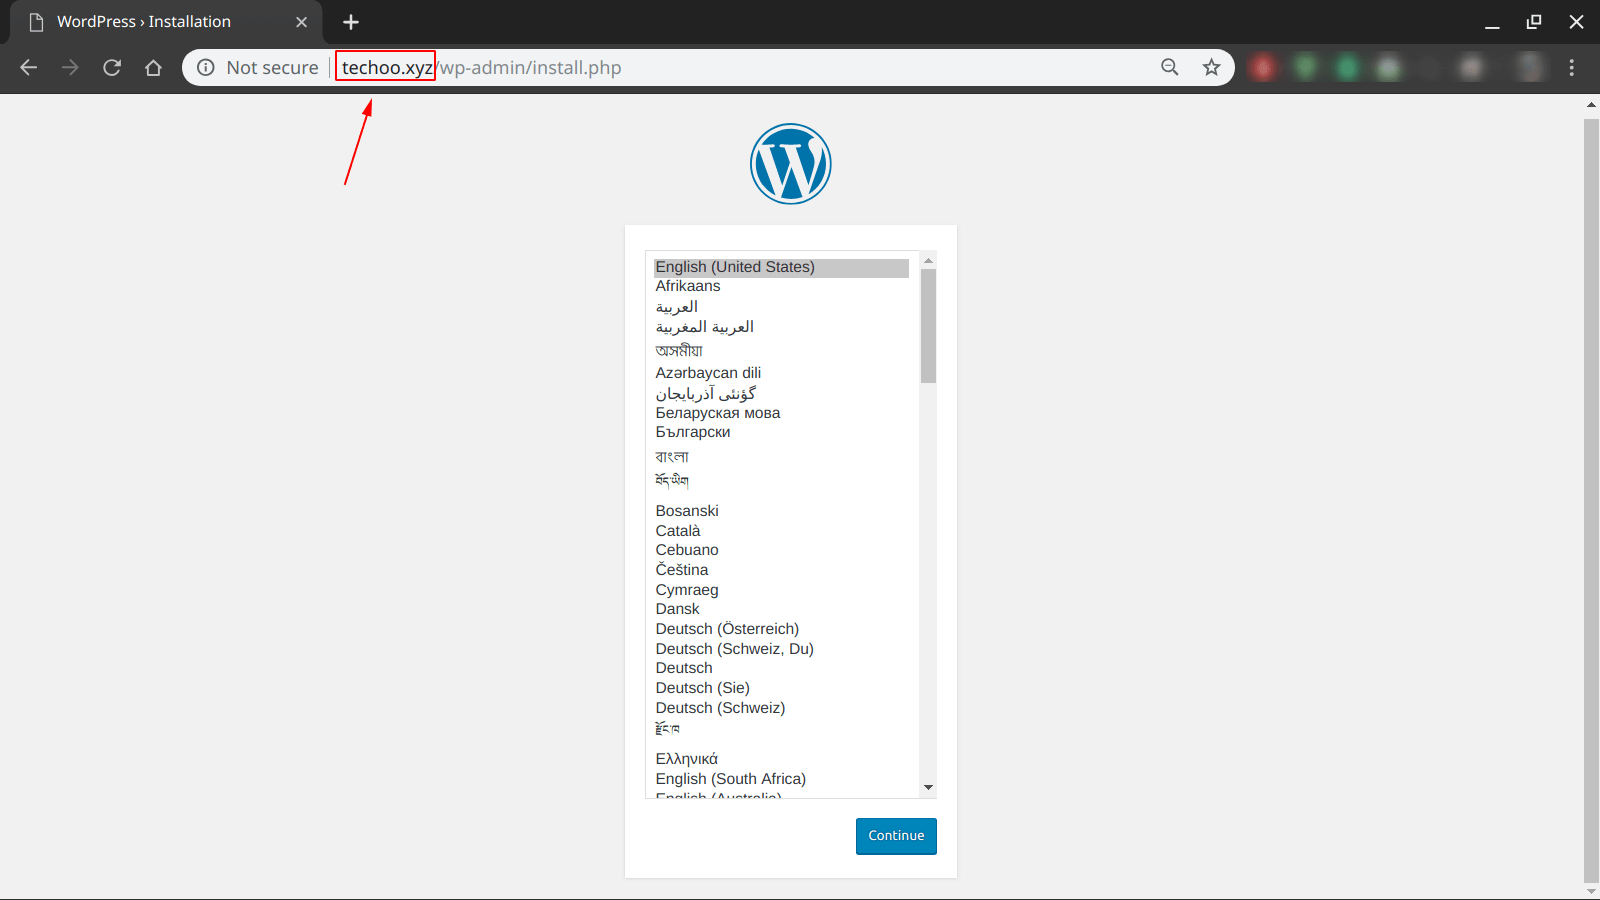
You will be redirected from “<Entered thing>” to “<Entered thing>/wp-admin/install.php” as shown in the picture below, as we have entered “techoo.xyz” and redirected to “techoo.xyz/wp-admin/install.php” for WordPress installation.
