When it comes to a high-end performance web server with maximum throughput, Nginx is the only answer. In today’s post, we are going to learn about the same, and how to set-up a nginx web server.
Note: Before going further, make sure you know -> “How to set-up an EC2 instance“.
Now that you know the basic instance creation on AWS EC2, follow the forthcoming steps in order to set-up nginx web server.
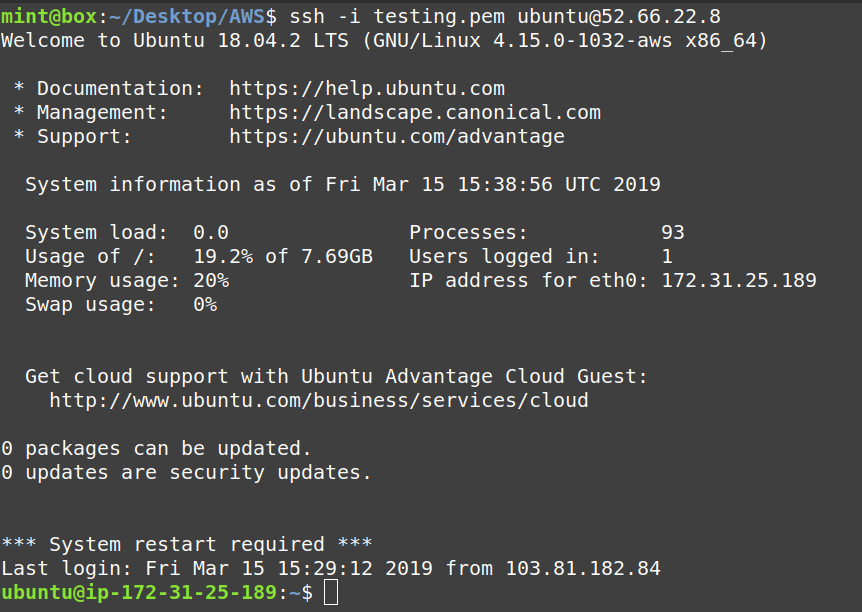
Step 1: We have to login into our EC2 instance, as shown below:
Make sure you replace “testing.pem” with your named private key and IP Address with your instance’s IP Address.
Step 2: Now, install the main component, which is “nginx” in this case. Do as shown below:

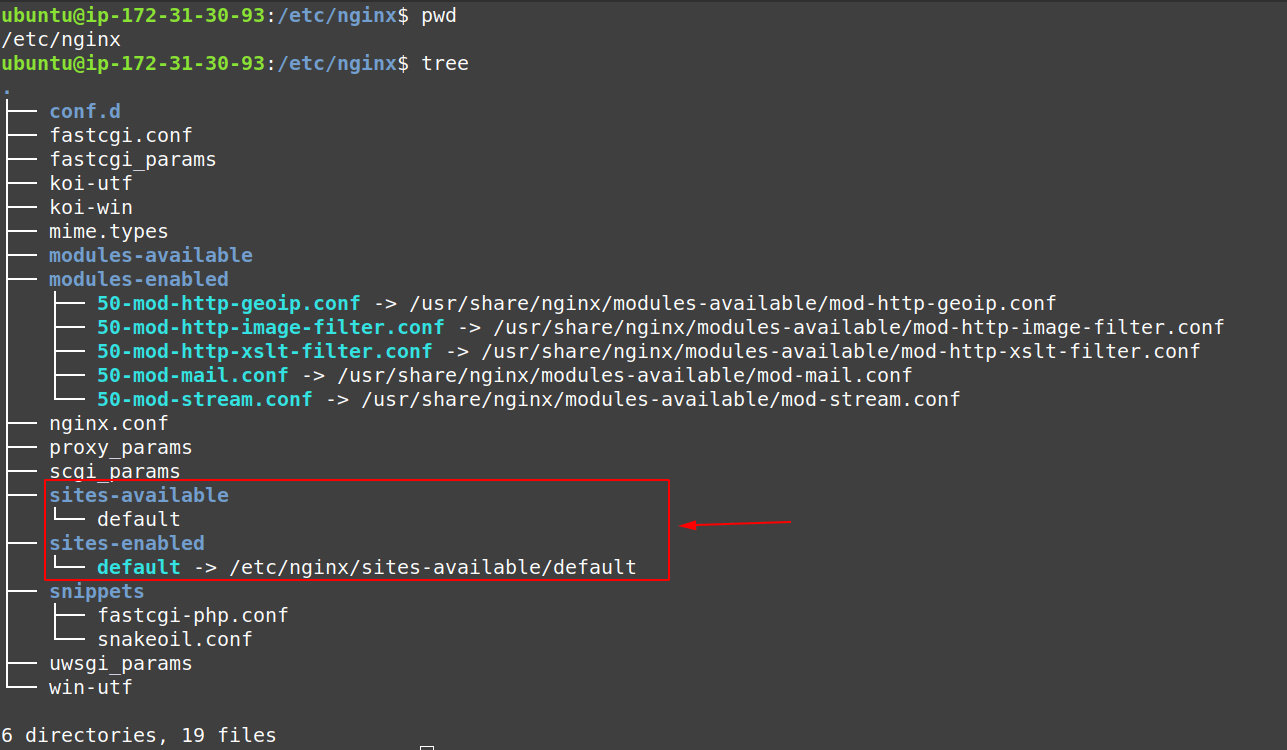
Step 3: Look for the configuration files and directories for the nginx web server on AWS EC2 U
Following are the files and directories we must pay attention to, “sites-available” have a “default” file which is used “by default” if no other setting is added or altered.
Step 4: Now, check whether the “nginx” web server is running or not.

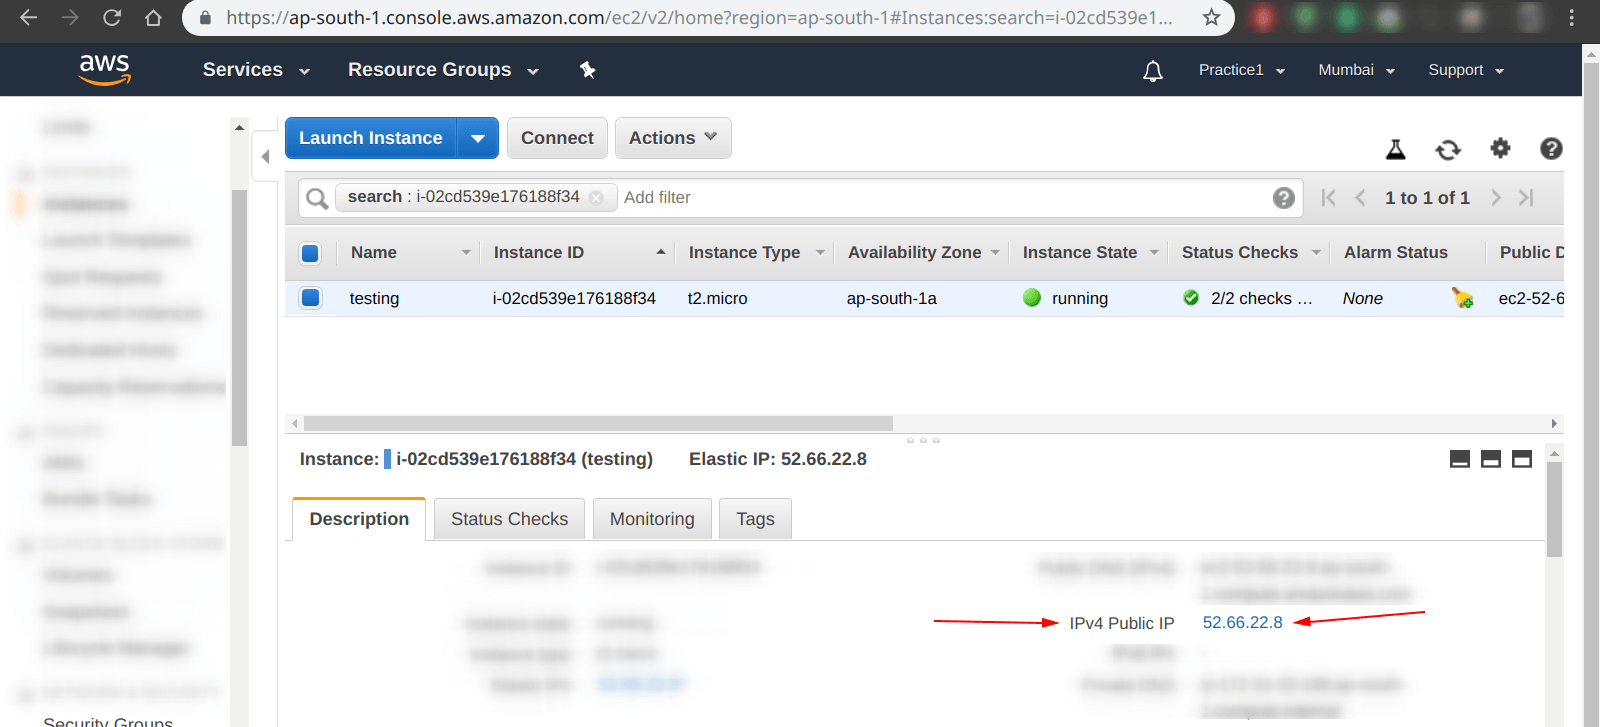
Step 5: Go to EC2 dashboard and look for IPv4 address as shown below, simply copy that IP Address, for now.
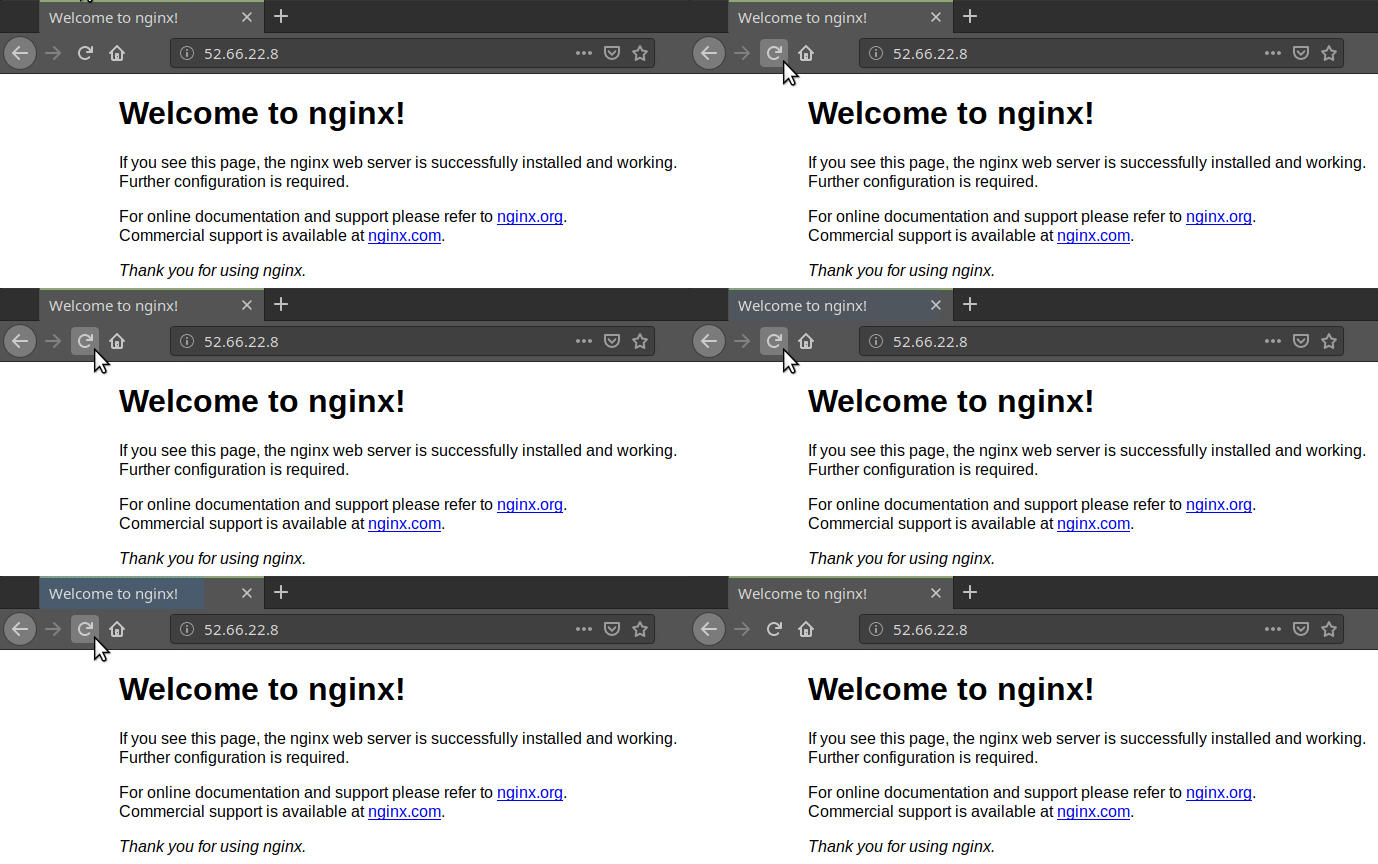
Step 6: Now, we have to access and confirm that our web sever is working.
As shown in the “gif” below, after pasting the IP Address copied in the previous, we are able to access our default “html” page of our nginx web server.
Question: What if we want to show some “Custom HTML” to our web server’s visitors?
Answer: In order to achieve that, we have to navigate to “/var/www/html“, then after that create a file named as “index.html” and add anything you want to add, we have added “Hello from custom html file.” as shown in the next step.
Step 7: Creating a custom html file for our nginx web server running in EC2 ubuntu 18.04 instance.

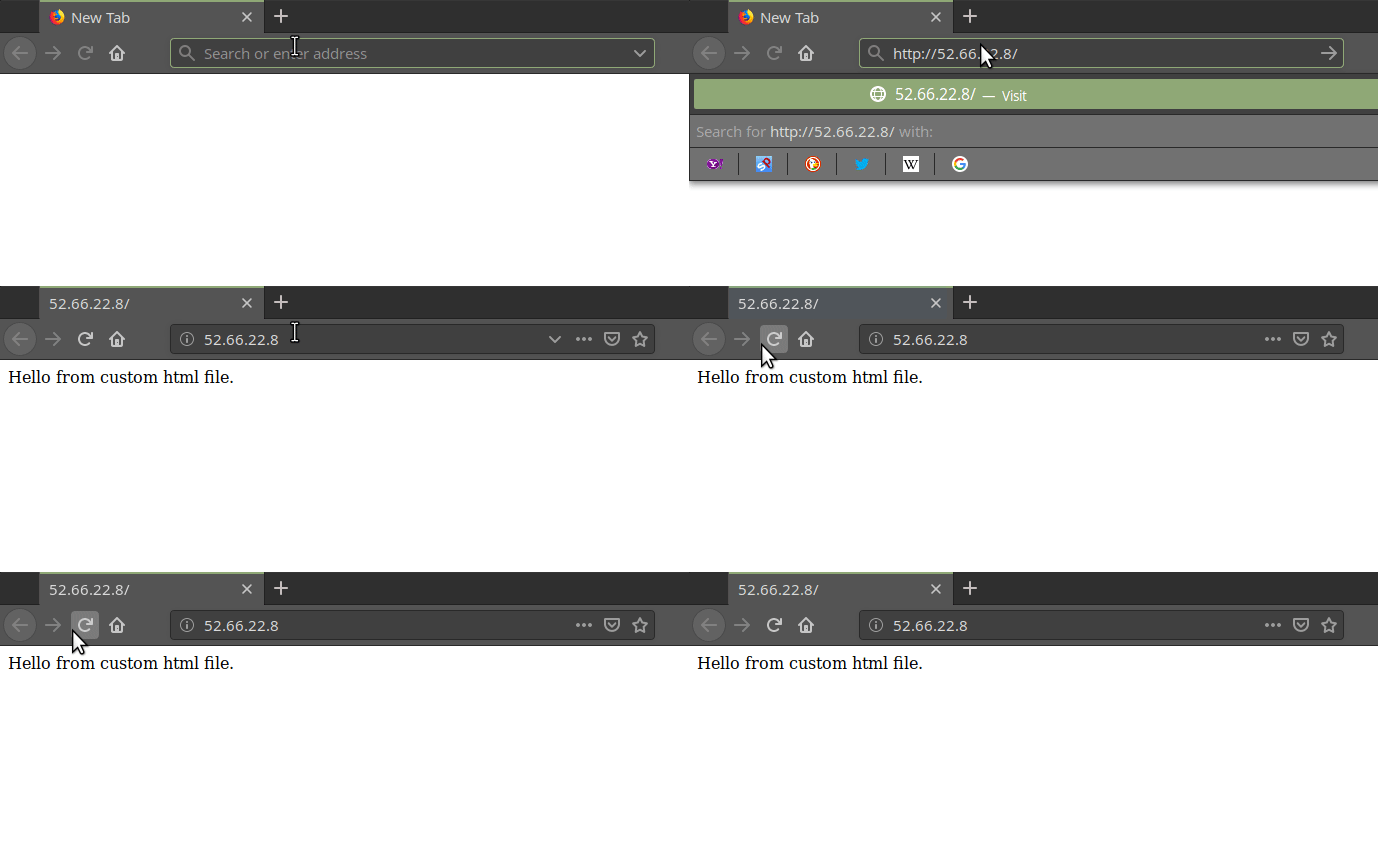
Step 8: Now, access our previously added “custom html” file, as shown below we are successfull in doing so.
