
Table of Contents
Today, we are going to set up IAM on AWS, also known as “Identity and Access Management“. We require this when we do not want to share the “root credentials” of aws account to others or clients, instead we create users and groups and assign specific roles and permissions to them, which leads to a secure and restricted way to provide services.
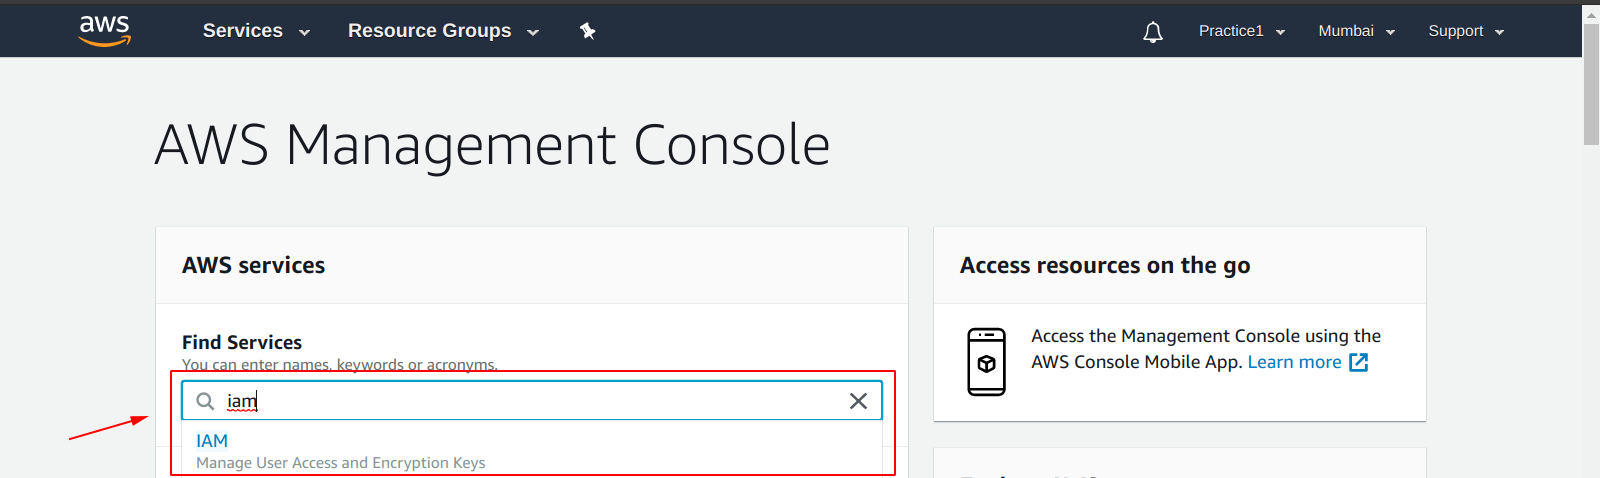
First of all, we need to select the “IAM” service from the dashboard by searching it from the “AWS Management Console“.
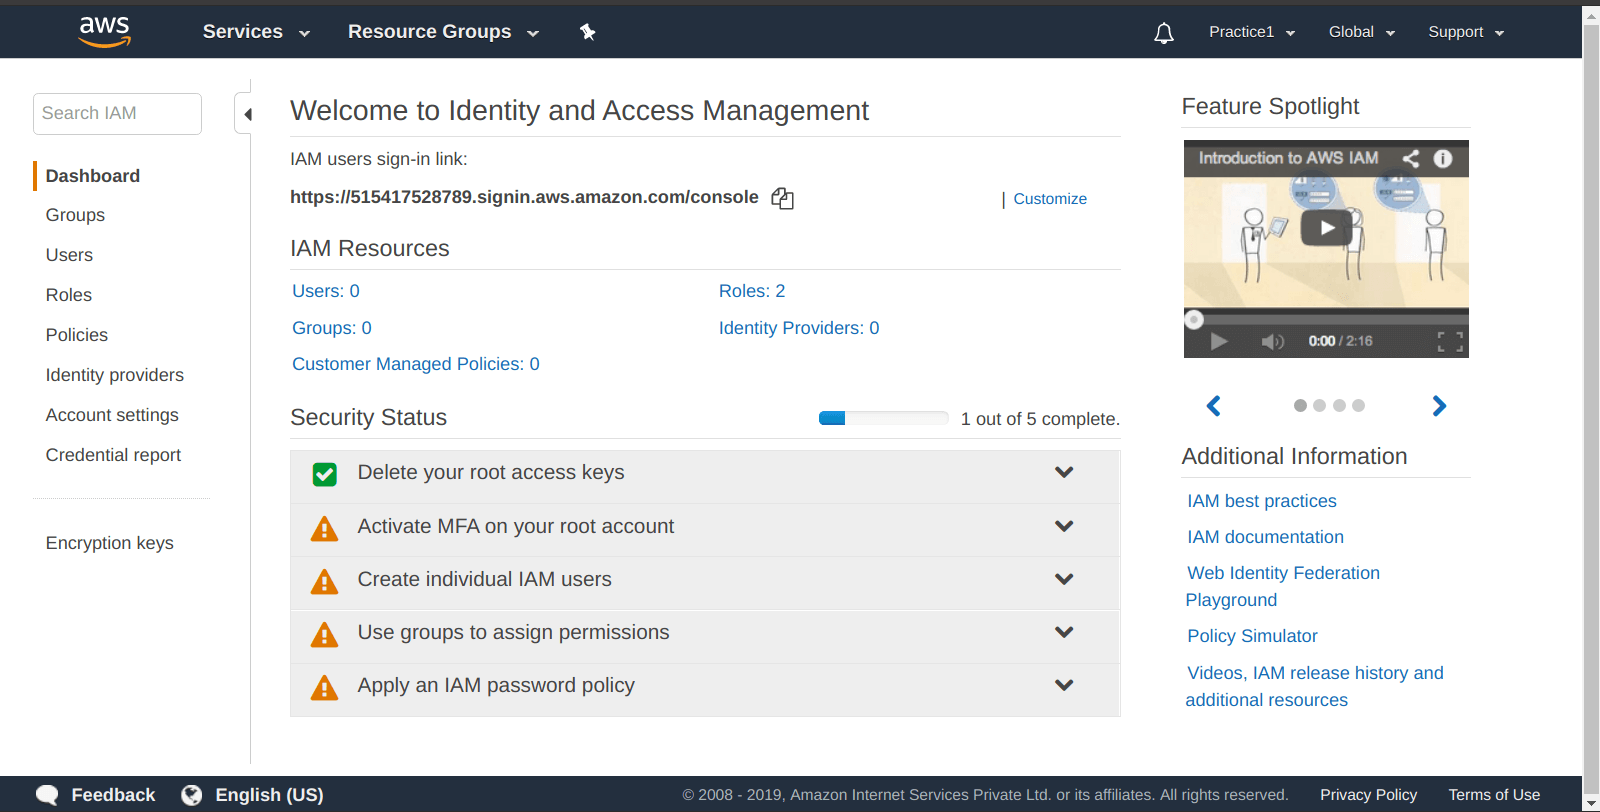
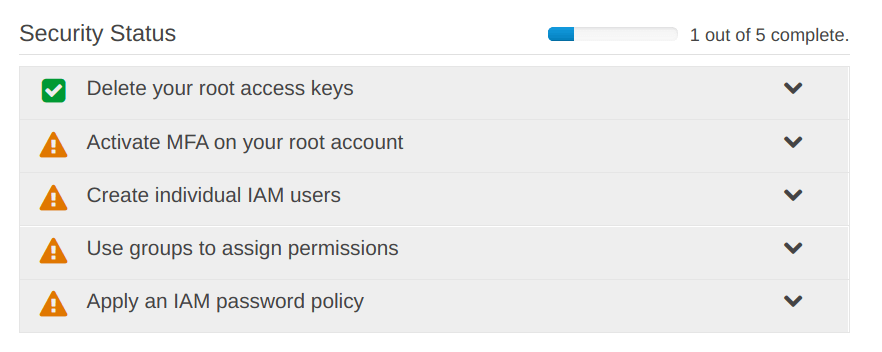
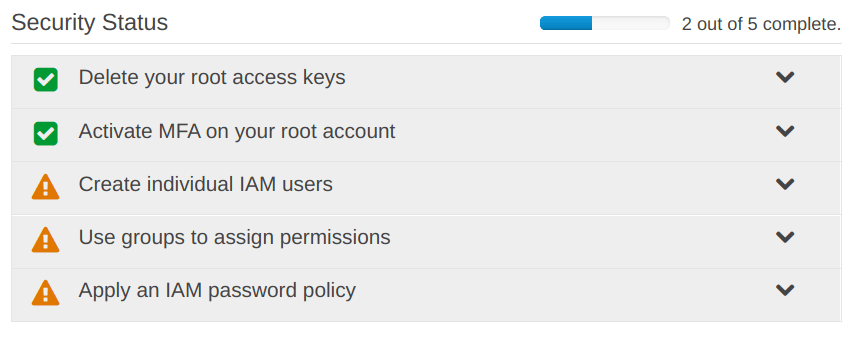
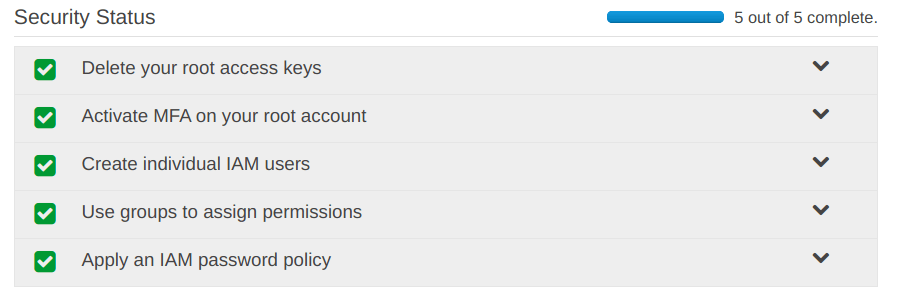
After that, you are going to see something like shown in the picture below, we are going to “set up IAM on AWS” in a way that “Security Status” steps should all be showing “Green Ticks“, but right now we only have “Delete your root access keys” and following steps are going to get the “Green Ticks” on other as well.
Before going further, we need to set an “Easy to Remember” link name for the “IAM sign-in link“.
By default, it will be having something like shown in the picture below, where the number is shown as “515417528789” is the “AWS account number“.

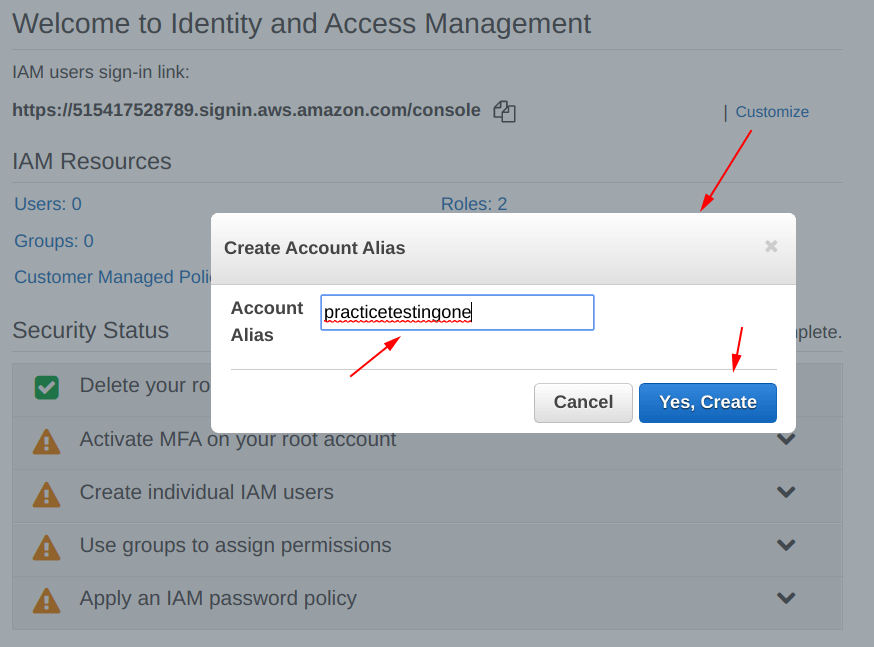
So, we have to set up an “Alias” to this, choose a good name as we have chosen “practicetestingone“, as shown below.
Our “Account Alias” is changed from “Account Number” to “Account Alias“. This is our new sign-in link which are going to be used by our clients and users for sign-in.

Now, copy the link from the “Copy Icon” shown in the image below.
After that, paste the link in the browser URL tab.
Step 0: Current Status
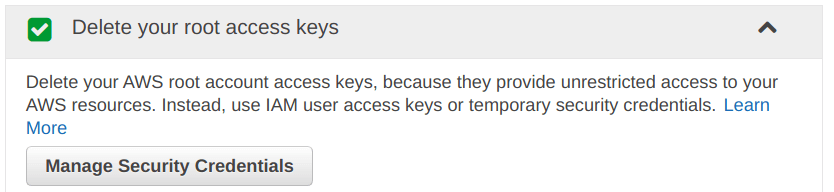
We have already deleted our root keys, that is why it showing the “Green Tick“.
Question: Why we need to delete the “Root Access Keys“?
Answer: Because they provide unrestricted access to your AWS resources, and we do not want that.
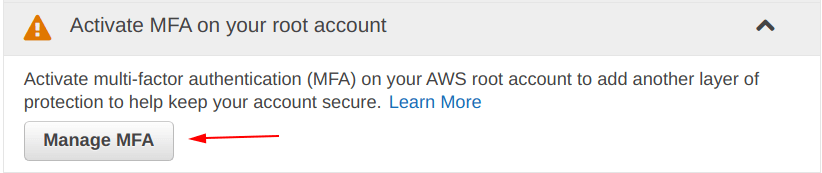
Step 1: Activate MFA on your root account
Question: What is MFA on AWS?
Answer: It is known as “multi-factor authentication“, is nothing but a second way of authenticating your “AWS account login” using a device or via another medium.
Note: In our case, we are going to use an “Android” device to setup MFA for IAM on aws.
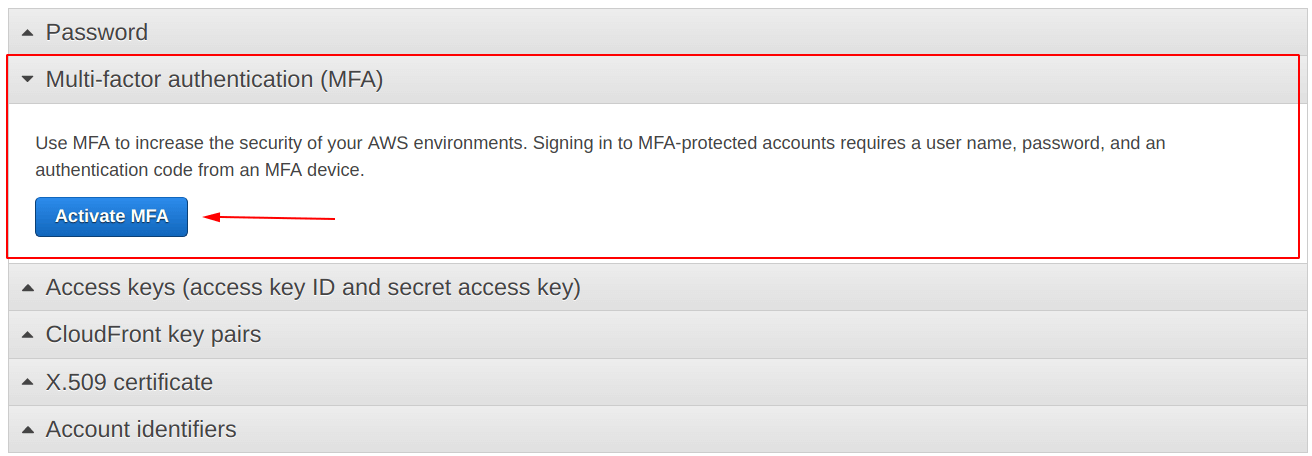
From the picture below, click on the “Manage MFA” for the set up.
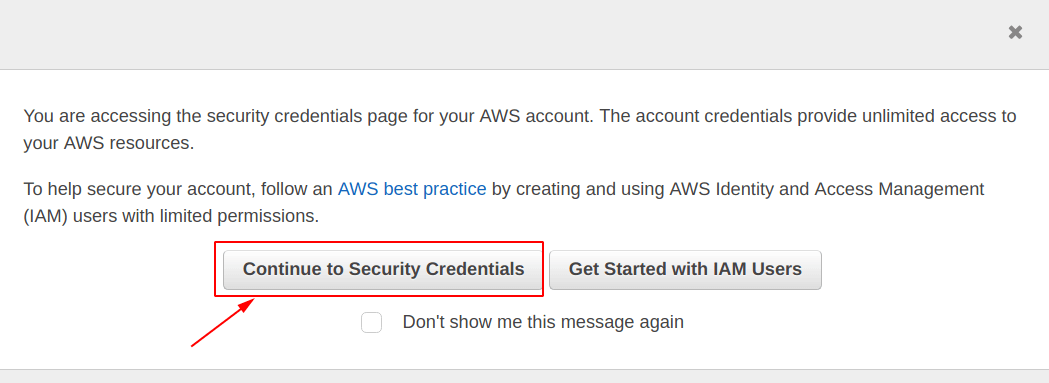
Now, from the pop-up window, select the “Continue to Security Credentials” option.
Click on “Activate MFA“
From the options below, select the “Virtual MFA device” option.
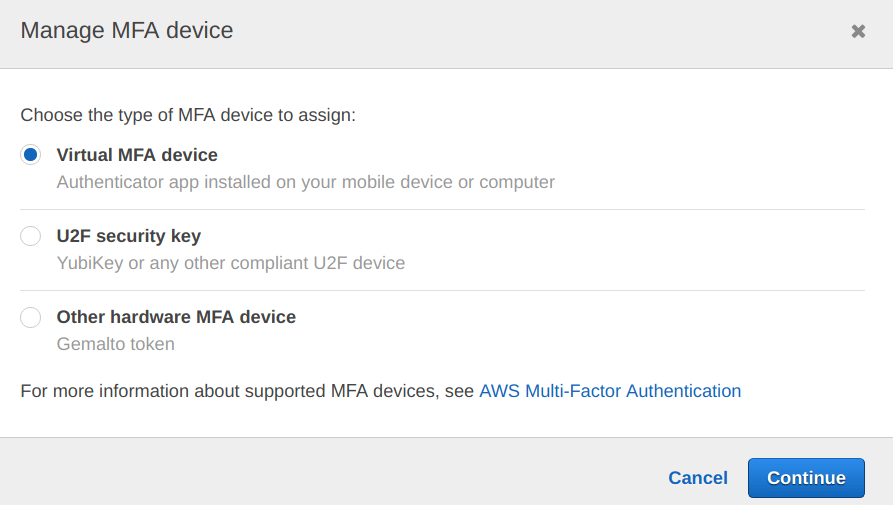
We have the following options available for the “type of application” on the “mobile device”.
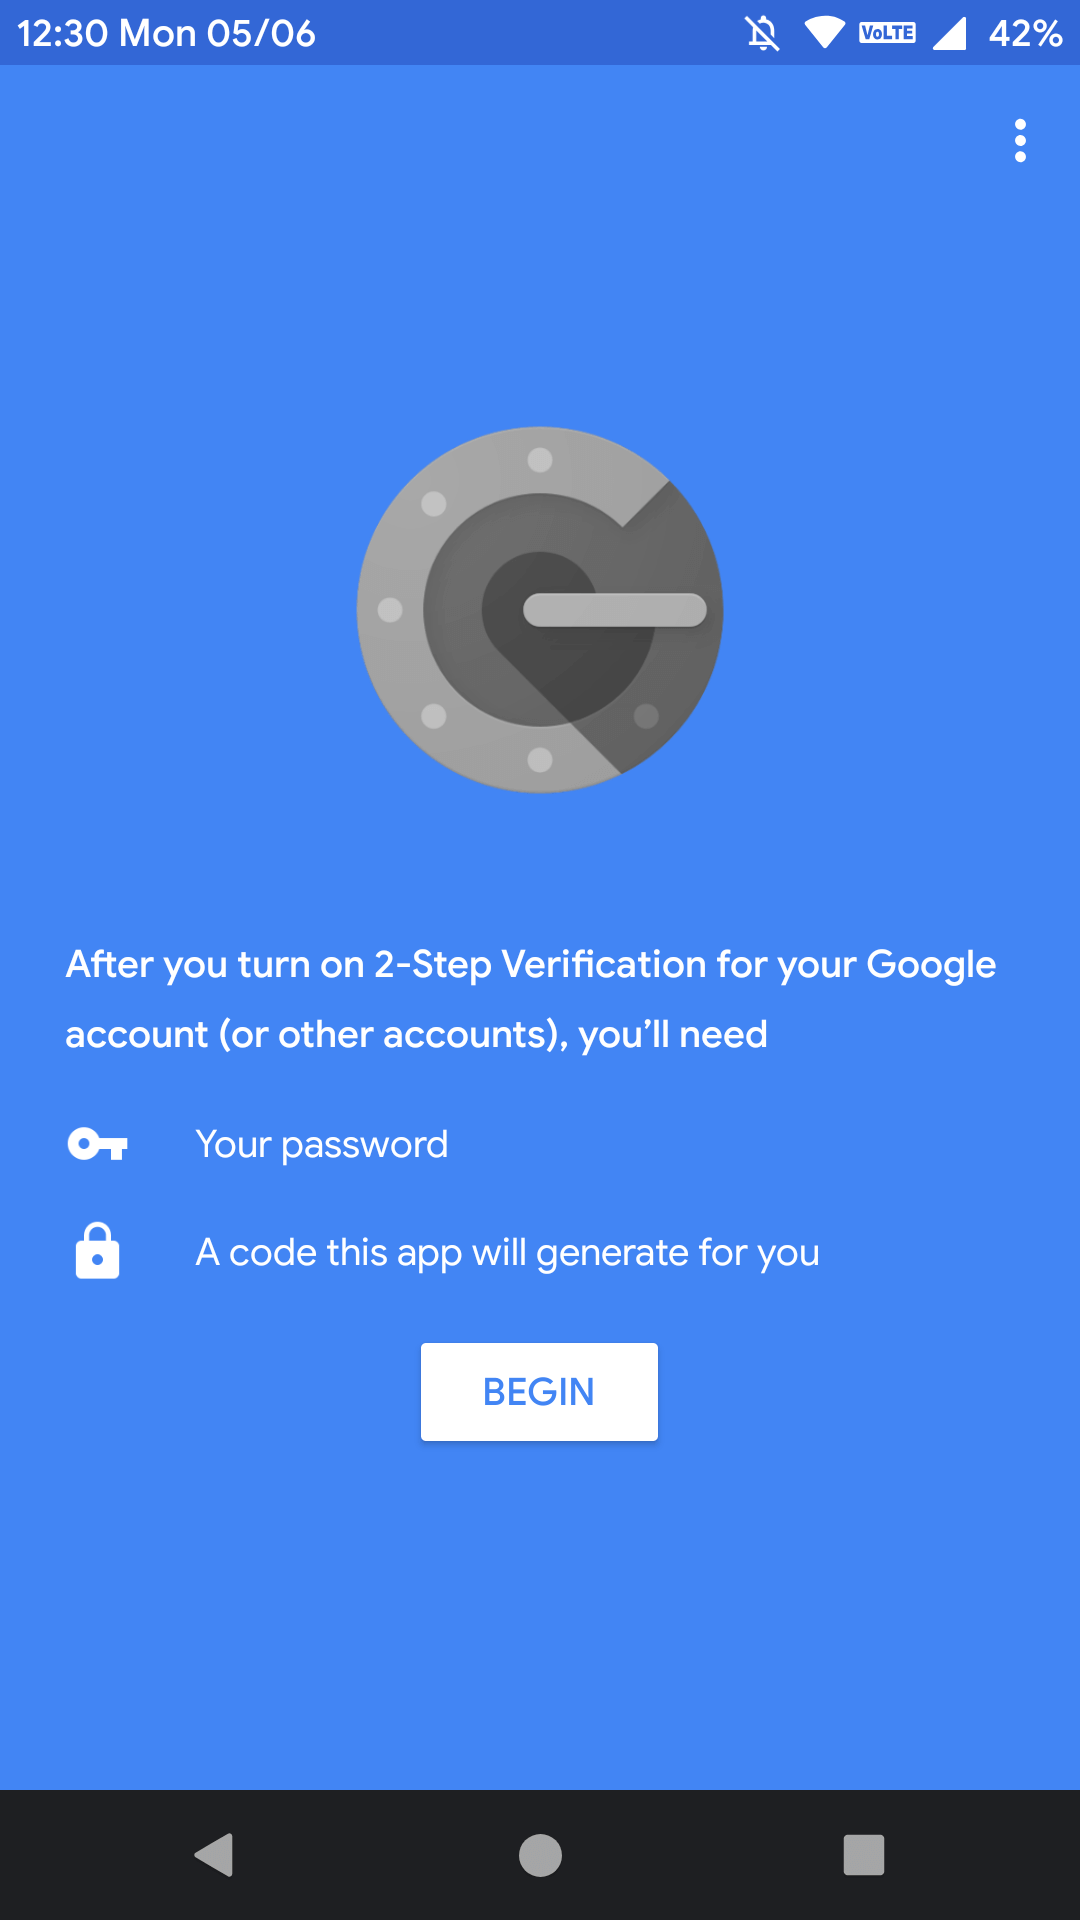
Out of these, we are going to use the “Google Authenticator” application on android phone.

Go to “Play Store” on your android device and download/install the following.

You will be seeing a screen like this, after you open the application on your phone.
Click on “BEGIN“.
After installing the application on your android device.
Click on “show QR code” as shown in the screenshot below.
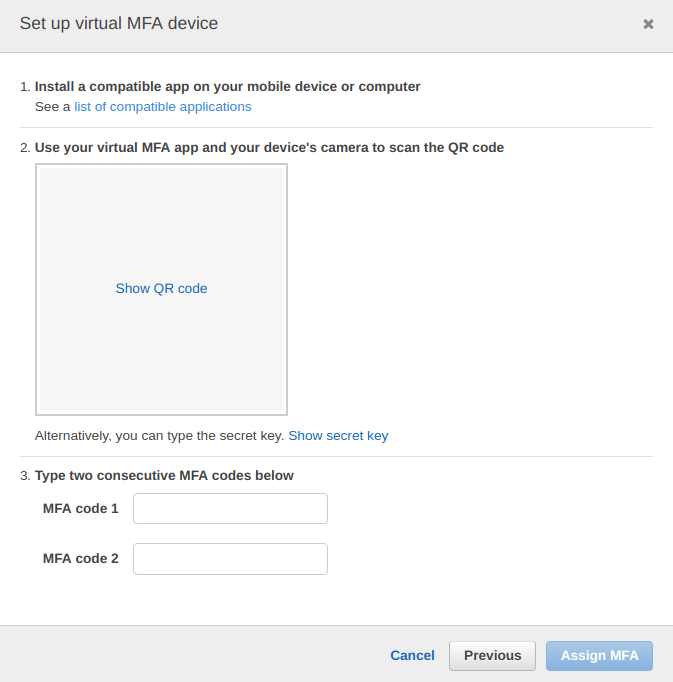
You will a QR code, one example is shown below, now scan this QR code the “Google Authenticator” application installed on your android device.
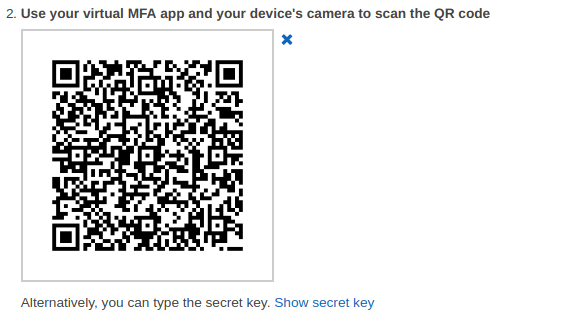
Click on the “scan a barcode” from the “google authenticator” application, and scan the QR code shown on the MFA set up screen.

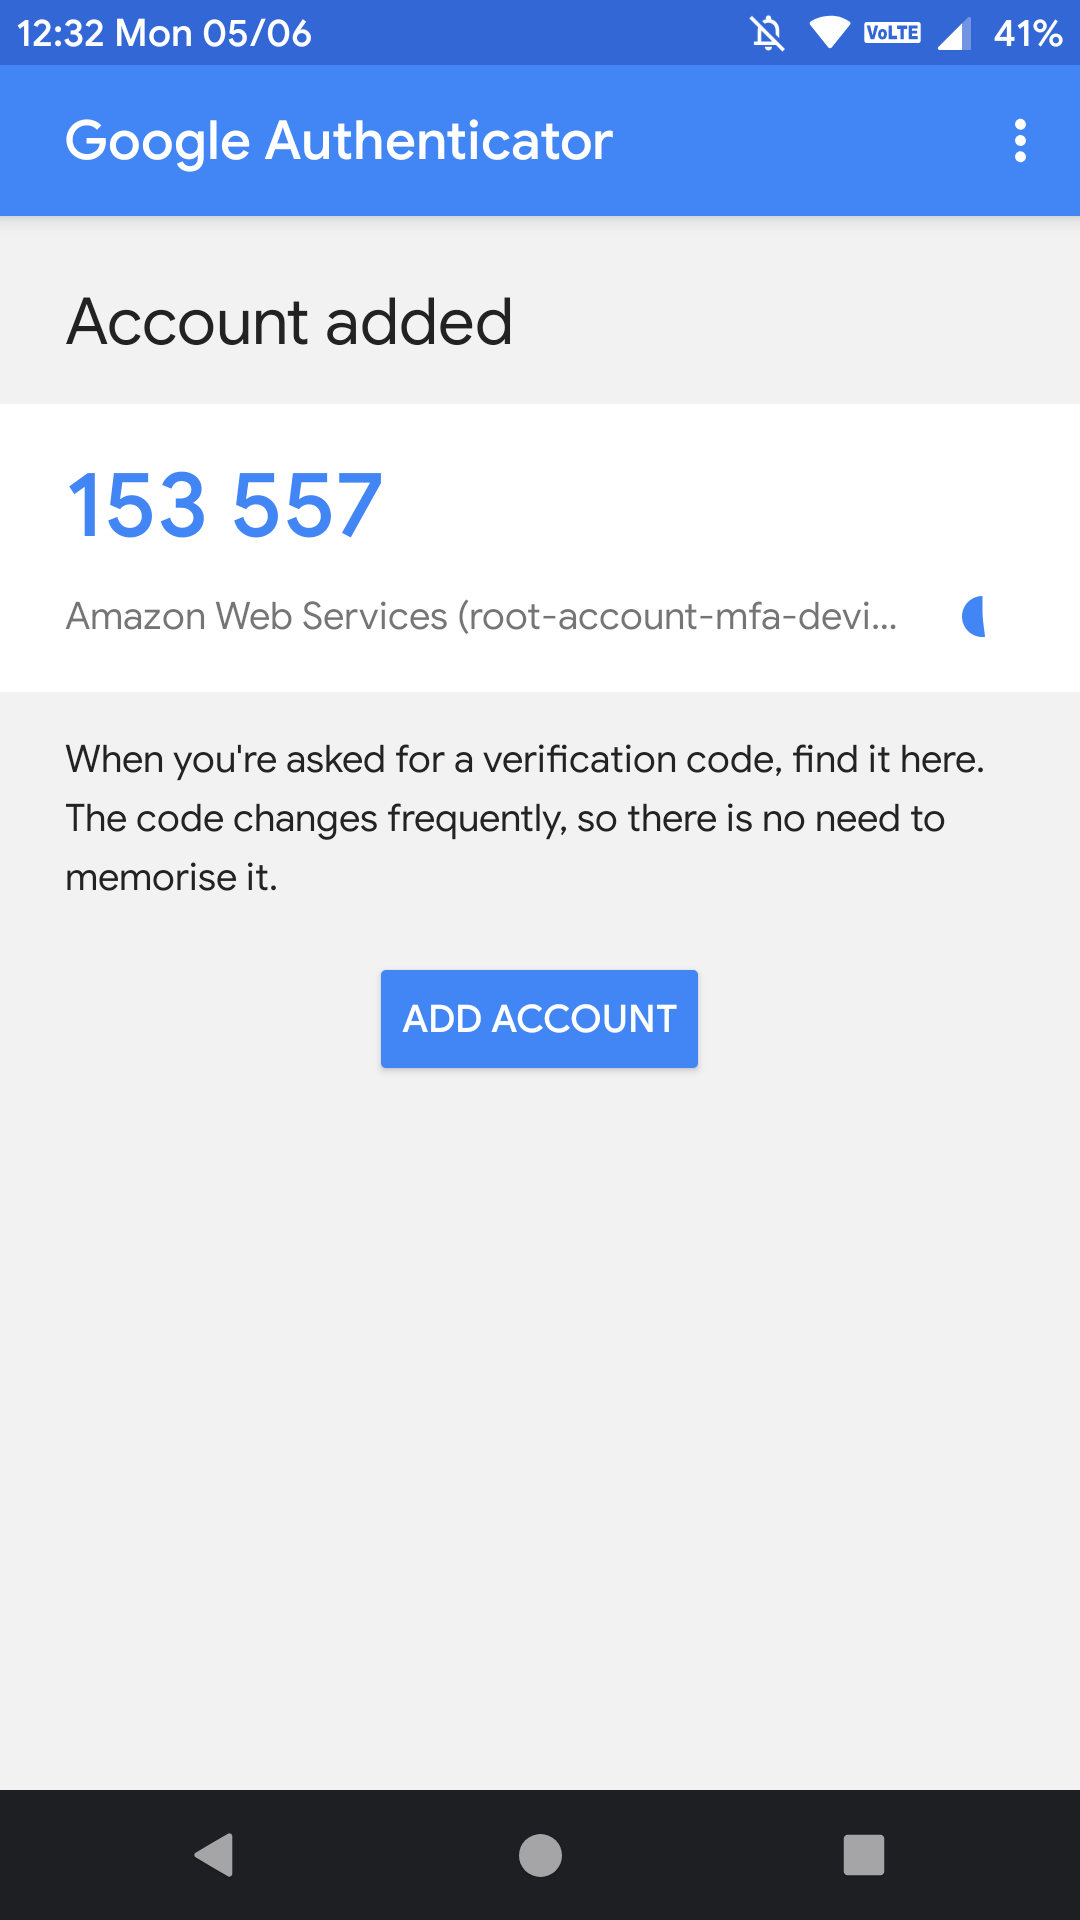
After that, you will be seeing a code generated on your “Android Phone” inside the “Google Authenticator” application, like below.
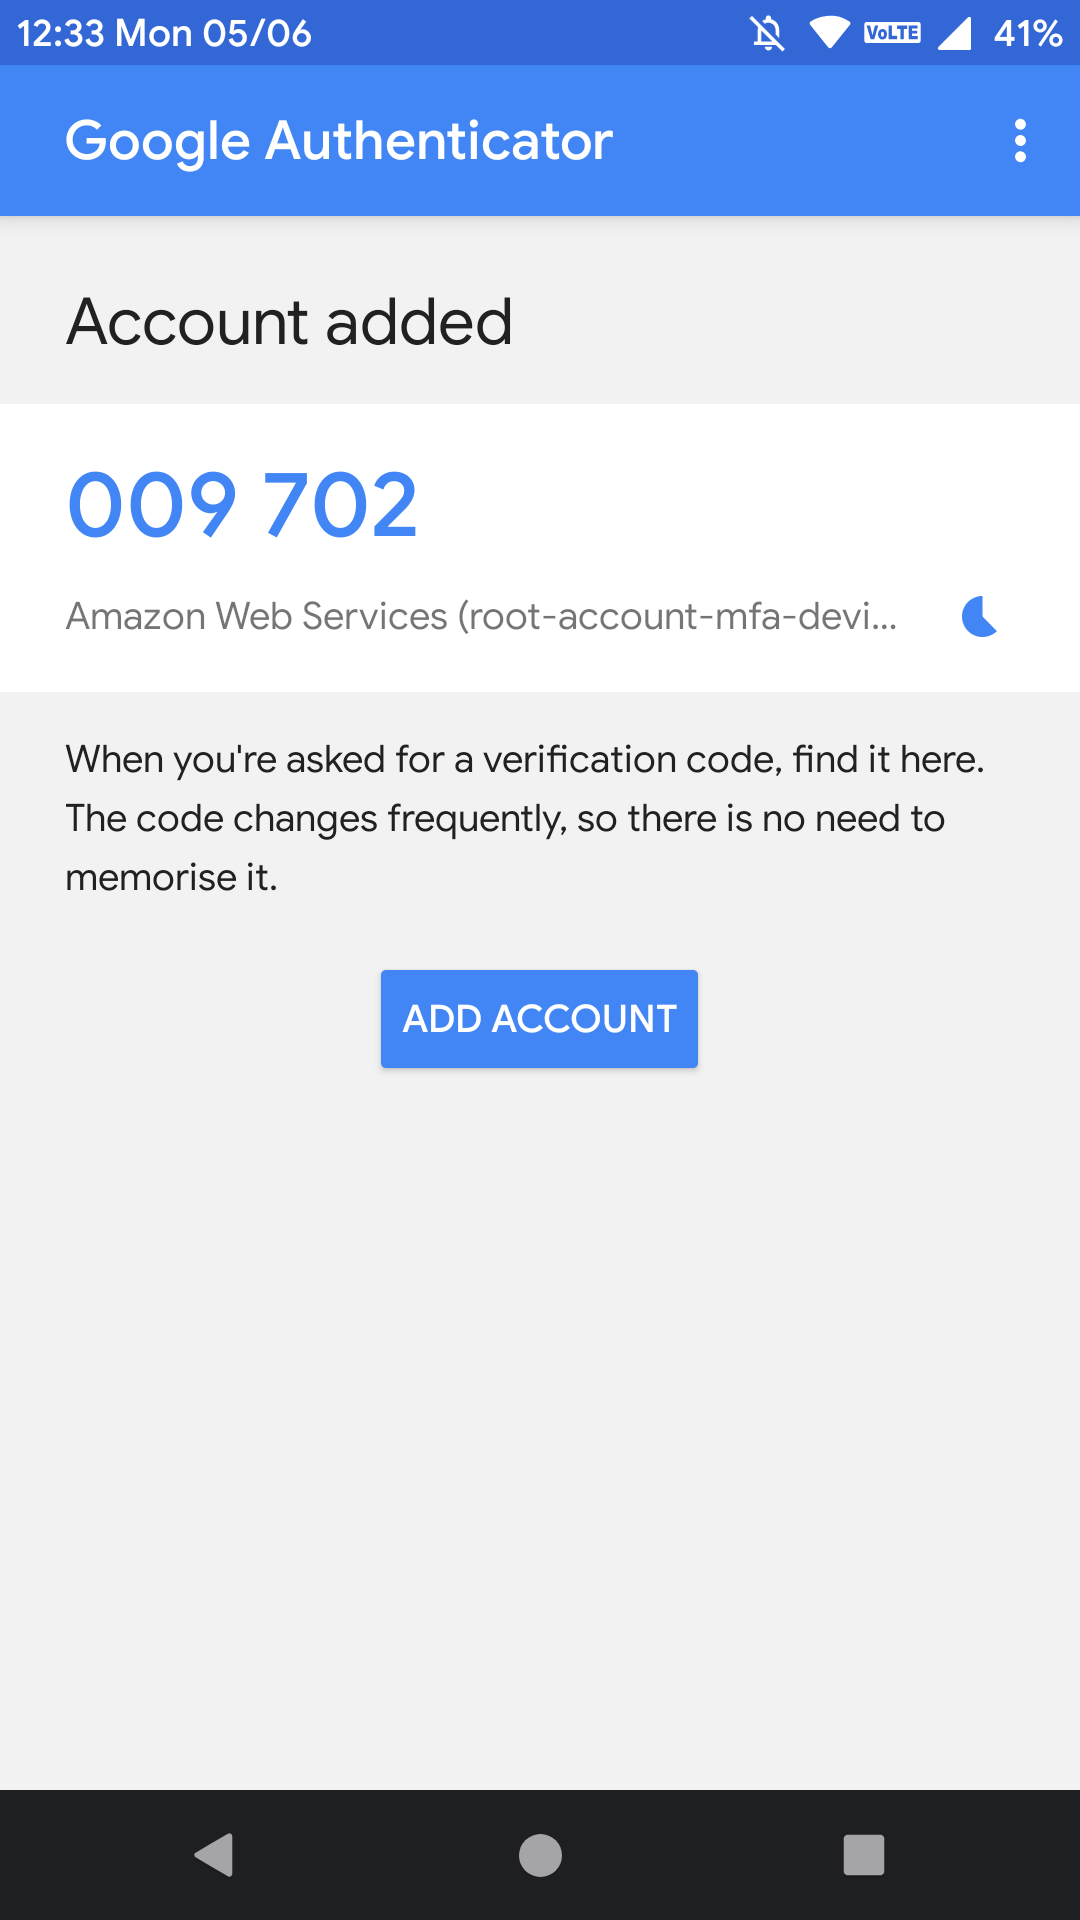
After a few seconds of entering the first code in the “Google Authenticator” application, a new code will be generated on your “Android Phone“, as shown below.
Use this code and enter it in the place of second code.
After doing the things mentioned above, you will be seeing something like “You have successfully assigned virtual MFA” on our dashboard.
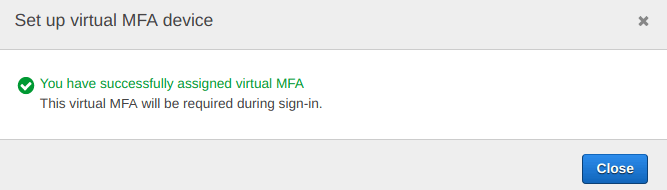
You MFA has bee set up for IAM on aws

“Security Status” has been updated
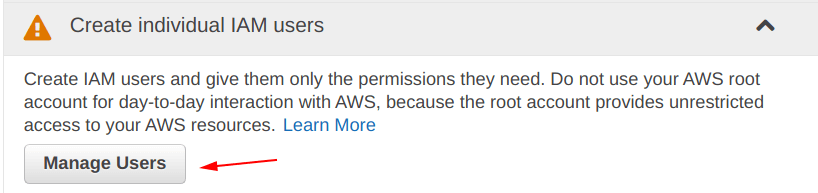
Step 2: Create individual IAM users
In order to control the permissions on “user level“, we need to create new “IAM users“.
So, we need to click on the “Manage Users“.
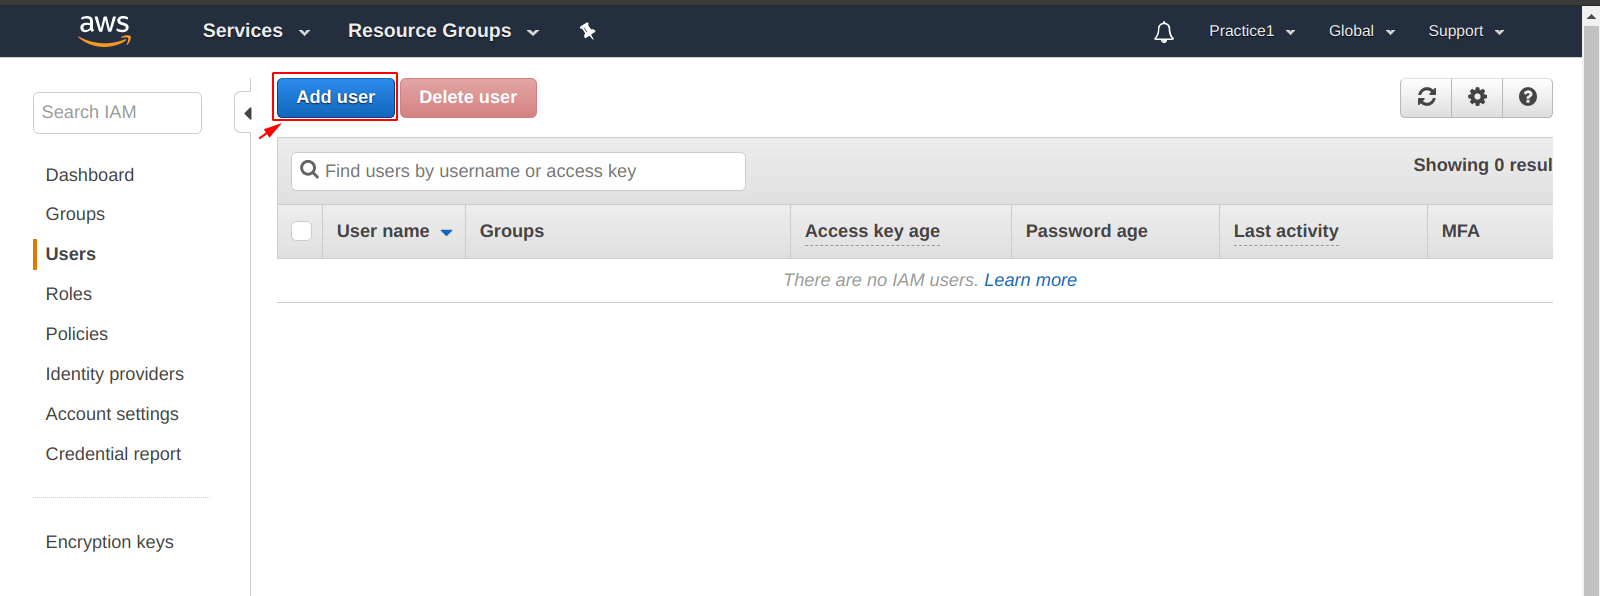
After that, you will be seeing a screen as shown below. Select the “Add user” icon from the screen.
A screen like below, is going to be prompted to you.
Set user details:
- User name* = Practice-test-user
- Access type* = “Programmatic access” and “AWS Management console access”
- Console password* = “Autogenerated password” or “custom password”
- Require password reset = “tick” or “leave blank”
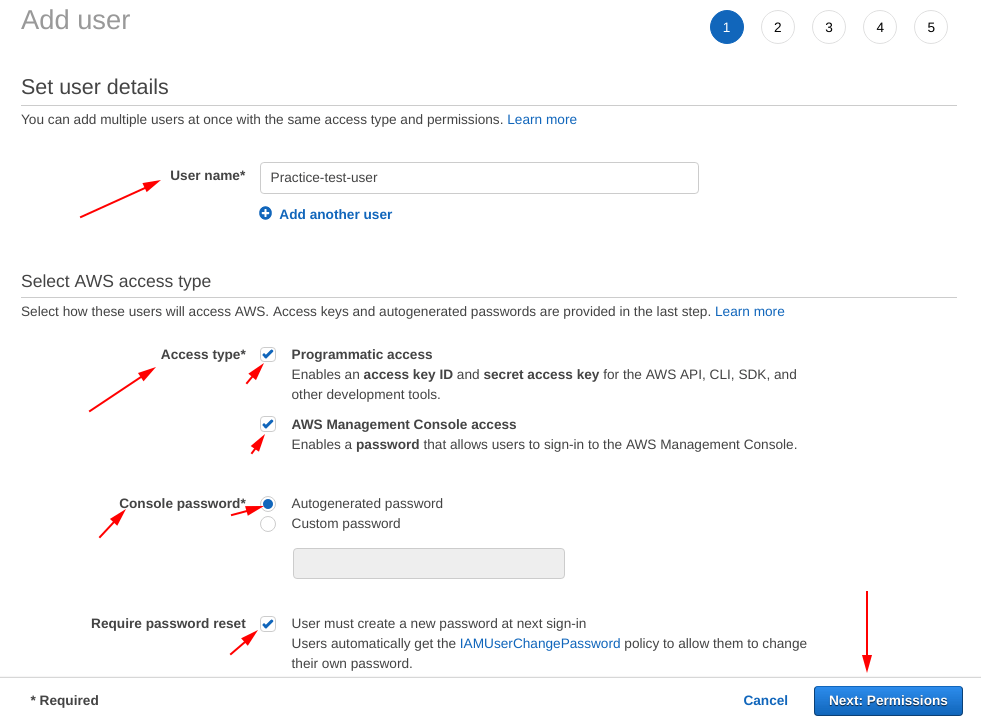
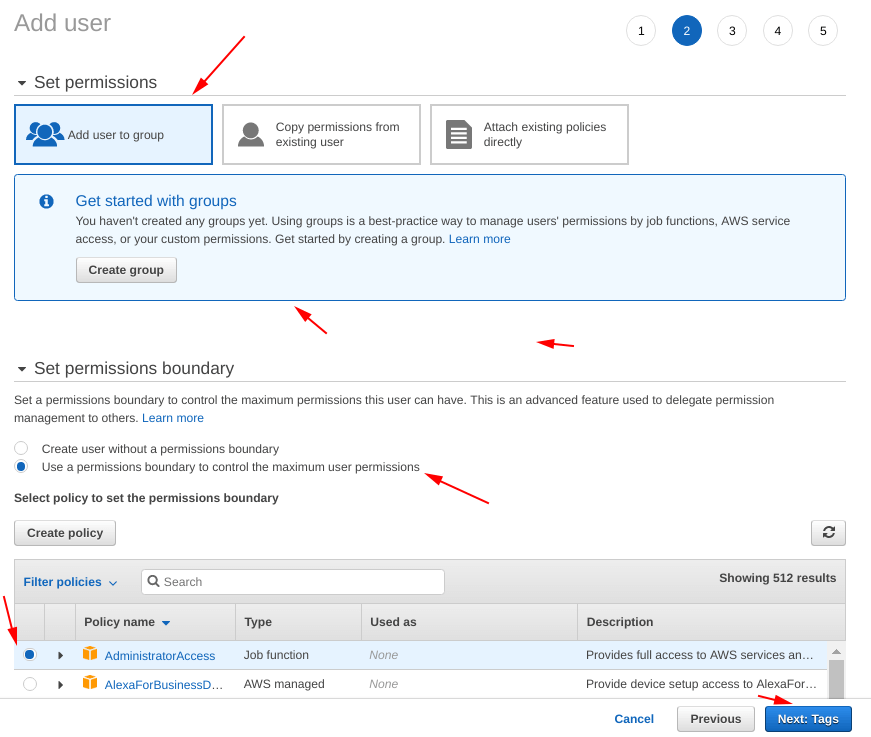
Set as following on the screen shown below.
Note: We are giving this user “Practice-test-user” the “AdministratorAccess” policy.
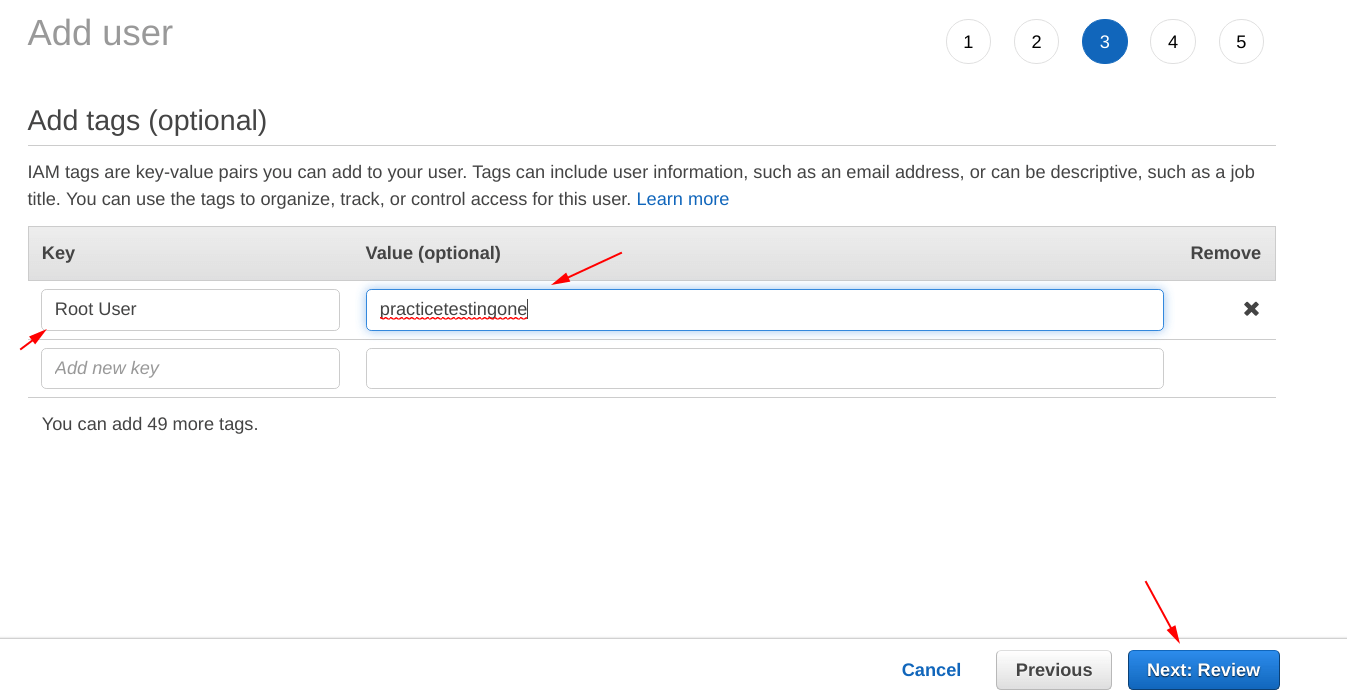
Add some “tags” to your IAM set up.
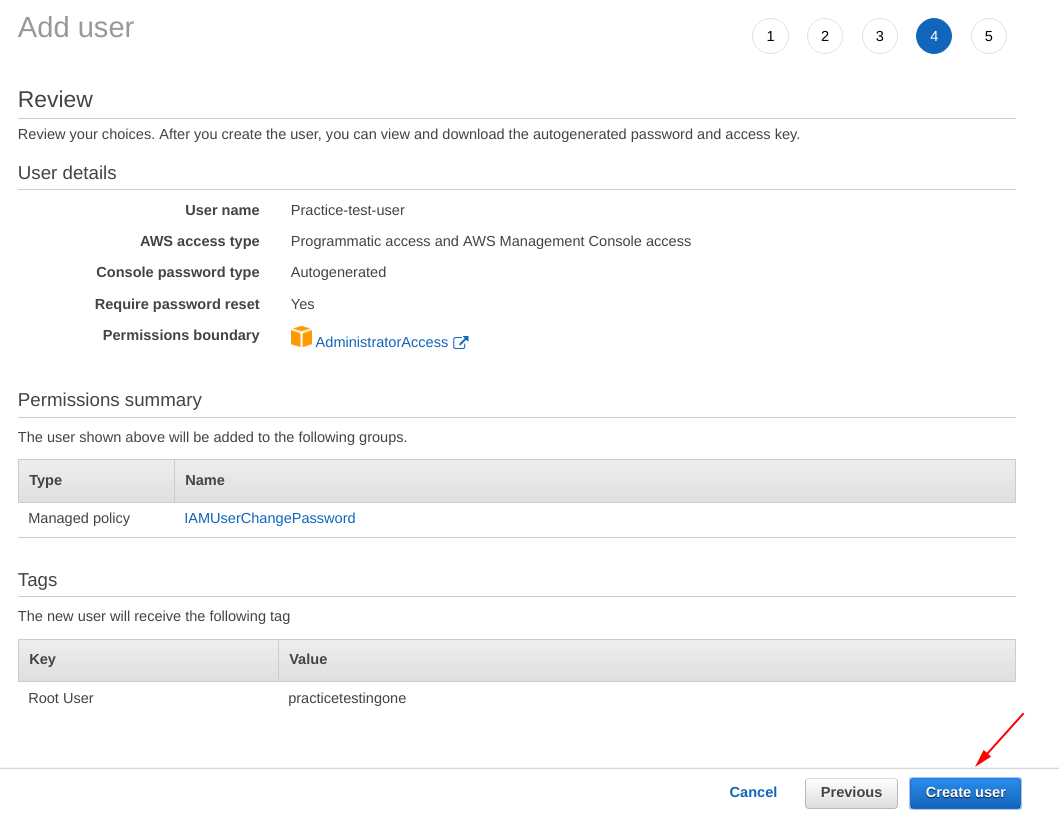
Before going for the final step, crosscheck the information from the “Review” screen as shown below.
After doing the steps, you will see a screen with a “Success” message as shown below.
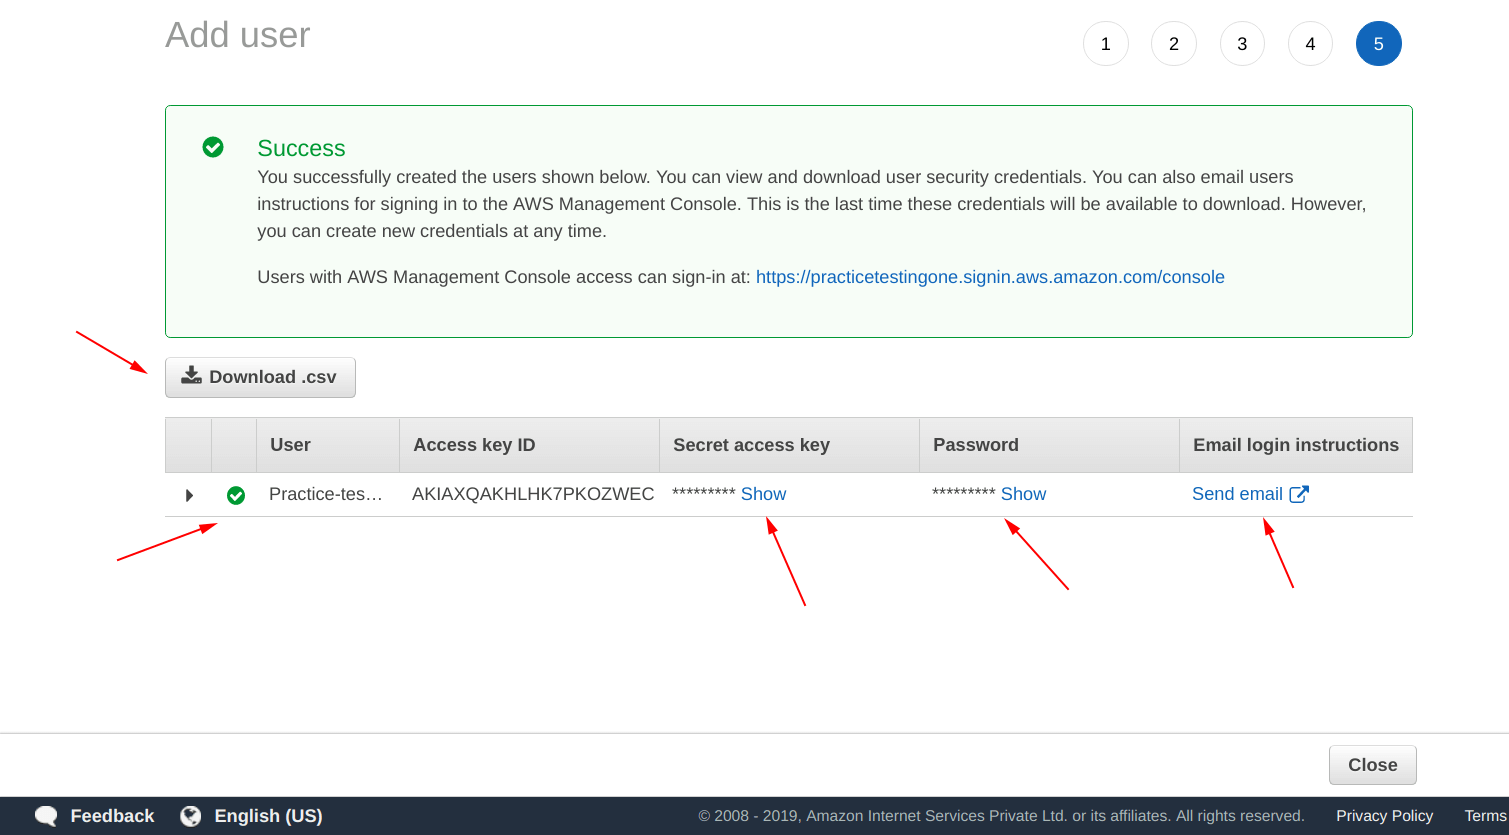
From the screenshot shown below, we can confirm that our user has been created successfully.

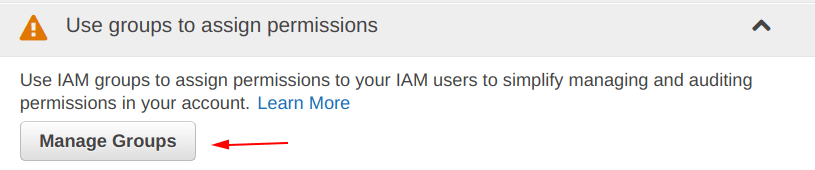
Step 3: Use groups to assign permissions
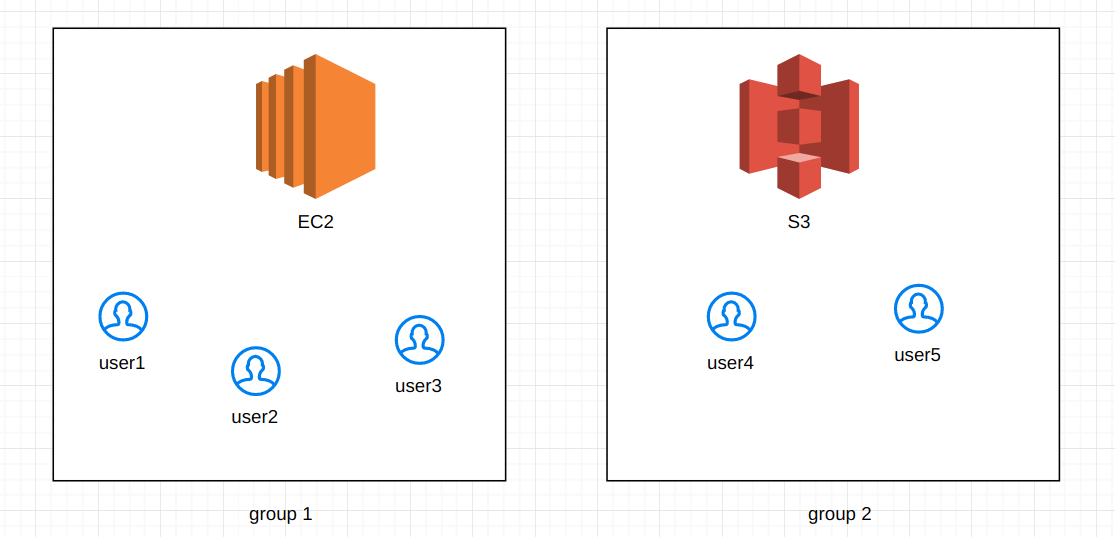
Question: What is the purpose of groups here?
Answer: We can understand this with an example, say if we have “user1“, “user2” and “user3” for “EC2 full Access” and “user4“, “user5” for “S3 Administrator Access“.
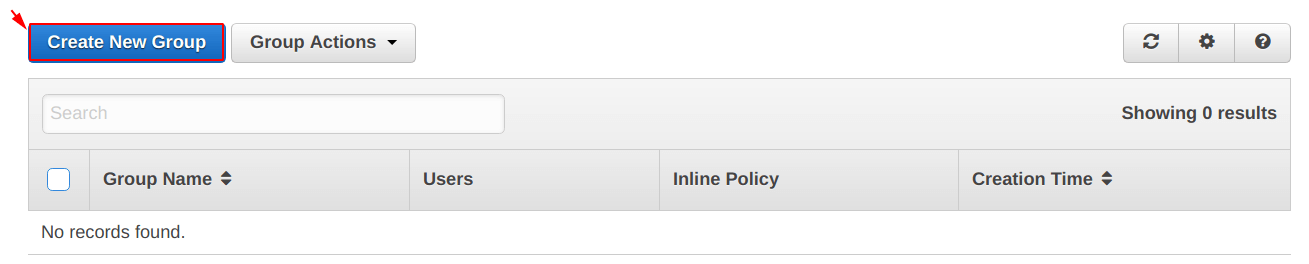
Click on “Create New Group” icon as shown in the picture below.
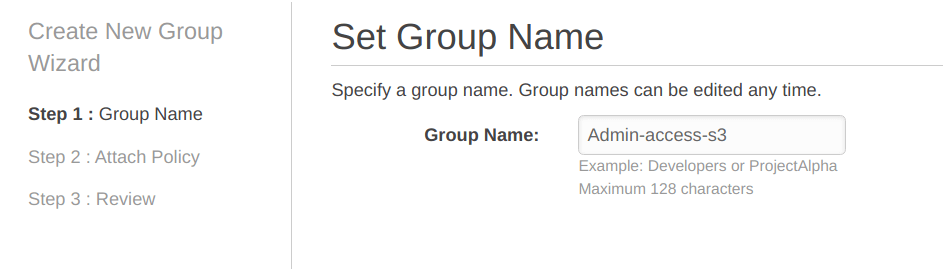
Now, “Set Group Name” and we have chosen “Admin-access-s3” as the name for our group.
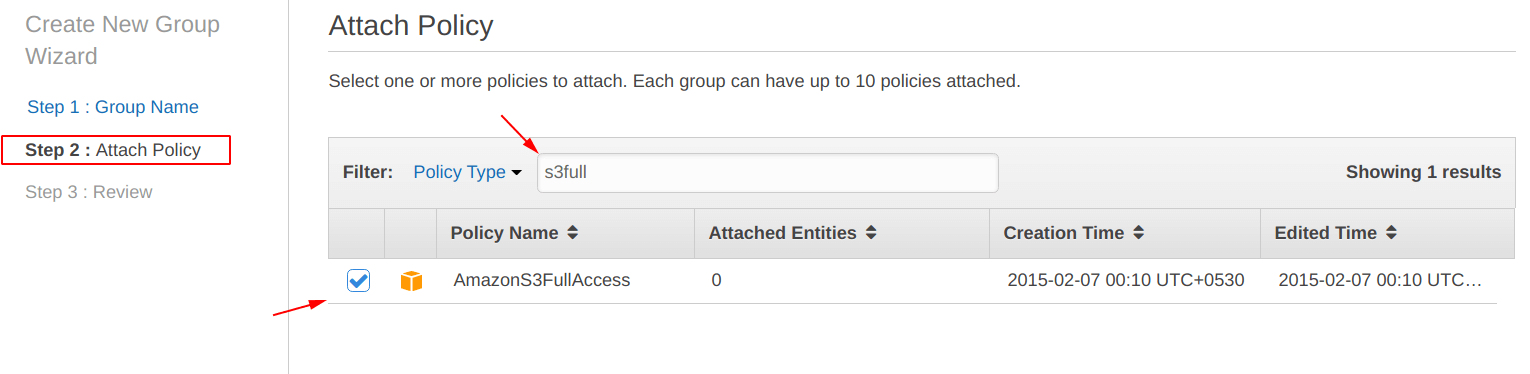
Now, it is time to attach the “AmazonS3FullAccess” policy to “Admin-access-s3” group. Because we want to create this group and its users to have only “AmazonS3FullAccess“.
Again, before saving the changes, “Review” all the things.
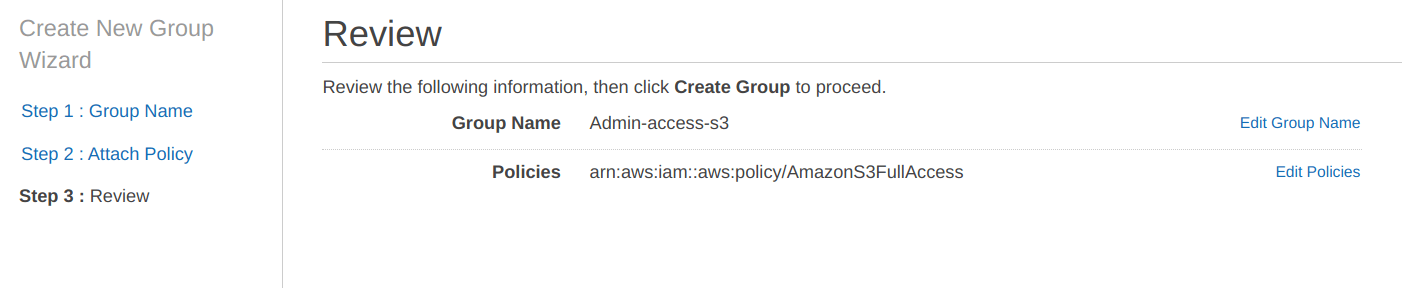
From the screen below, we can confirm that the “Admin-access-s3” is created successfully.

“Security Status” has been updated
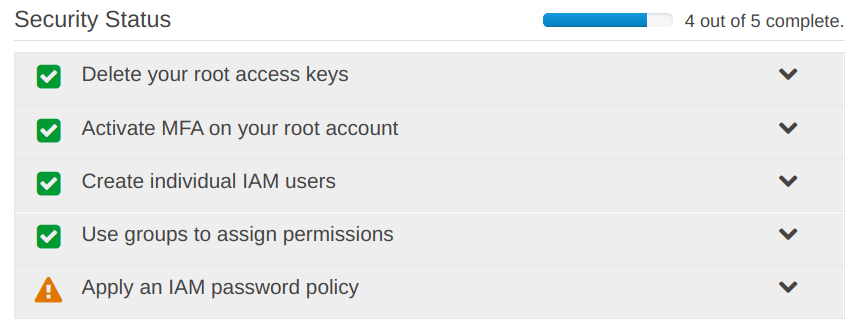
Step 4: Apply an IAM password policy
Question: What is IAM password policy?
Answer: It is nothing but providing a way for users to create strong passwords and rotate their passwords regularly.
As shown in the screenshot below, click on “Manage Password Policy“.

Specify the things in the screen as shown below, as per your requirements.
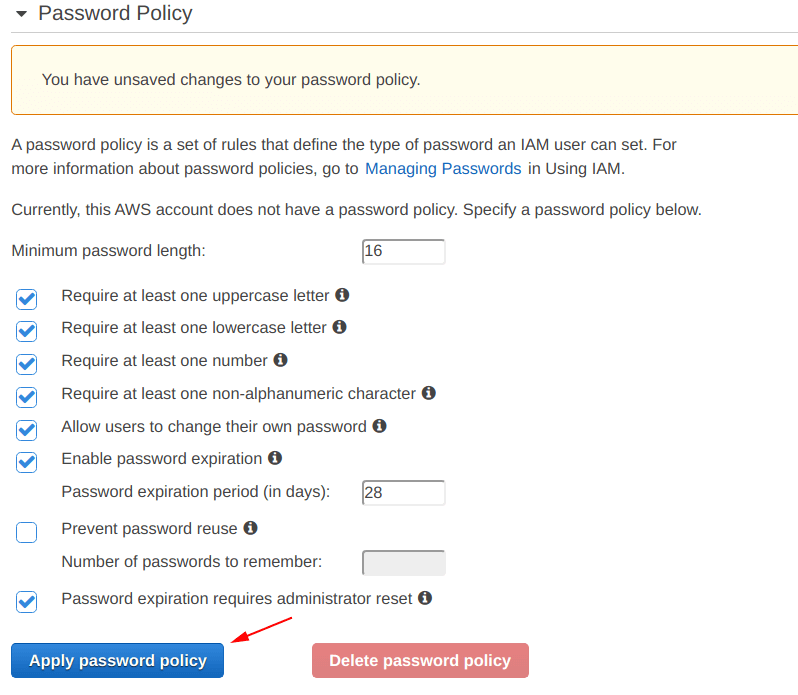
“Security Status” has been updated
All the things under the “Security Status” now have “Green Ticks“.
At last, From the IAM dashboard, we can see that it shows “Users: 1” and “Groups: 1” and “Roles: 2“.

Step 5: Login with the IAM user just created
Make sure that you have download the “credentials.csv” file at the end of “Step 2“.

Open the “credentials.csv” file and you will see something like shown in the picture below, copy the “user name” and “password” from the file.

After copying the file, go the custom “sign in URL link” we have created at the start of this post.
Note: The link will be different in your case, so use your URL and not ours.
After copying the “URL“, paste it into a brower’s URL tab and hit “Enter“.
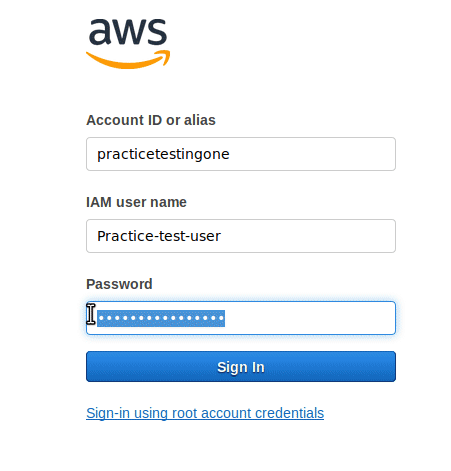
Now you will be seeing something as shown below, simply provide your IAM user’s “username” and “password” and click on “sign in“. If your credential information is correct, you will be dropped down in your AWS console.
Conclusion
- IAM provides “granular permissions” means one can specify a particular type of permissions for a particular user or a group.
- It provides “shared access” to administer your AWS account with sharing your actual root’s password and keys.
- One can set up an MFA type authentication for your AWS account.
- Any many more features are being provided by “IAM aws“, they are going to update and added in the future.
More on AWS:
- Create an instance on AWS (complete guide)
- Login into EC2 instance using private pem key on Linux
- Set-up an Apache2 web server on ubuntu 18.04 EC2 Instance AWS
- Set-up a Nginx web server on ubuntu 18.04 EC2 Instance AWS
- Install docker on AWS EC2 Ubuntu 18.04 (script method)
- One click WordPress set up with docker and docker-compose (local, live, cloud) (without SSL)