CentOS Installation
Step 1: In order to install and run
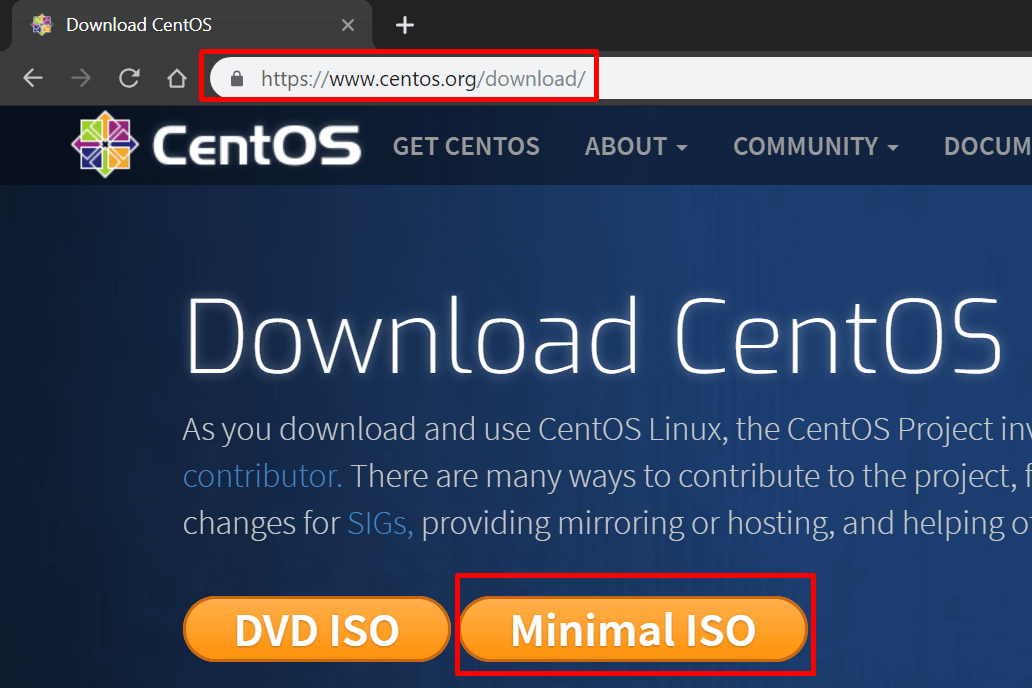
Step 2: Now as shown below, you must be having several options, they are direct download links for the ISO file and you can select any one of them, in order to download the file.
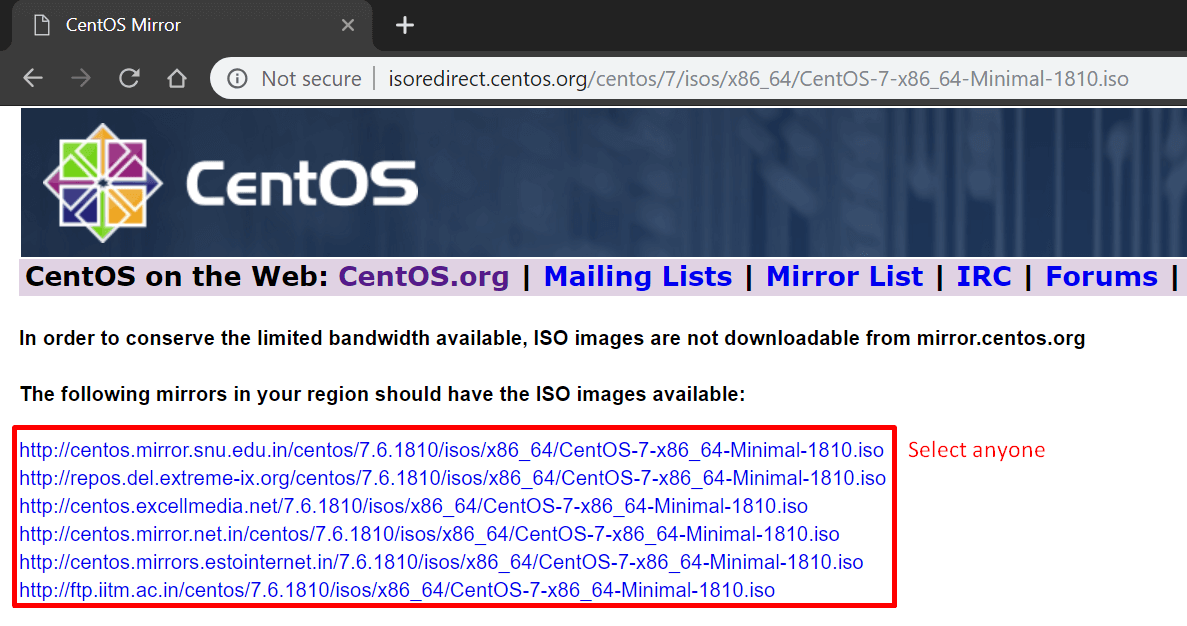
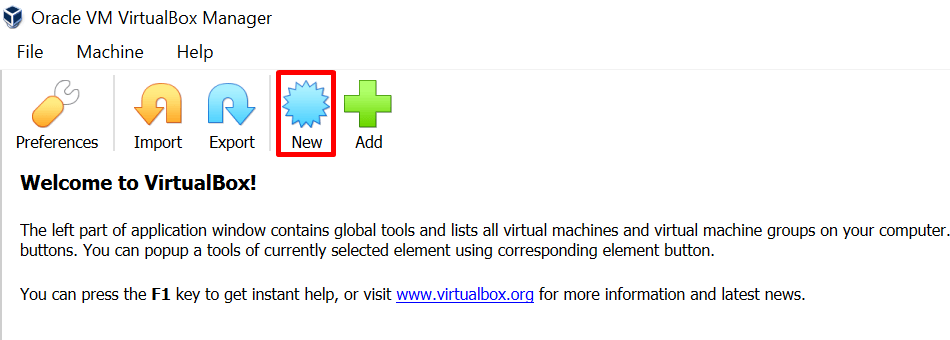
Step 3: After downloading and having the file on your local machine, it is now time to “open V
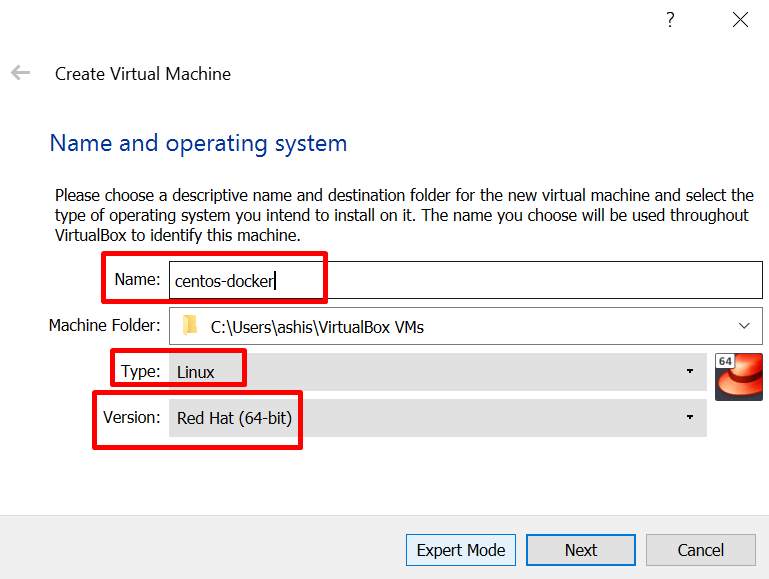
Step 4: Now you have to give a “name” and “type” as well as “version” to your virtual machine, we have given “name = centos-docker“, “type = Linux” and “version = Red Hat (64bit)” because “centos” works on same source code but with different open source license conditions, which let users use it for free of cost.
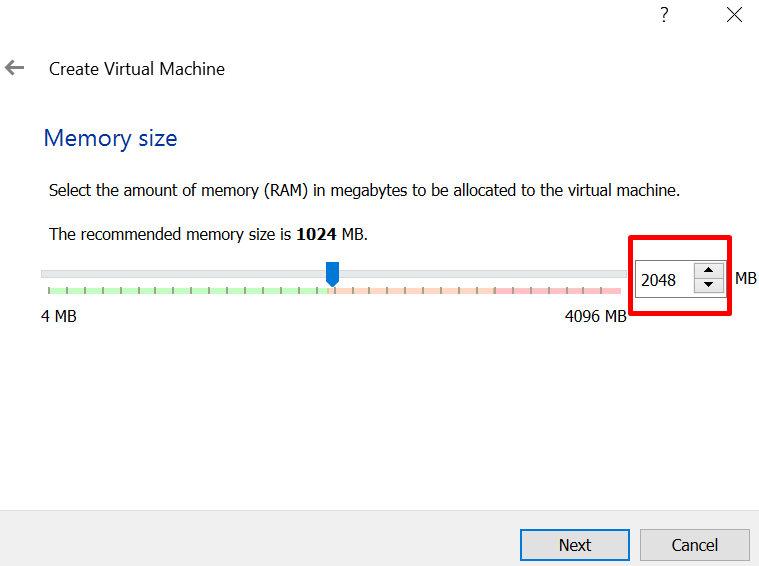
Step 5: It is time to allocate the amount of RAM/Memory to your centOS virtual machine, we have given 2048 MB (2 GB) which is sufficient for us.
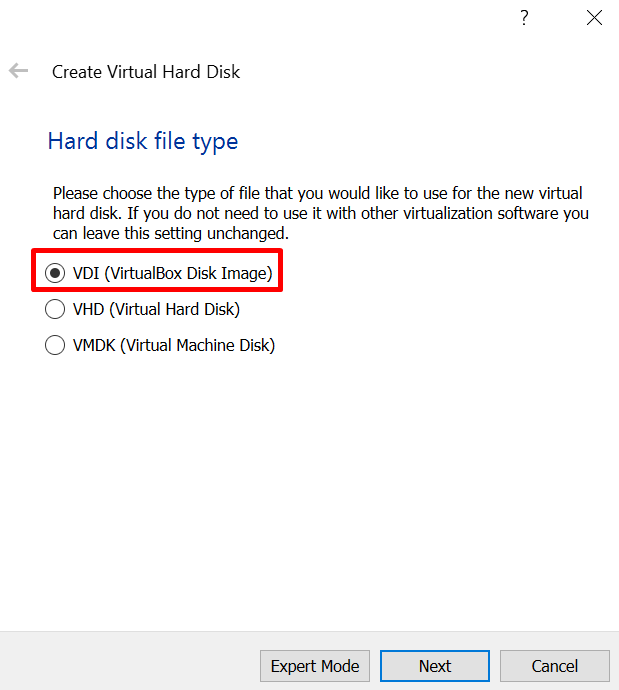
Step 6: We also have to select the type of “virtual hard disk”, so we have selected “VDI = virtualbox disk image” which is native to virtualbox.
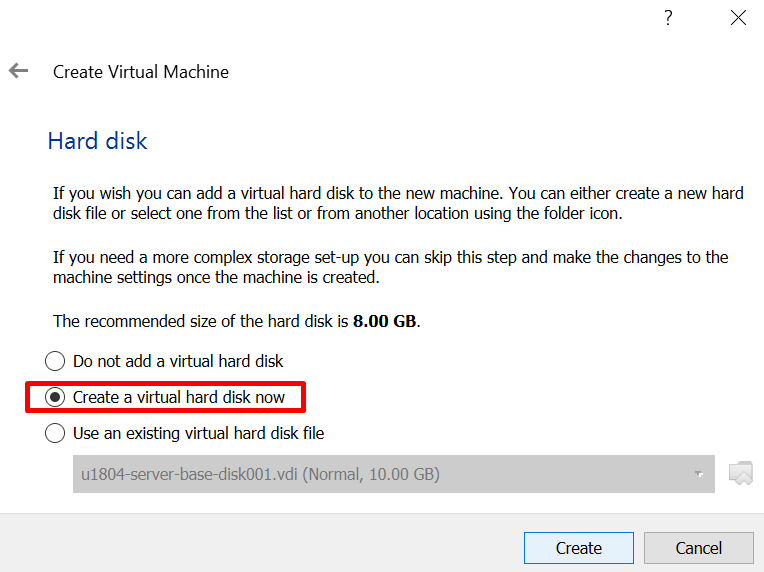
Step 7: After select the type of hard disk, we also have to state that whether we want to create the virtual hard disk now or not, so we have opted for “create a virtual hard disk now“.
Step 8: Now, we also have to specify the “location” and “size” of our virtual hard disk, so for “location = we have gone for default” and for “size = we have specified 8.00 GB”.

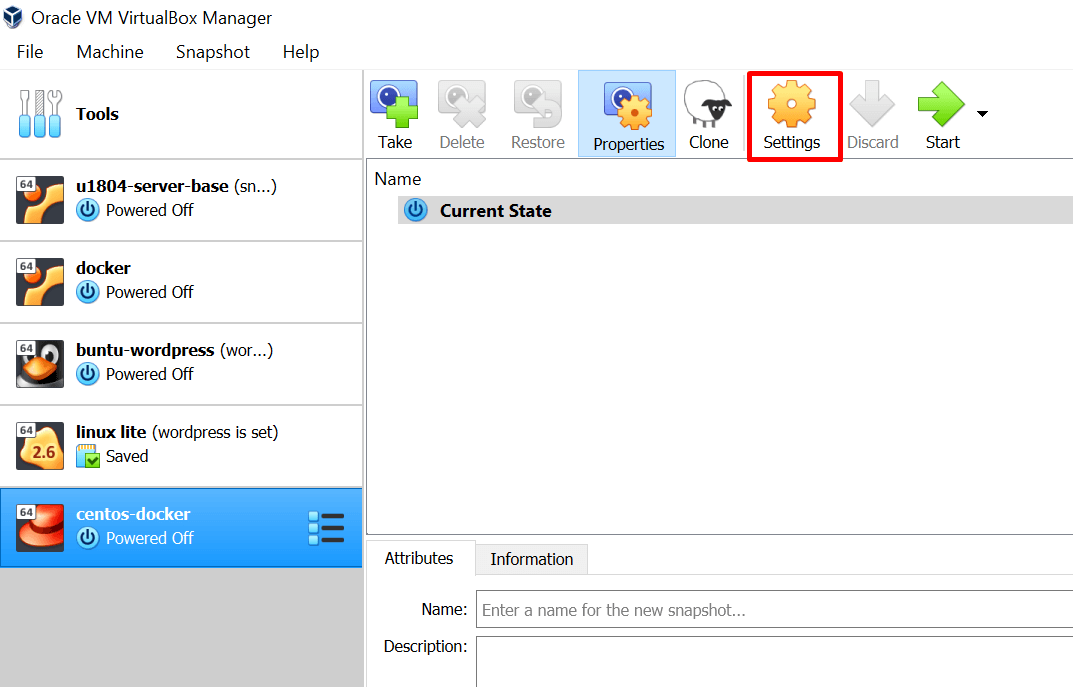
Step 9: After creating and setting the basic requirements for our virtual machine, for advance options we have to
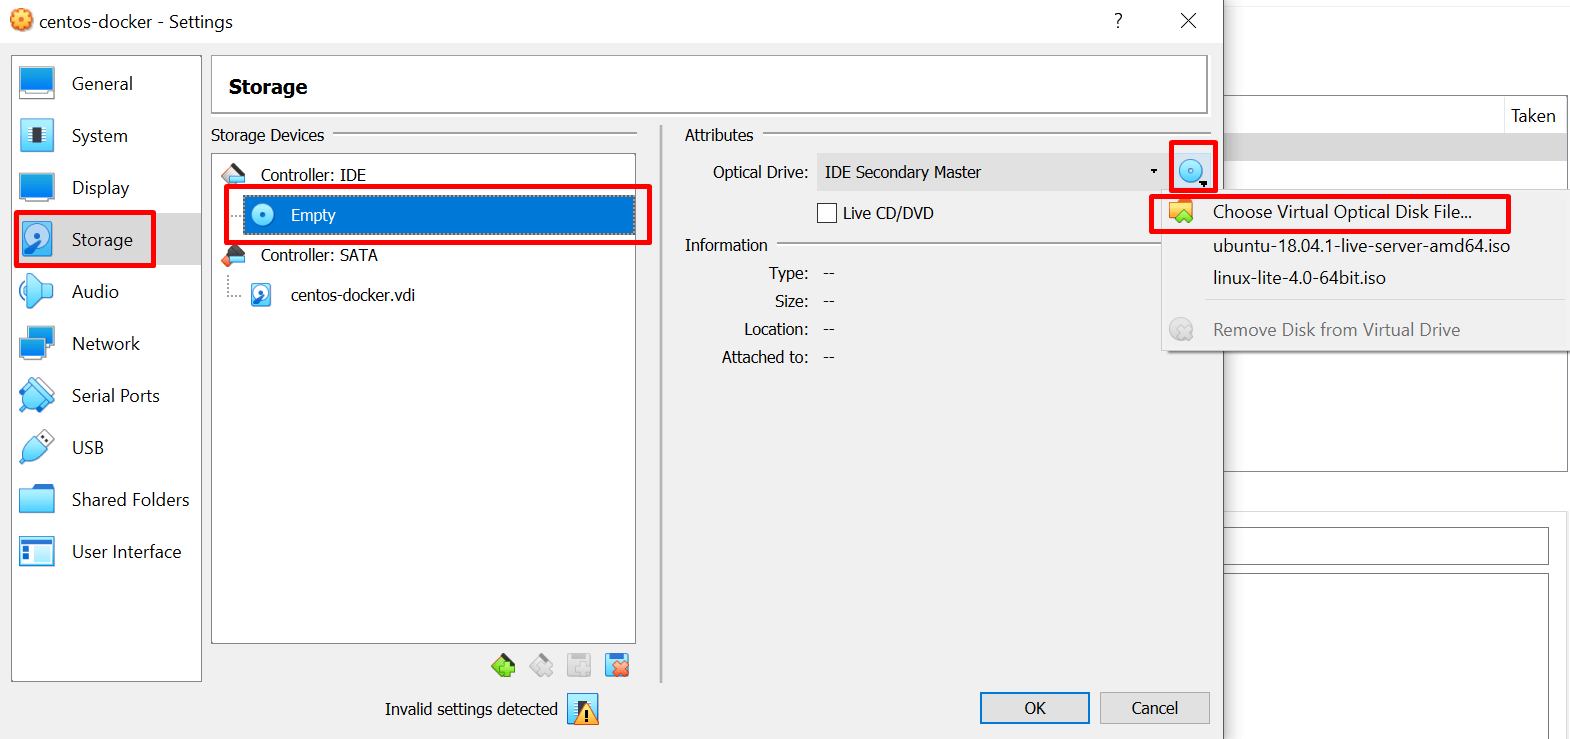
Step 10: It is time to attach our previously downloaded “centOS ISO” file to out virtual machine, so to do that do as shown in the picture.
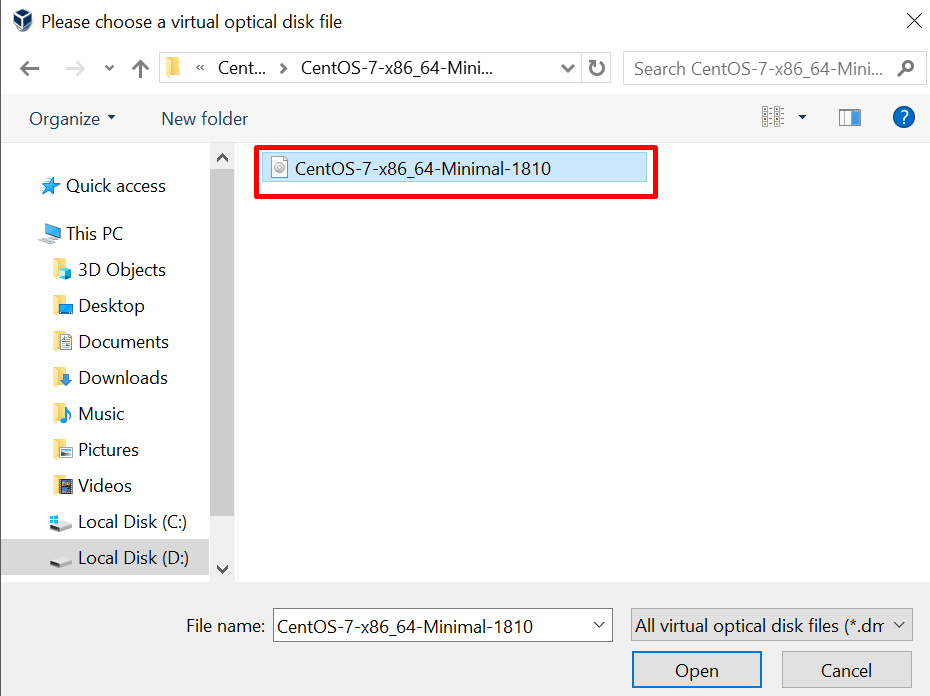
Step 11: In order to attach the “ISO file“, navigate through your system where you have saved it.
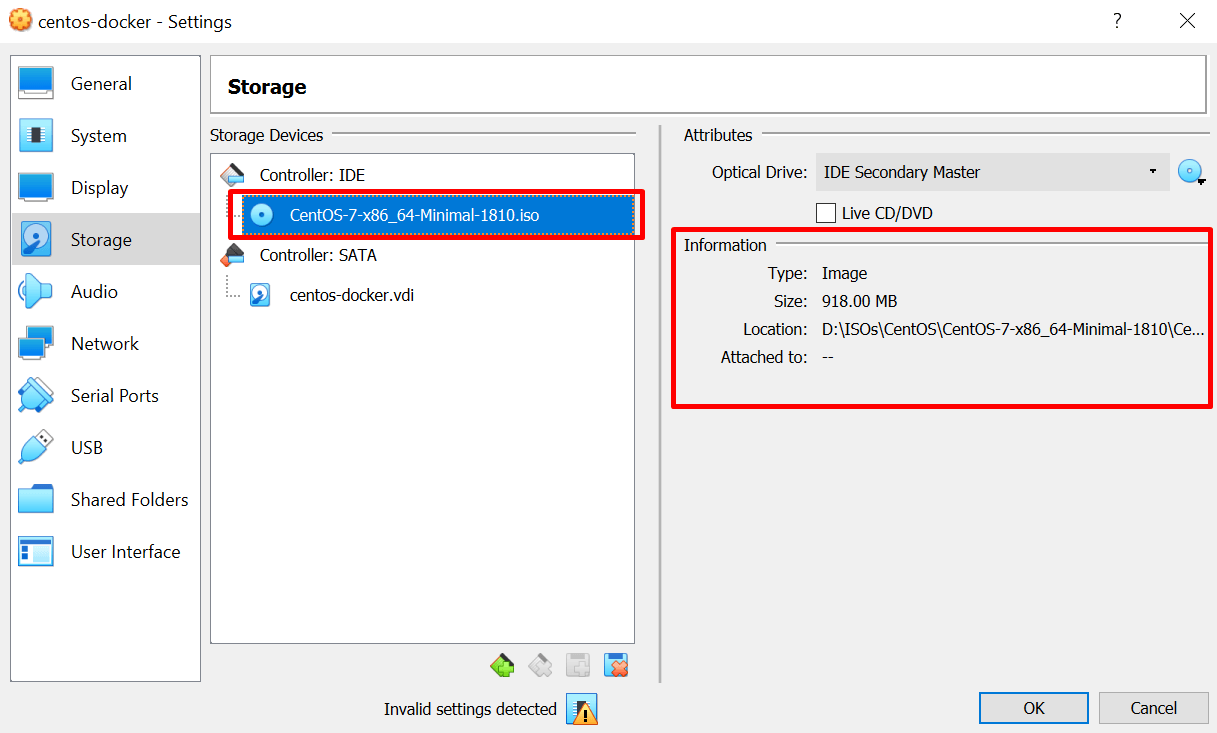
Step 12: After attaching the file, you will be seeing something like shown in the picture.
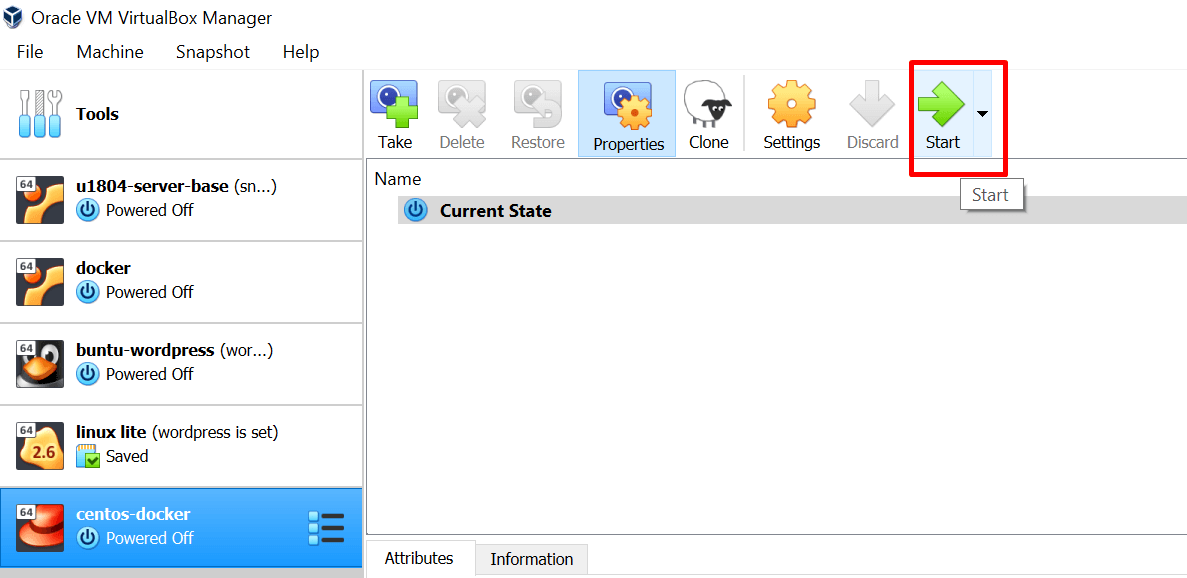
Step 13: To switch on your virtual machine, you need to click the “start button“.
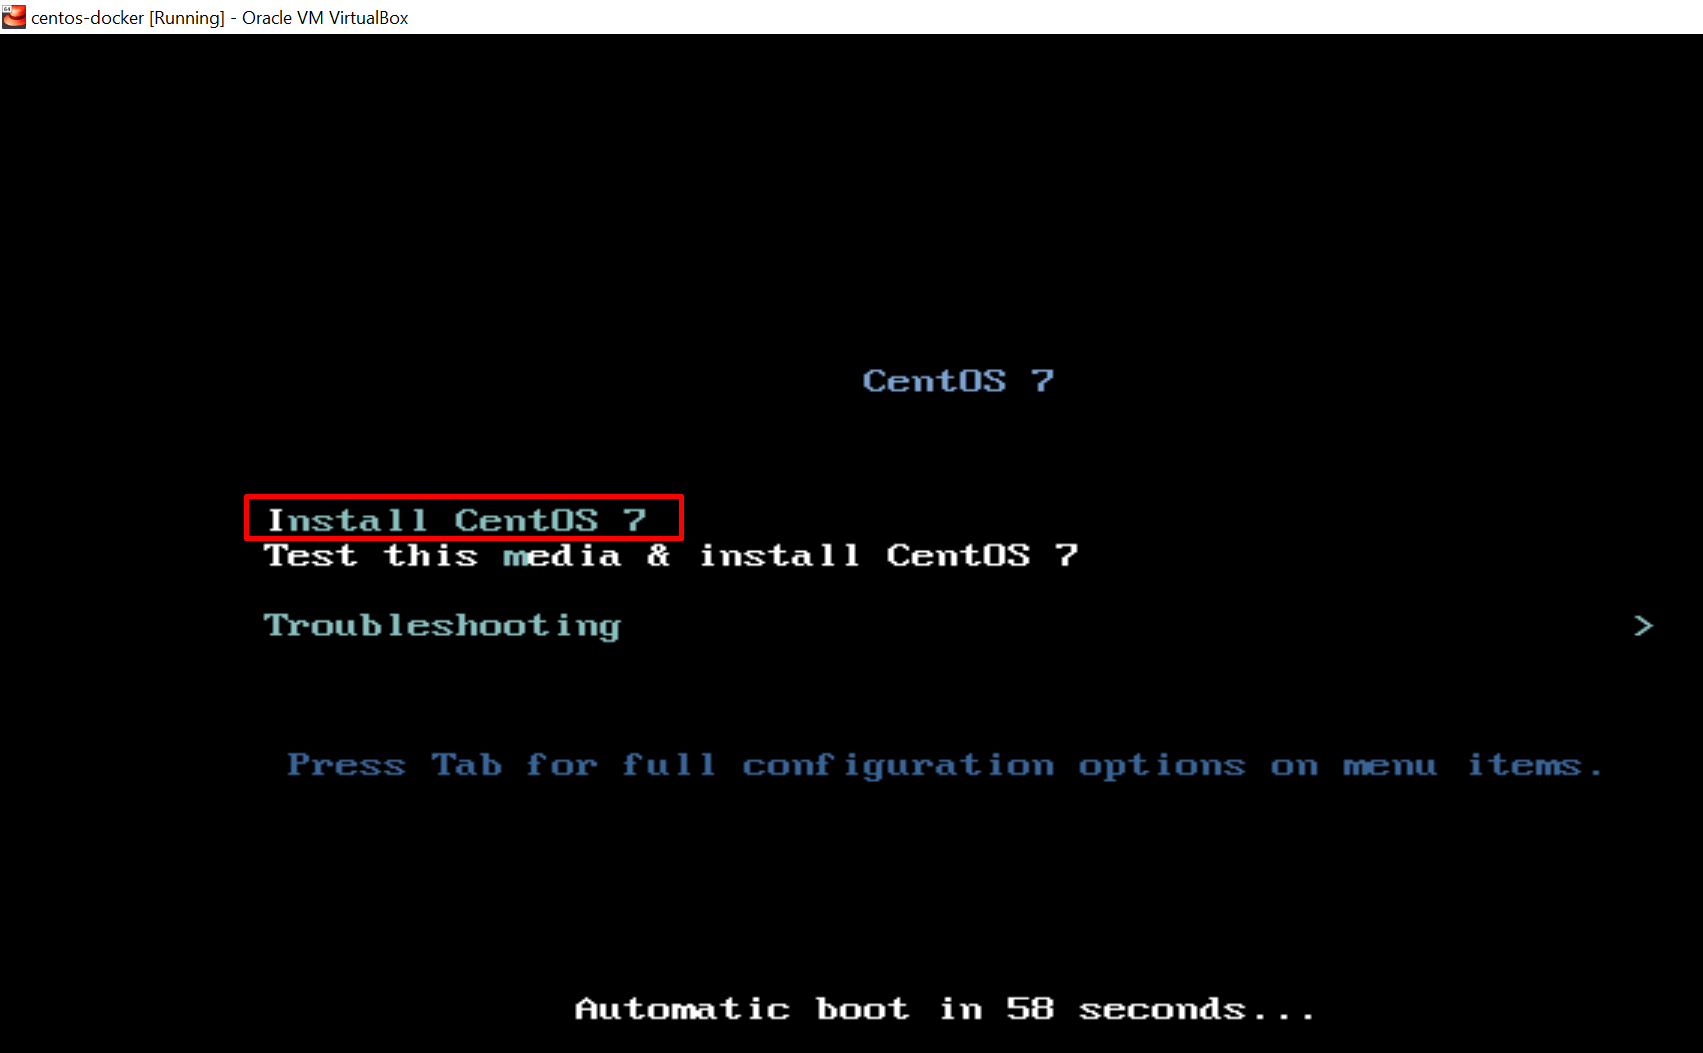
Step 14: After that, below shown is the “first screen” to you, and from there you need to select the “Install CentOS 7” option, in order to start the installation procedure.
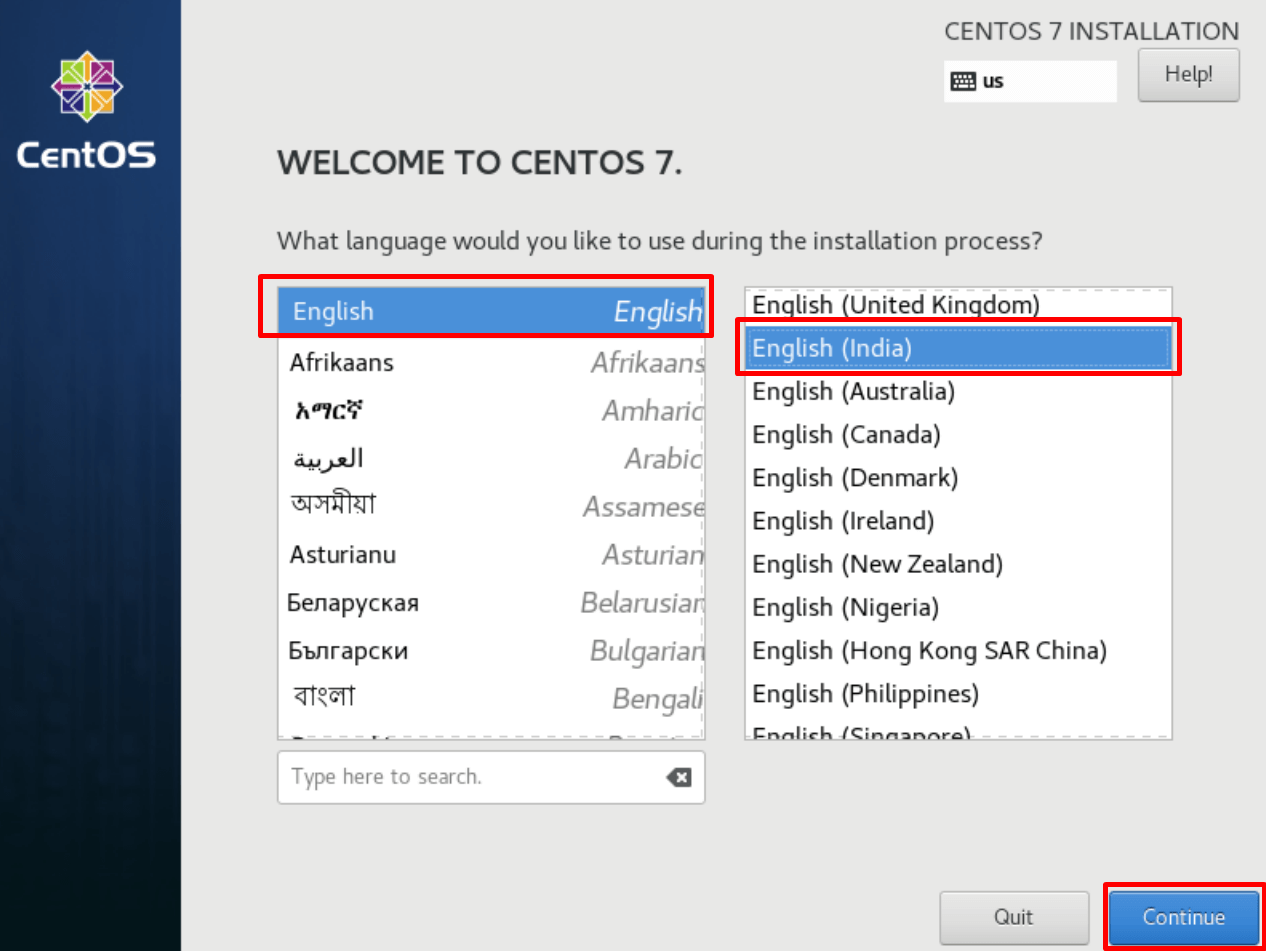
Step 15: Now, it is time to select the “language” and “region“, we have selected as per our requirements, you should select as per yours.
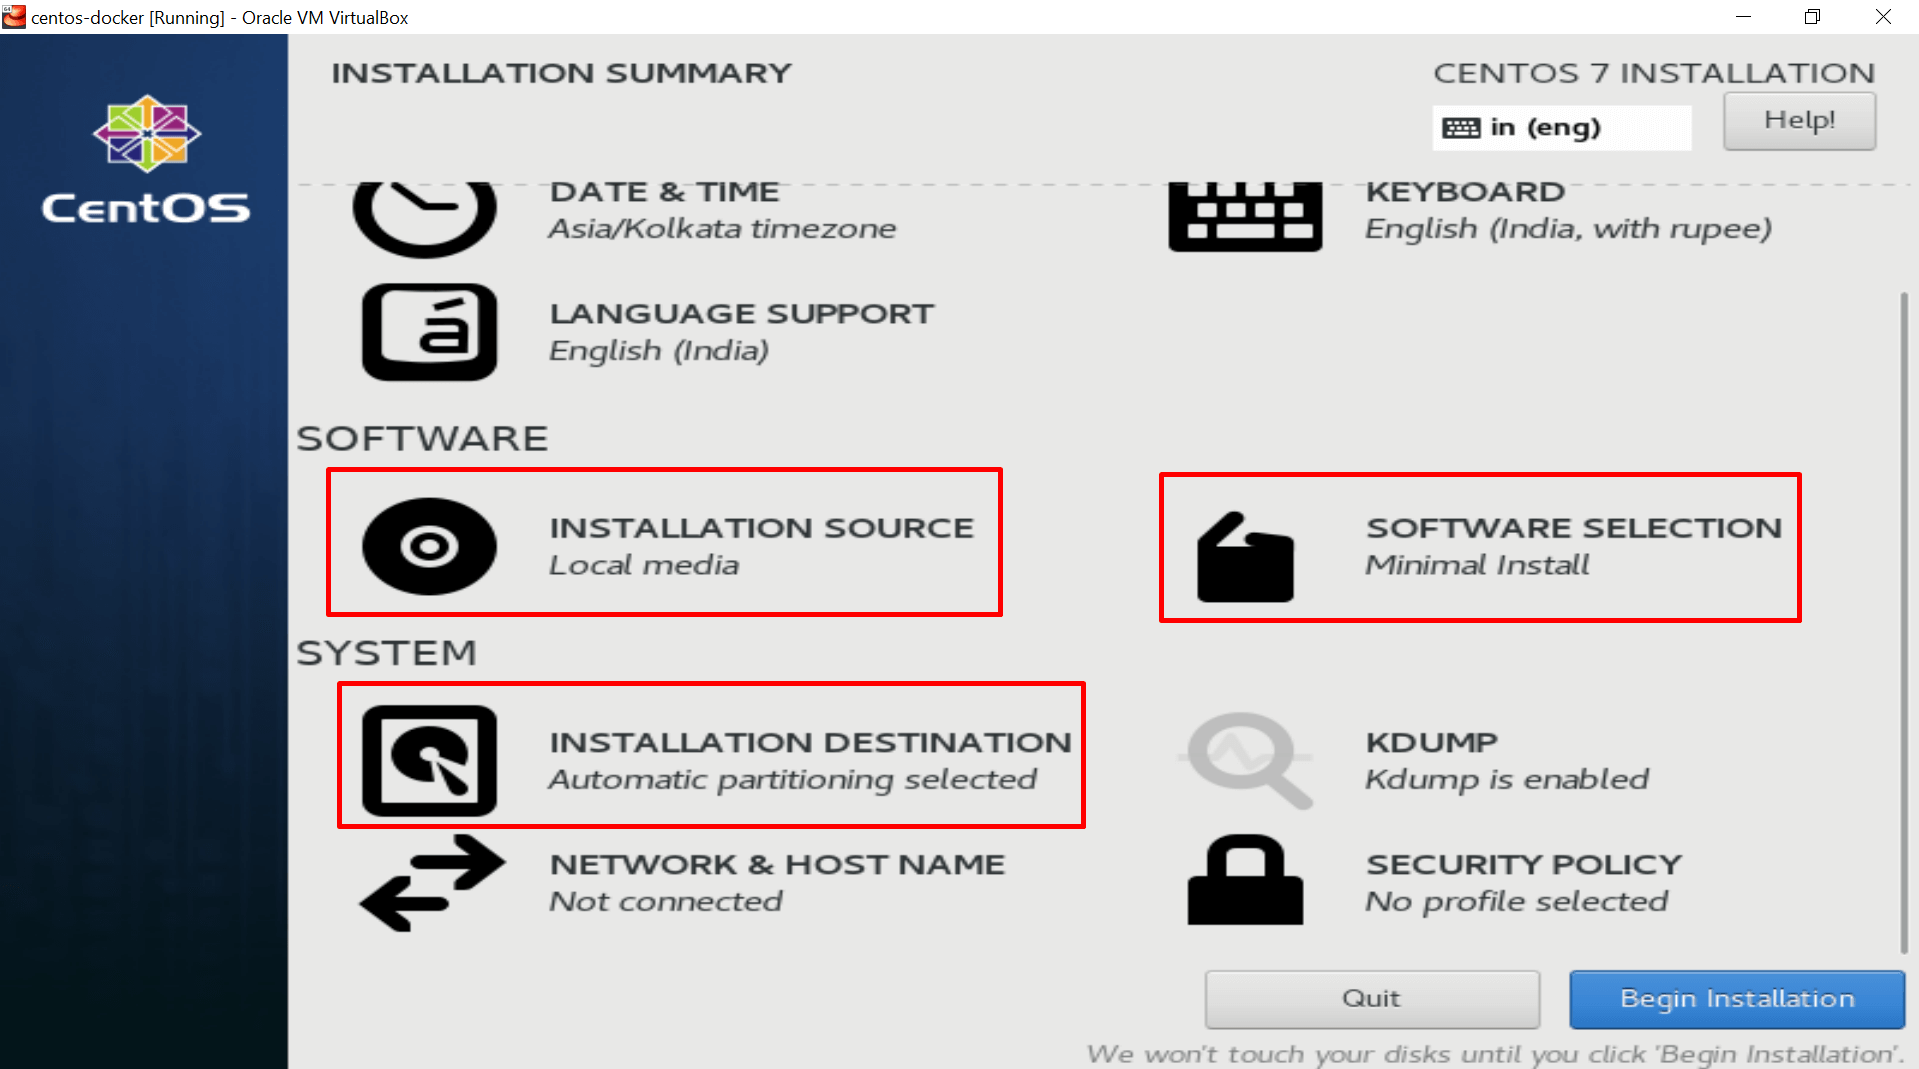
Step 16: There are several things/options which needs to be set in order to process further, “installation source = local media“, “software selection = minimal install” and “installation destination = automatic partitioning“.
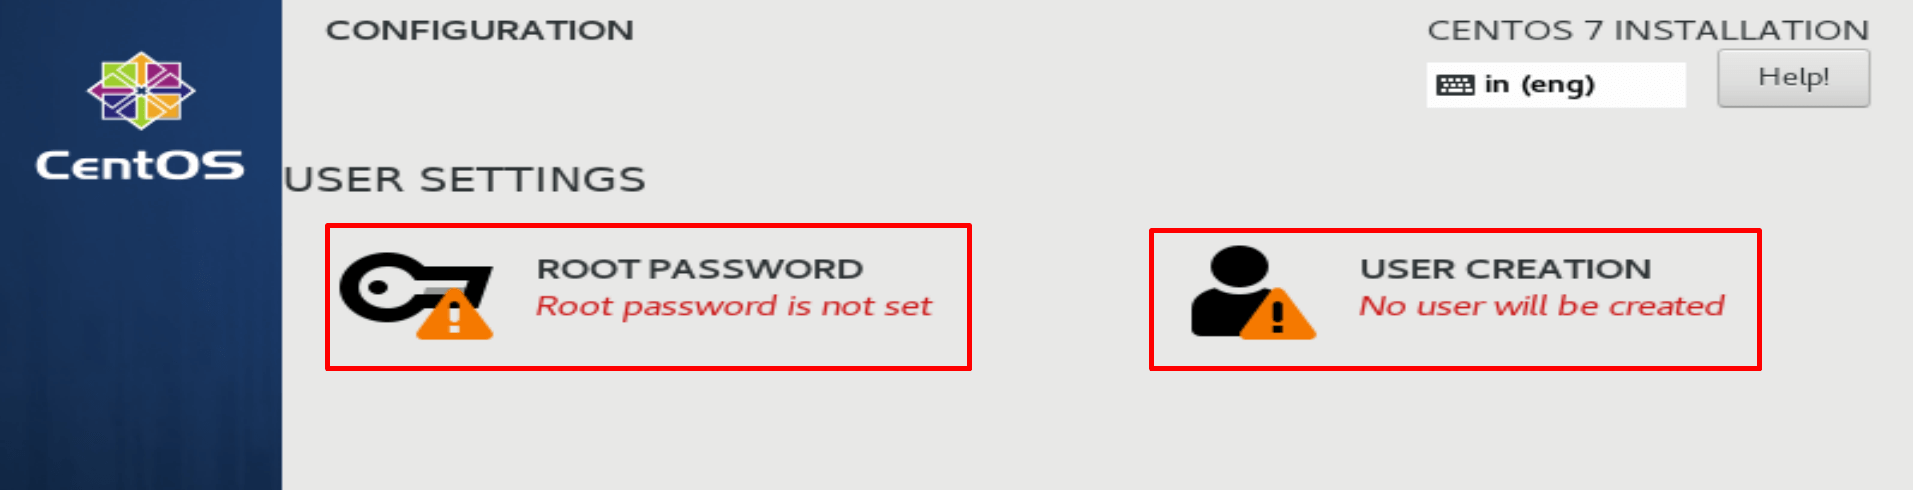
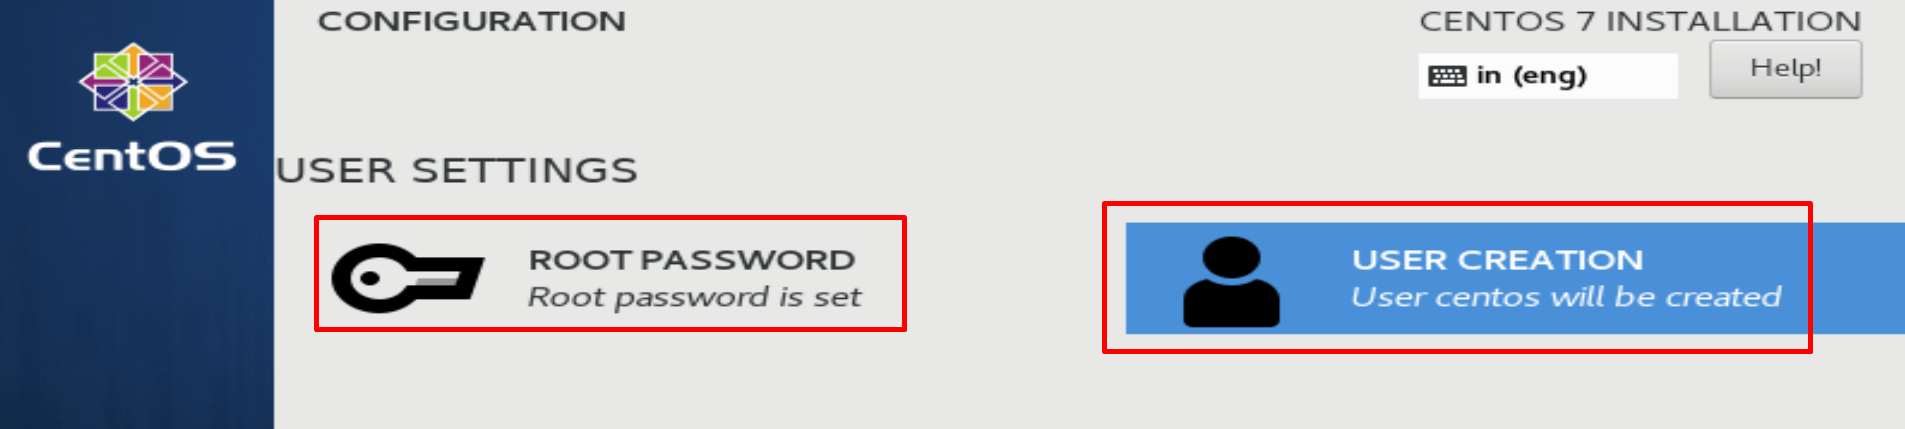
Step 17: Your CentOS installation must be in progress till now, and there are two more options which need to set, “root password = set-a-secure-password” and “user creation = any-name-of-your-choice“.
Step 18: After setting both, you will be seeing something like shown in the picture below.
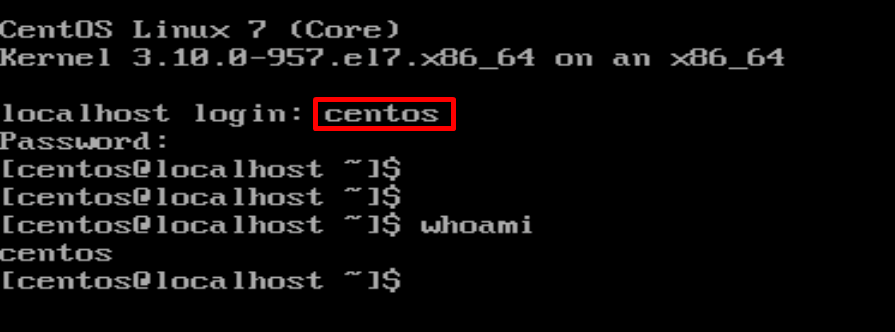
Step 19: You must wait a few minutes, and after that you will see something like shown below, and congratulations your centOS installation has been completed successfully.

Step 20: It is time to “log in” into our
RECOMMENDED
Another post on the topic: Understanding Tadalafil: A Comprehensive Guide