Table of Contents
Whenever to try something new or try to find a solution to a problem. In the end, we want that the solution should be easy to implement or easy to deploy with a sweet of using only “one click“. Today, we are going to learn about “BootStrap Scripts With EC2 Instance”.
Question: What are bootstrap scripts on aws?
Answer: We are taking EC2 as the context for scripts. When we want to implement something without even logging in into an EC2 Instance, then bootstrap scripts can be used in order to achieve that.
Goal -> Set-up an Nginx web server without logging in into EC2 Instance using bootstrap scripts
Create an EC2 Instance
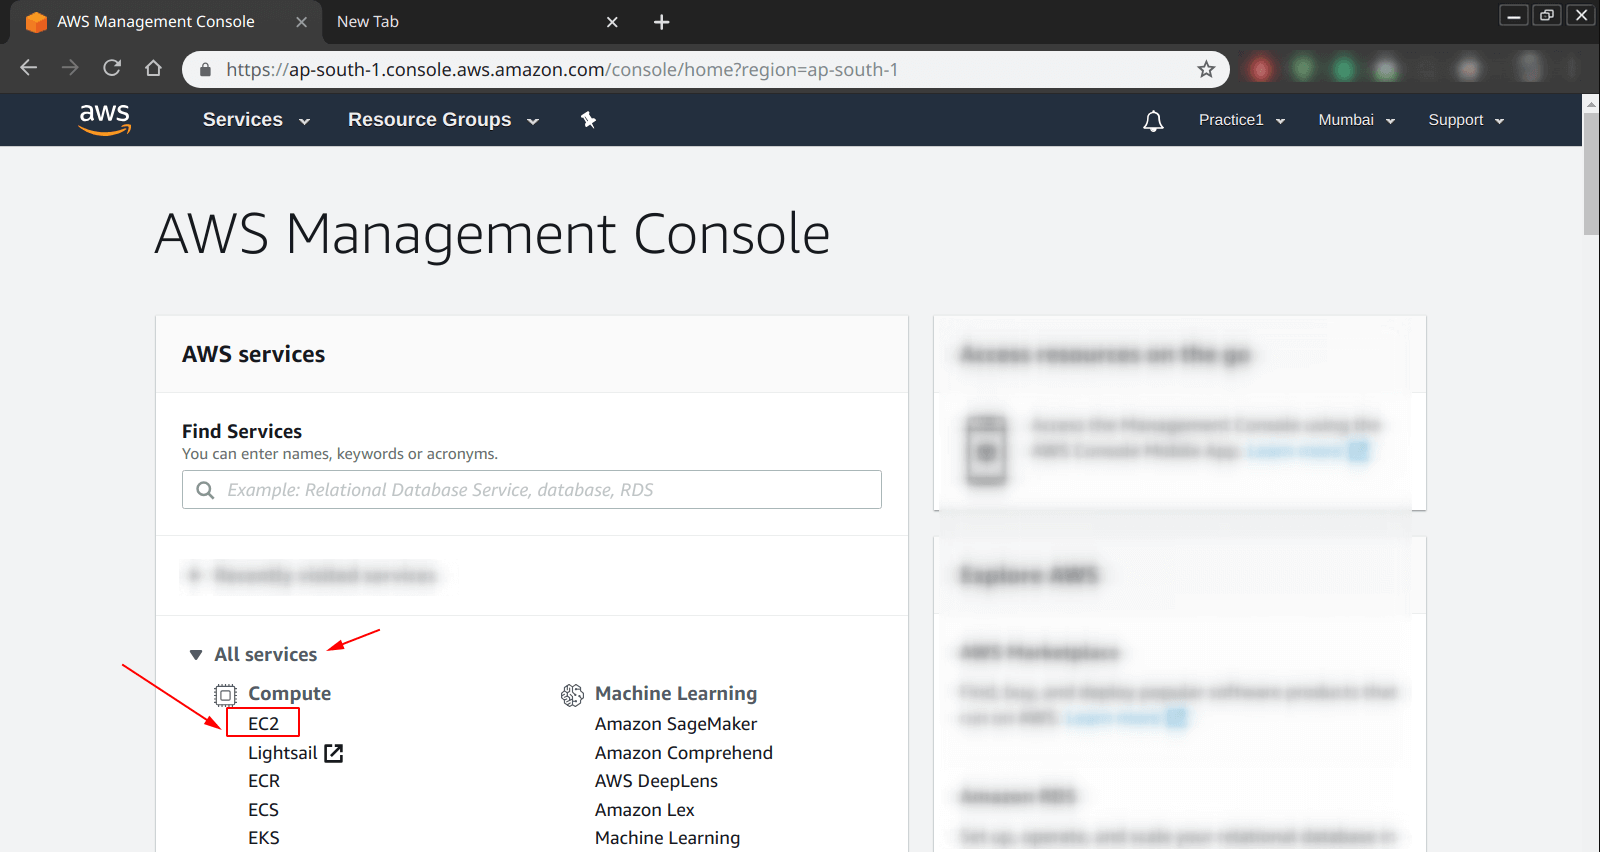
Select the EC2 Service from the AWS dashboard, as shown below.
To learn more about EC2 instance creation, follow -> Create an instance on AWS (complete guide)
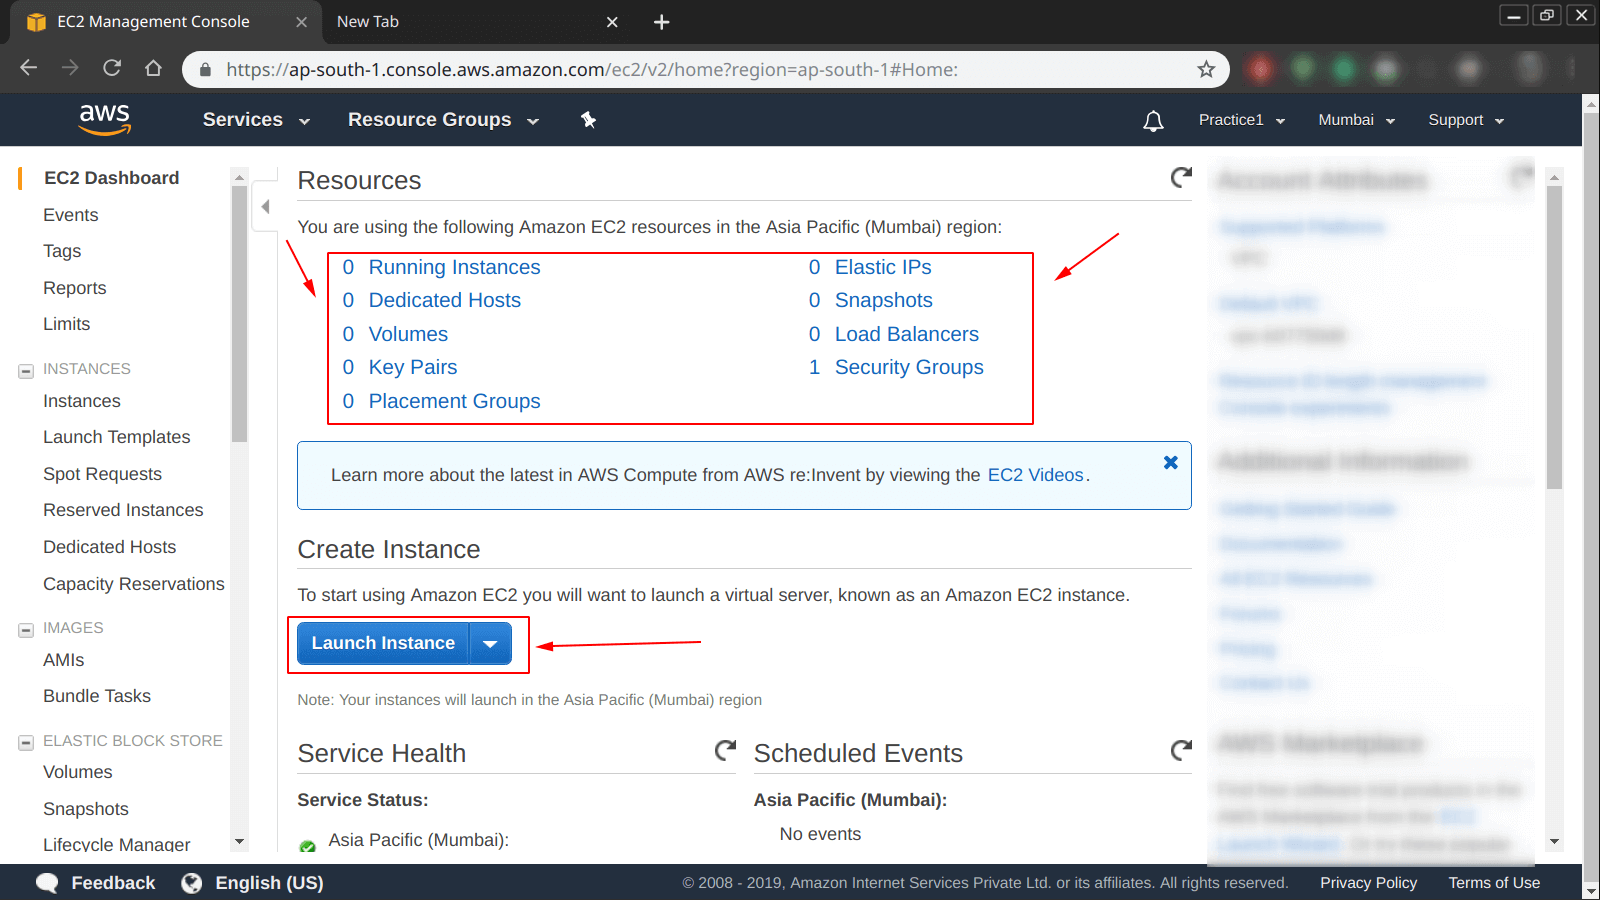
Launch Instance
After that, click on the “Launch Instance” icon in order to start the instance creation process.
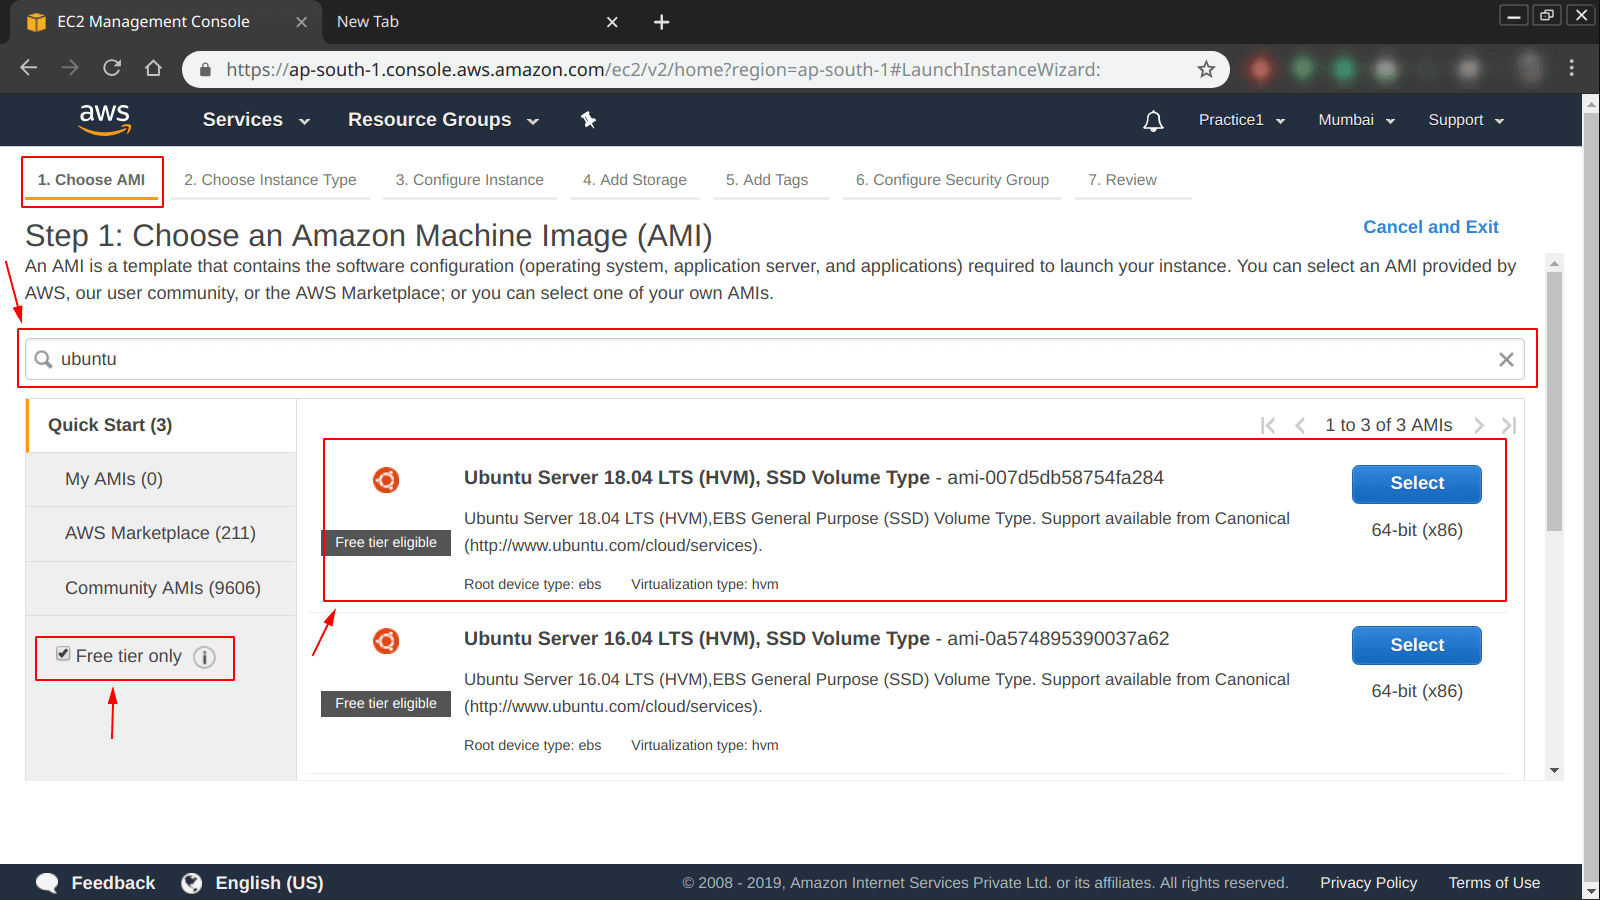
Select an AMI (Amazon Machine Image)
In our case, we are going to select “Ubuntu Server 18.04 LTS“, for reference check below.
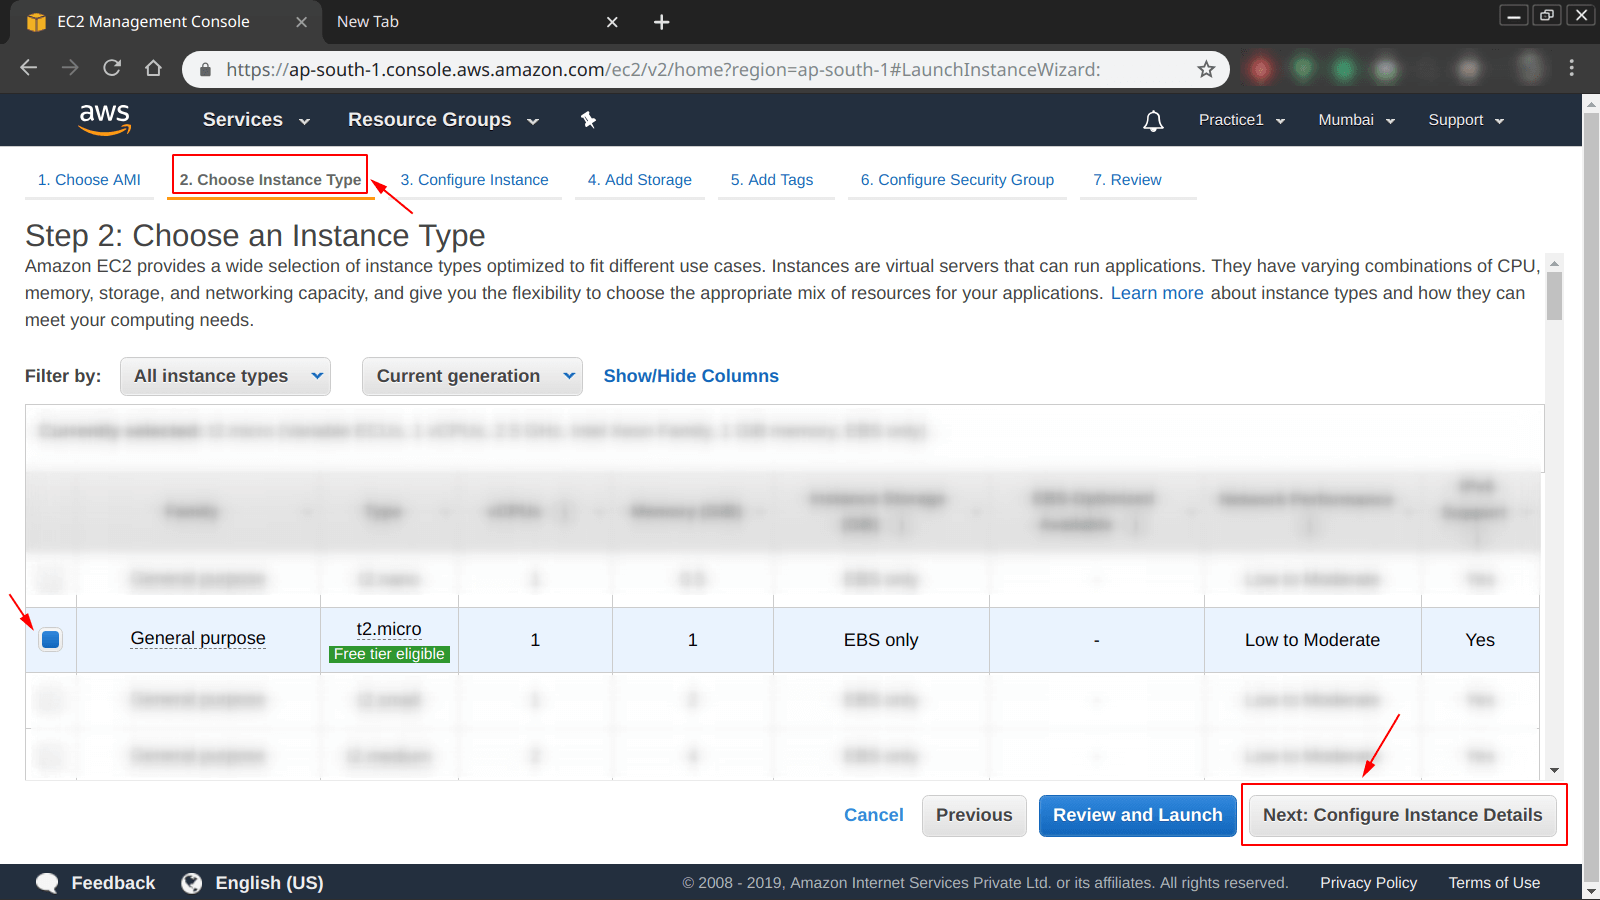
Choose Instance Type
As we are only doing this for learning purposes, we have selected the “t2.micro” instance.
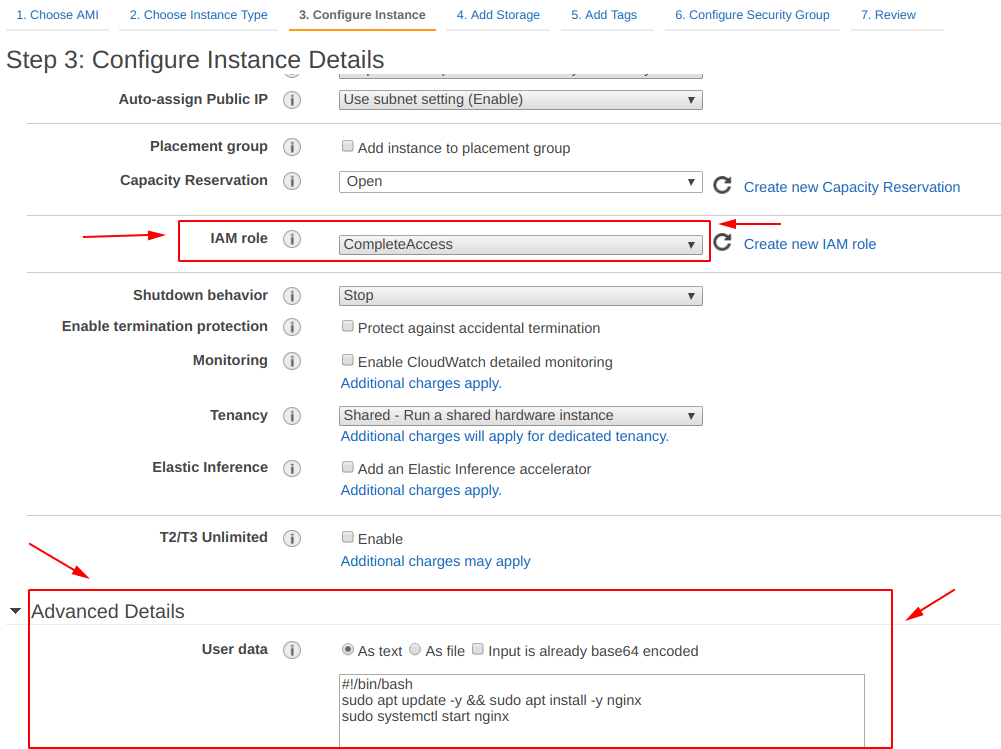
Configure Instance – BootStrap Scripts
Note: We have specified the “IAM role = CompleteAccess“, which we have created in this post -> “Set-up EC2 with IAM roles“. Read this, before proceeding further.
Also, inside the “Advanced Details“, we have specified the user data for “As text” with the following details:
1 -> #!/bin/bash
2 -> sudo apt update -y && sudo apt install -y nginx
3 -> sudo systemctl start nginx
The “Line 1” is simply saying that make this script to be run as “bash script” instead of as a normal file.
whereas “Line 2” is specifying that “update” the system repository with the latest packages and install the Nginx web server.
Further “Line 3” is stating that “START” the “Nginx” web server.
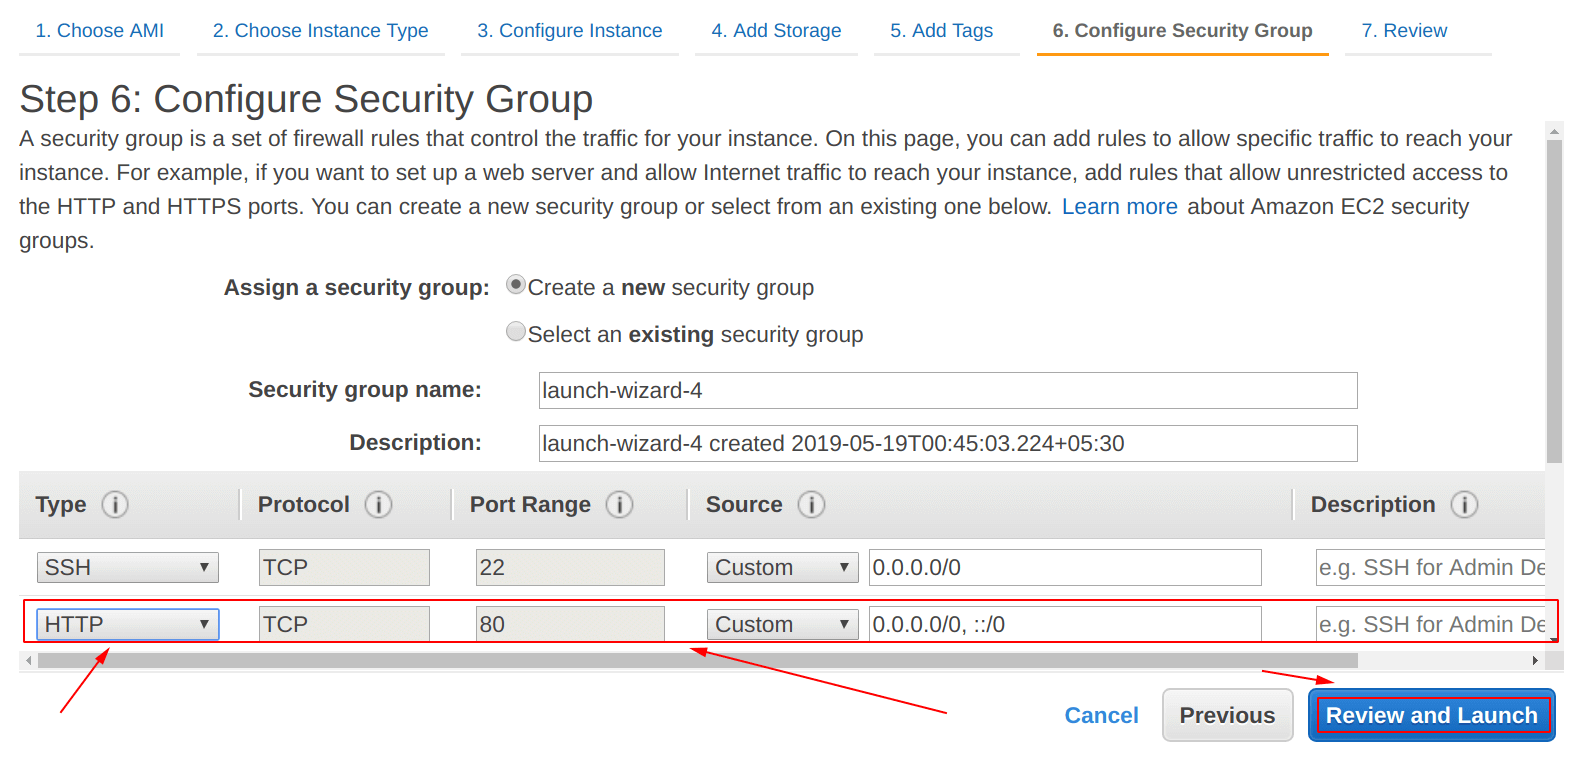
Configure Security Group
The “bootstrap” script for running an “Nginx Web Server” it requires a “port = 80” to be opened in order to deliver the content.
So, we have to add an “inbound rule” to our “launch-wizard-4” security group, for reference check the screenshot below.
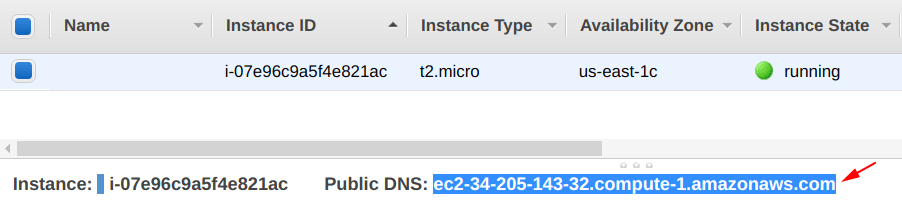
Access the “Nginx Web Server”
From the picture below, see the “Public DNS” has been highlighted. In order to access the “Web Server” running inside the EC2 Instance, we have just created, copy and paste this link inside the browser’s URL tab, to access it.
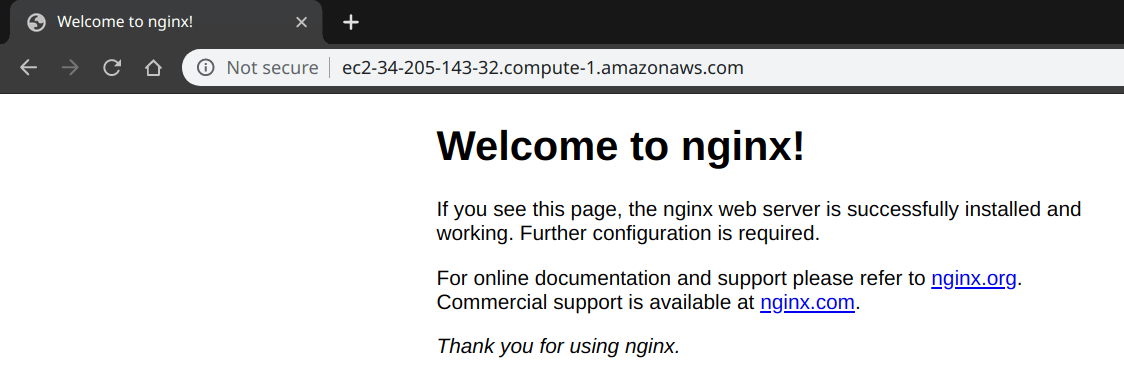
Result – BootStrap Scripts
As a result, it can be seen from the picture below, the “bootstrap” script has been successfully executed and deployed an “Nginx Web Server“.
The web page is showing “Welcome to nginx!“.