Web servers are basically what the internet is comprised of, so in today’s post we will be learning “set-up an Apache2 web server“.
Before going further, make sure you know how to create an instance by checking out the following -> “Create an EC2 instance“.
Note: You have to carefully follow the upcoming steps, in order to get the expected result.
Step 1: Login into our EC2 instance.
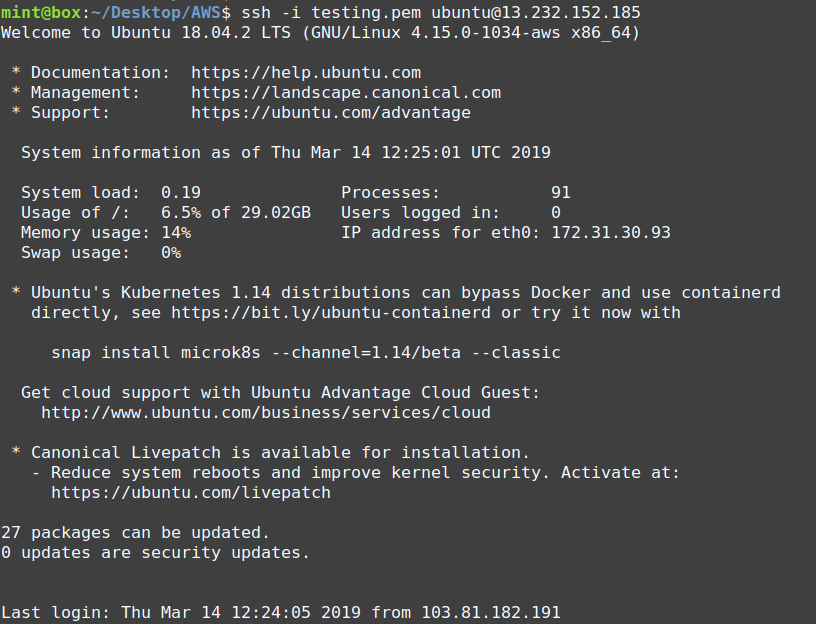
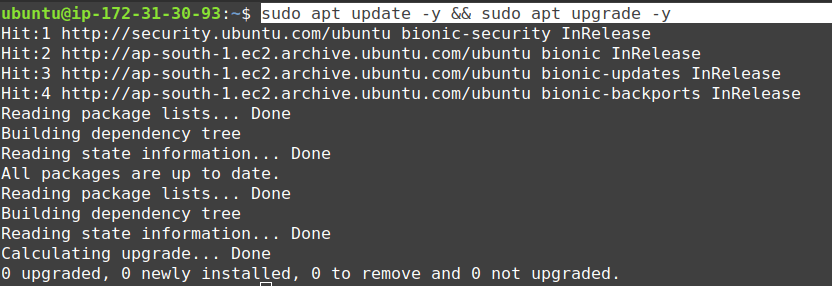
Step 2: Update the repositories and upgrade your Ubuntu 18.04 EC2 instance.
Step 3: Installing Apache2 web server on our Ubuntu 18.04 EC2 instance.

Step 4: Checking whether we are able to access our web server by entering the IP address of our Ubuntu 18.04 EC2 instance into the URL bar of any web browser.
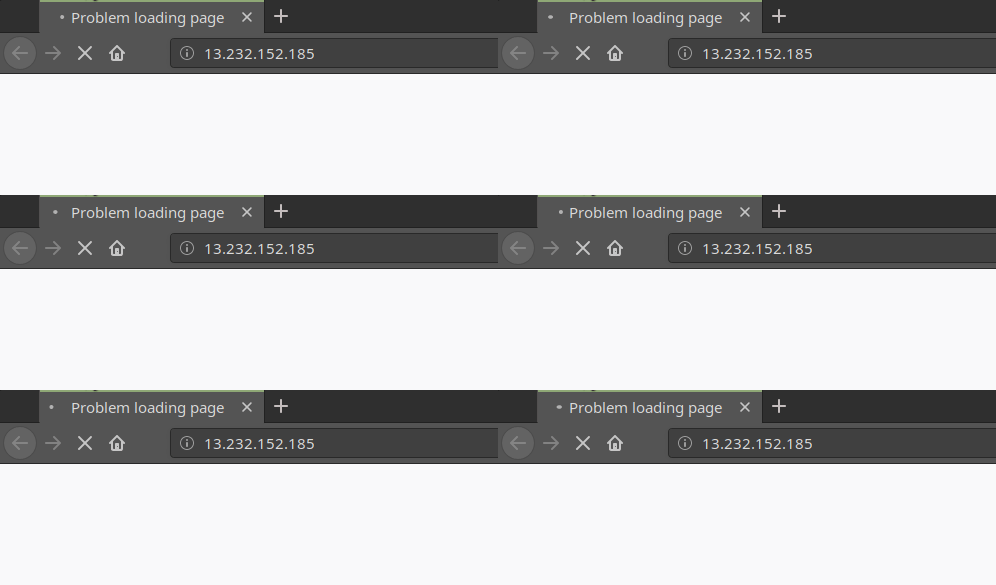
Note: From above, the browser is showing “Problem Loading Page” in Apache2 web server.
Question: Why is it not showing the default page?
Answer: We have to further check other aspects about our instance:
- Whether the “apache2.service” is running or not.
- Do we have “Port 80” which is “Http Port” open or not by looking through our security group’s inbound rules.
To do so, follow the forthcoming steps.
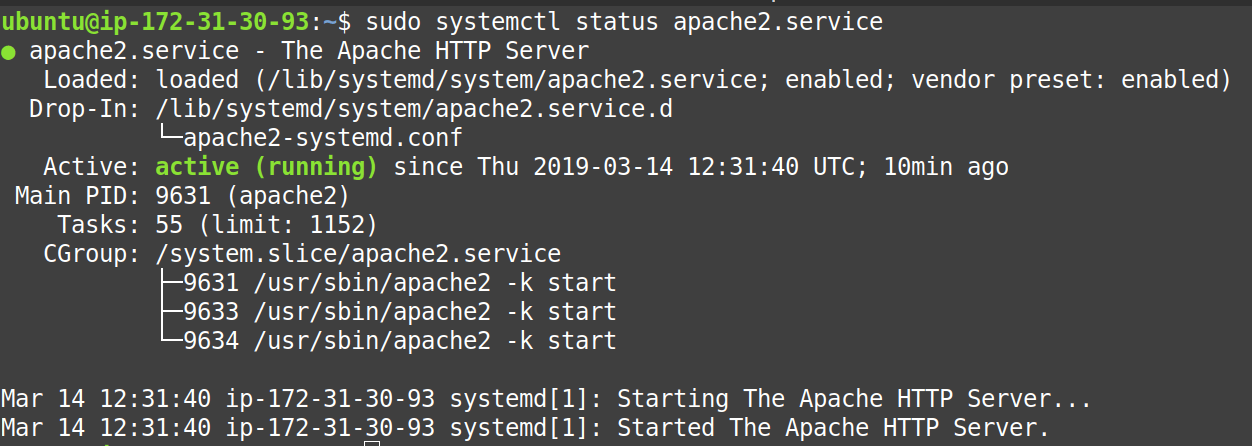
Step 5: From the command below, we can see that the “apache2.service” is “active (running)“.
From here, we can see that the server is running as a service in on our Ubuntu 18.04 EC2 instance. We have to look further for the “port related problems“.
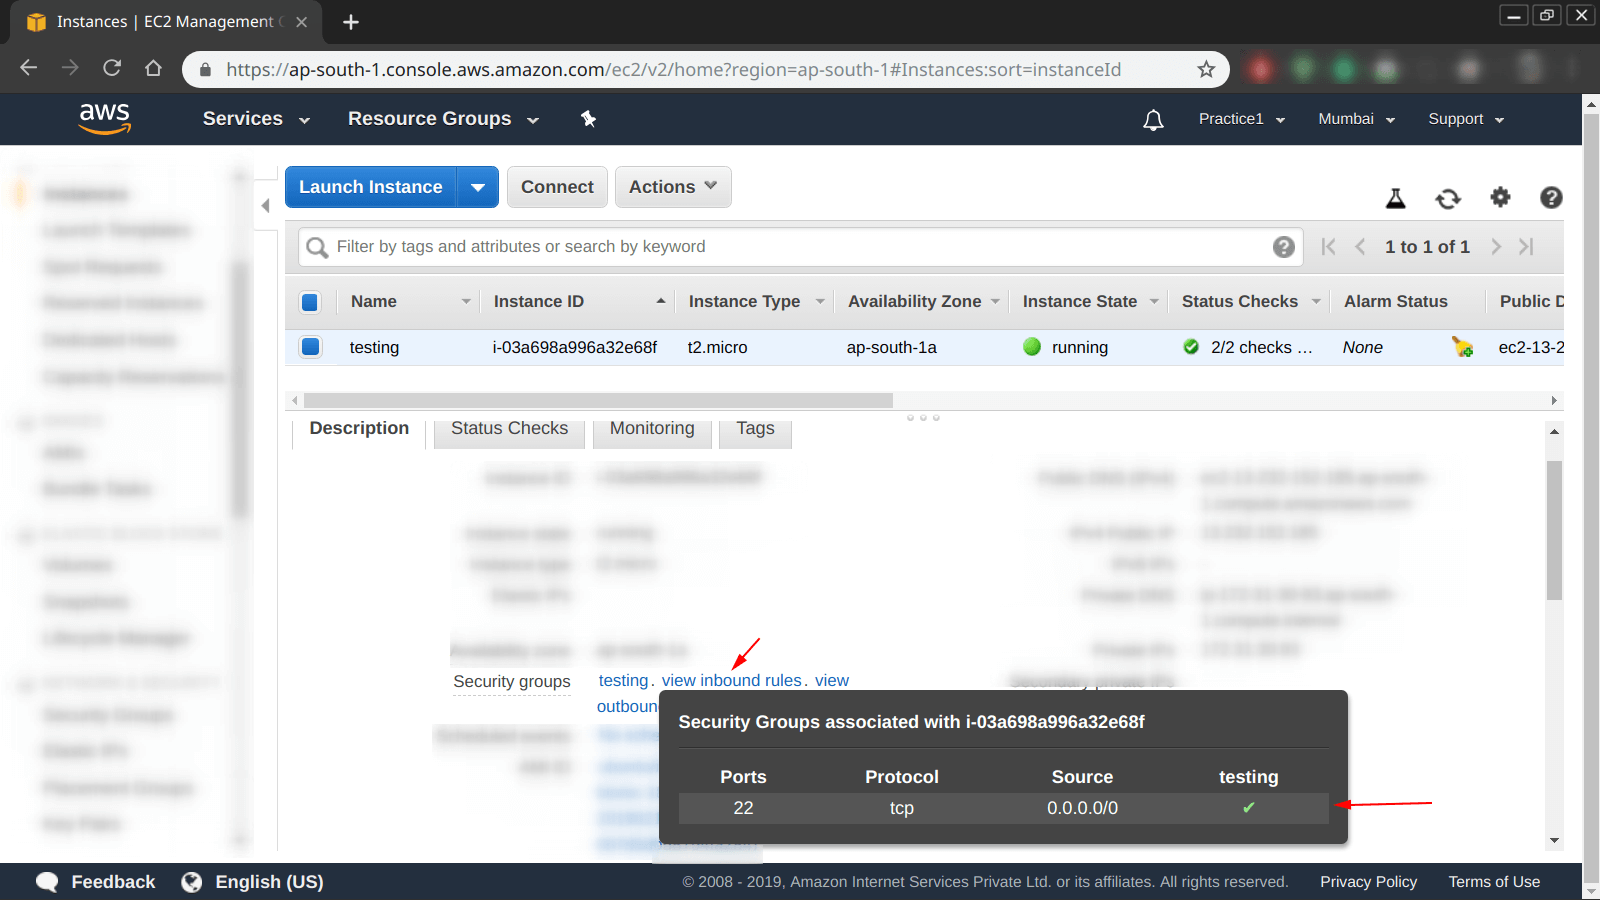
Step 6: Checking the inbound rules from the EC2 dashboard, from below we can see that only the “PORT 22” is open, which is only for “SSH“.
Note: This means that we have to open port for “HTTP = Port 80” by adding an inbound rule to our Ubuntu 18.04 EC2 instance.
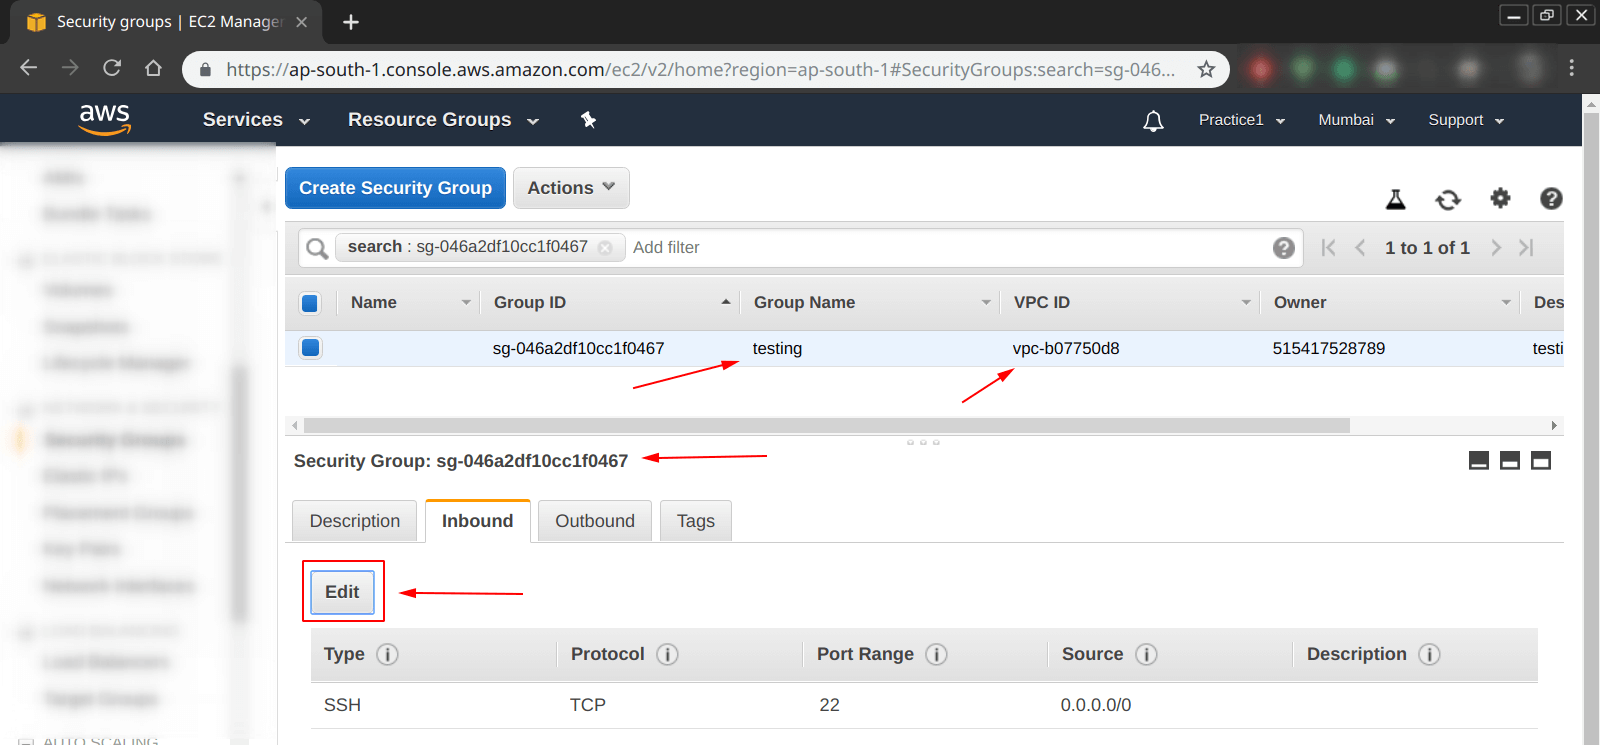
Step 7: Go to “Security Groups” in the EC2 dashboard and click on the “testing” which is the security group we want to edit inbound rules of, simply follow as shown in the picture below.

Step 8: From the photo below, we can see that now we access to our “Security Group = testing“. Click on the “Edit” button in order to edit inbound rules.
Step 9: Shown in the screenshot below, we have added the “HTTP Port = 80” to our inbound rules rules of “testing” security.

Now, it is time to check again by accessing our web server.
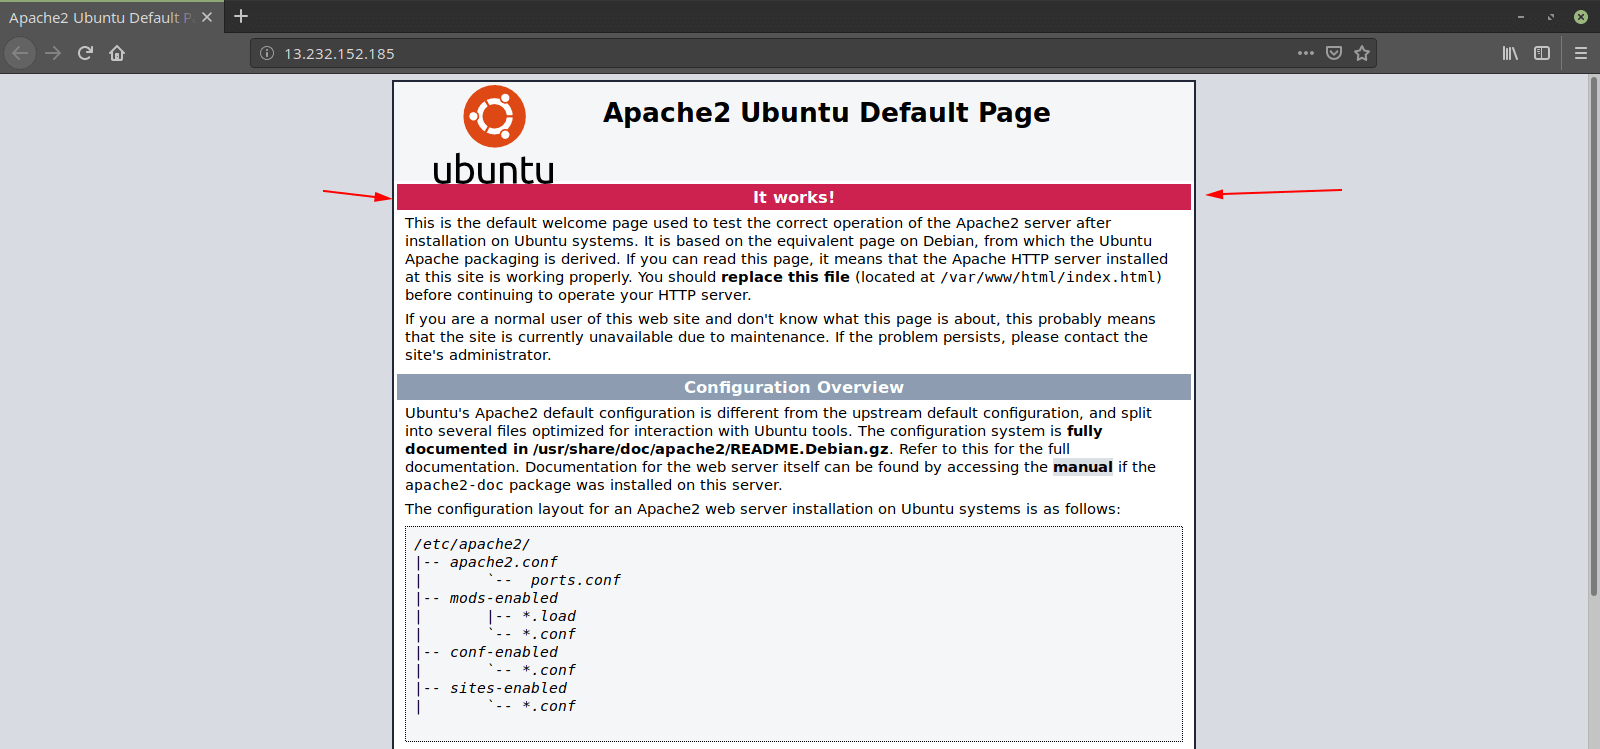
Step 10: Access web server again by entering the IP address in the URL bar.
From the photo shown below, we can confirm that our web server is working and is accessible from the web browser as well.
Related topic: Understanding Tadalafil: A Comprehensive Guide
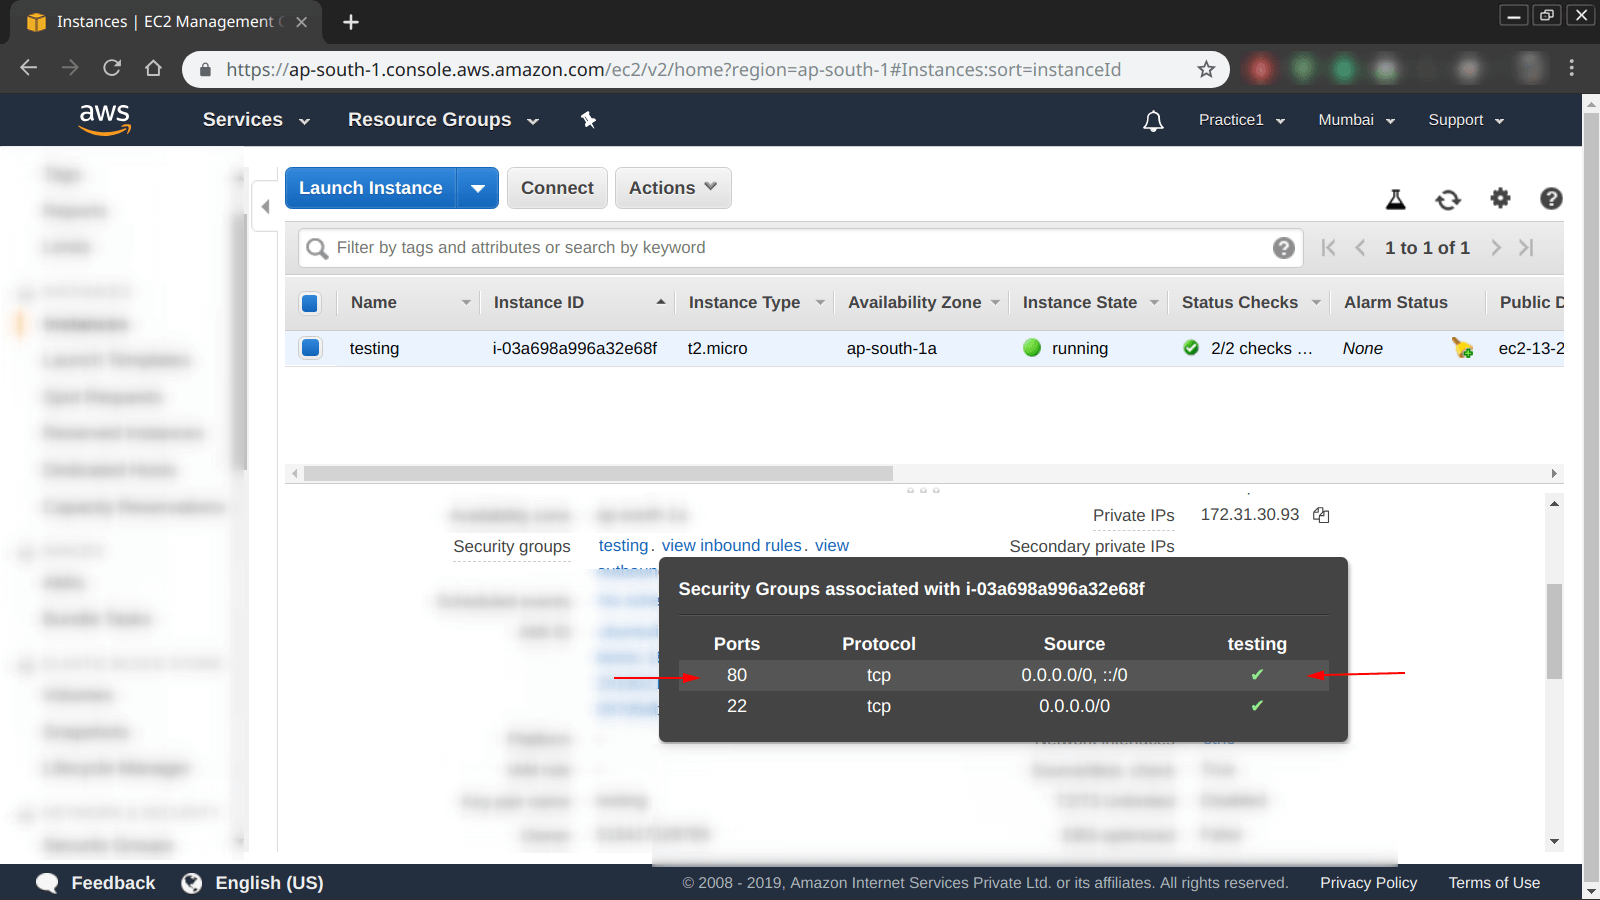
Step 11: For further clarity, check again the “Inbound Rules” from EC2 dashboard, now as shown in the picture below, it is showing the previously added rule, which is “80/tcp” port for HTTP traffic.
