As we have learned in our previous post, “how to create an ec2 instance” but we haven’t learned “how to login into it”. In this post, we are going to learn how to “login into ec2 instance”.
Note: Make sure you should follow each and every step very carefully.
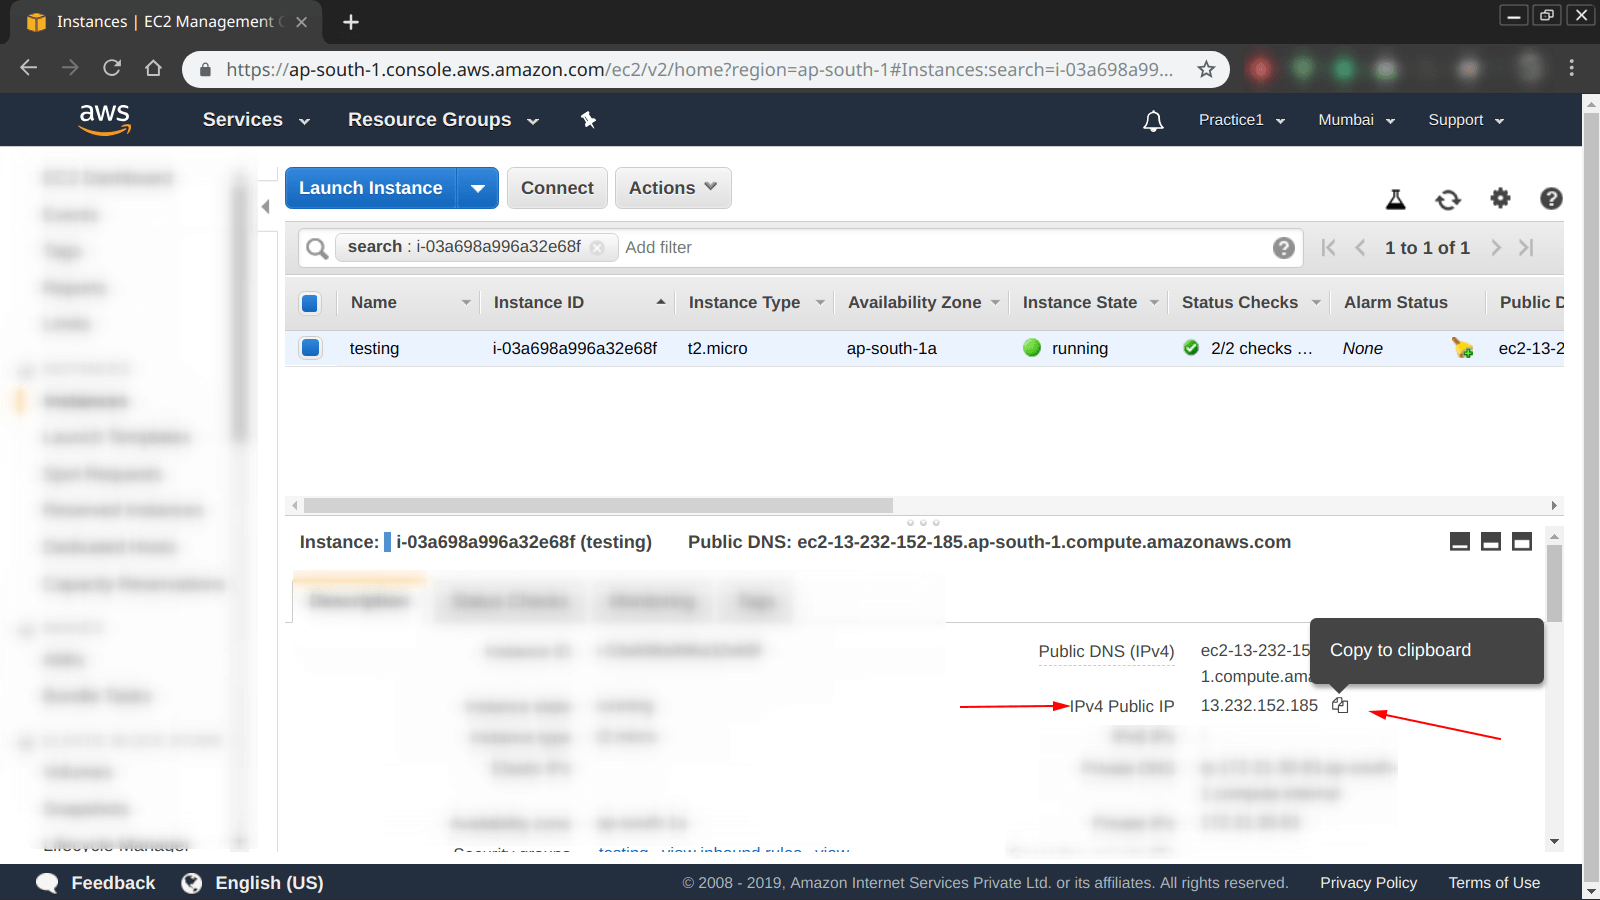
Step 1: First step first, copying the IP address of our ec2 instance which we have created in the previous post. You will see something like shown in the picture below and copy the IP address from you AWS dashboard.
Note: The IP address is surely going to be different in your case, please make a note of it.

Step 2: This is important because if you haven’t installed any “SSH client” on your machine, you will not able to follow the upcoming steps. Confirm the same by executing the following command shown in the photo below.
Note: In our case, we have “openssh-client” installed.

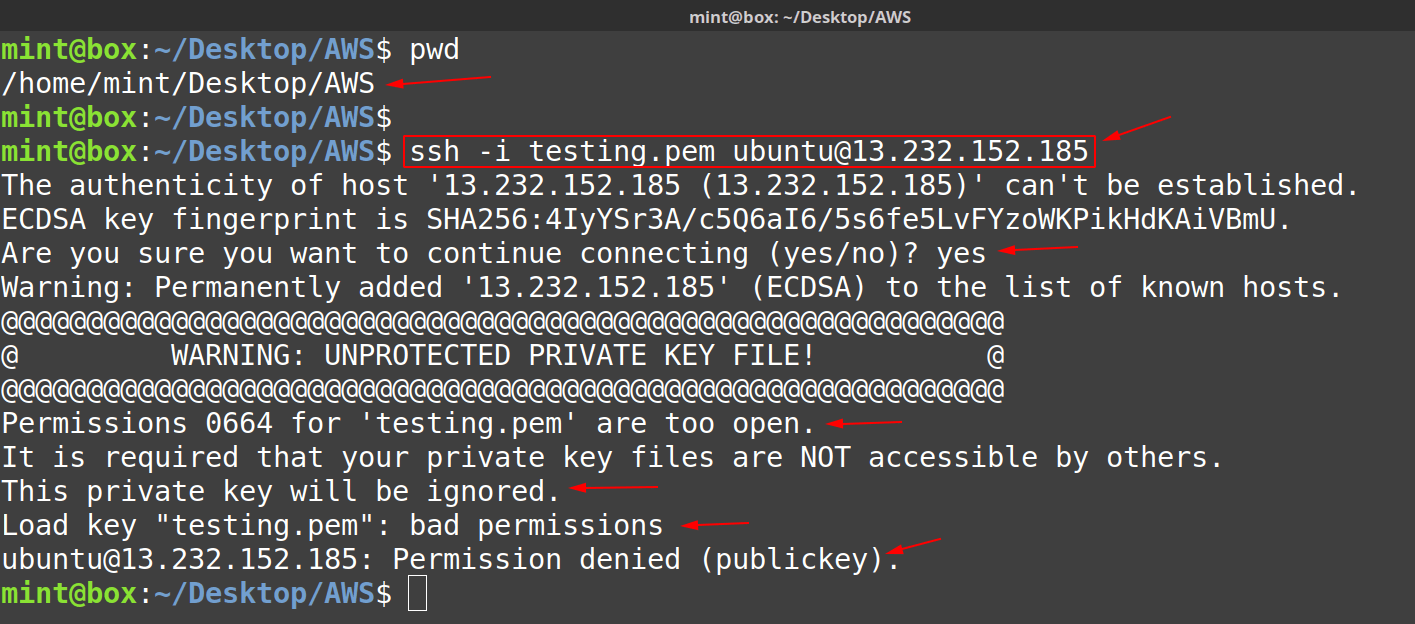
Step 3: Again important step, because by default when we have downloaded the “Private Key” from AWS’s dashboard, the permissions of the “P
Error: UNPROTECTED PRIVATE KEY FILE
Error: Permissions 0664 for 'xxxxxxxxx.pem' are too open
Error: This private key will be ignored
Error: Load key "xxxxxxxx.pem": bad permissions
Error: username@IP_Address: Permission denied (publickey)
In order to remove the errors, simply follow the upcoming steps.

Step 4: First of all, let us understand what actually bad permissions on a “Private key” means.
Check the current and default permissions on a “Private key“.
From the picture below we can see that the permissions are:
- – => this states that it is a file
rw – => this defines “read + write” permissions for the owner of the filerw – => this defines “read + write” permissions for the group of the file- r– => this defines “read” permissions for others
Question: What are the bad permissions from the above?
Answer: The file should only be having “r– — —” or “rw- — —“, but for this post only we have used the latter one.
r– — — = 400
rw- — — = 600
Question: 400 vs 600 permissions on a private key file?
Answer: 400 is more secure, as we will never going to have a case where we want to open the key and edit its contents, So best and more secure permissions are 400 i.e. the file should only be readable by the owner of the file.

Question: How to set the correct permissions on your “private key” file?
Answer: Simply change the permissions as shown below, using the “

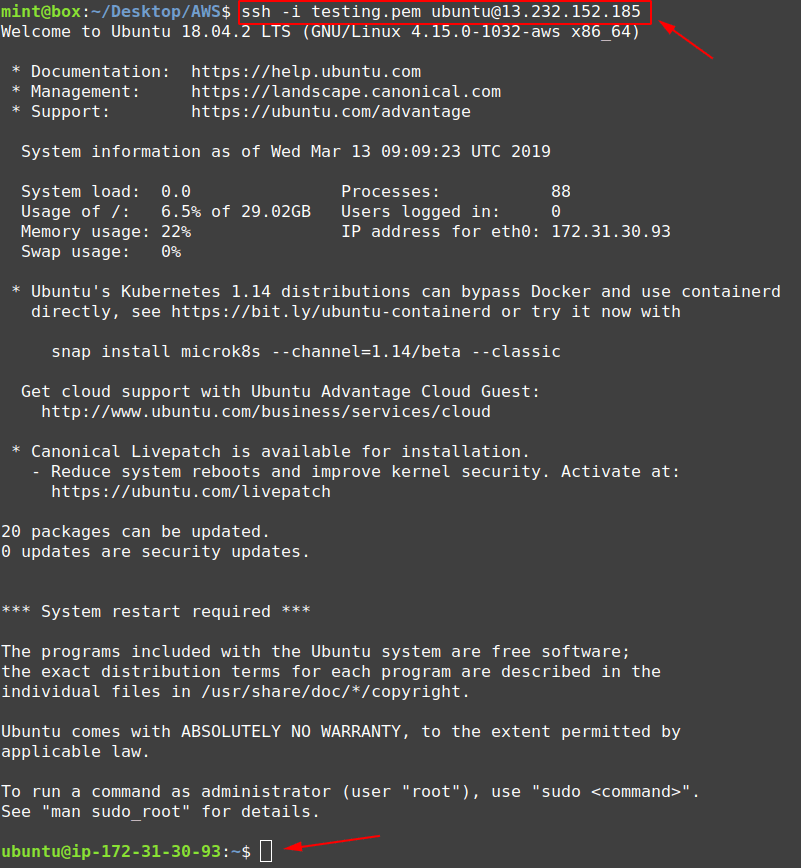
Step 5: Now that we have correct and secure permissions set on our “private key” it is time to “try again logging in“.
From the picture below, you can see that the prompt is changed:
"mint@box:~/Desktop/AWS$" - to -> "ubuntu@ip-172-31-30-93:~$"
Question: You might be thinking what is “
Answer: It is nothing but the private ip of our instance on the amazon’s servers.

Step 6: Time to logout from our EC2 instance.
Simply type “logout” or use the keyboard shortcut combination as “Ctrl + d“.

