Table of Contents
In the world of Linux, the users coming from other operating systems like “Windows” and “MacOS“, people usually start with “Linux Mint“. Also, it is getting better day by day and they have recently launched its latest version. So today we are going to take a look at “How To Install Linux Mint 19.2“.
Following is a step-by-step guide to installation, just follow along.
Step 1: Grab the Linux Mint 19.2 Tina ISO file
Go to “https://linuxmint.com/download.php“, you will be seeing a screen similar to the picture shown below.
From there, click on the “Linux Mint 19.2” menu icon.
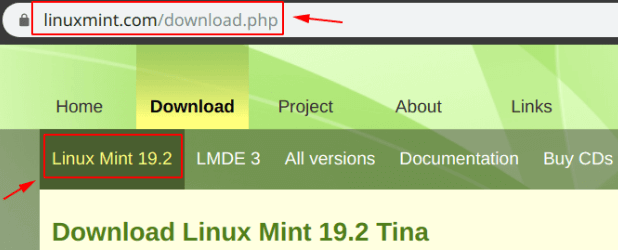
After that, you’ll be seeing various download options, as shown in the image below.
In our case, we are going to select the 64-bit Linux Mint 19.2 with Cinnamon as the desktop environment.

Step 2: Create a bootable USB
In order to create a bootable Linux Mint 19.2 USB, first of all, you have to download a software “ETCHER“.
Download from -> https://www.balena.io/etcher/
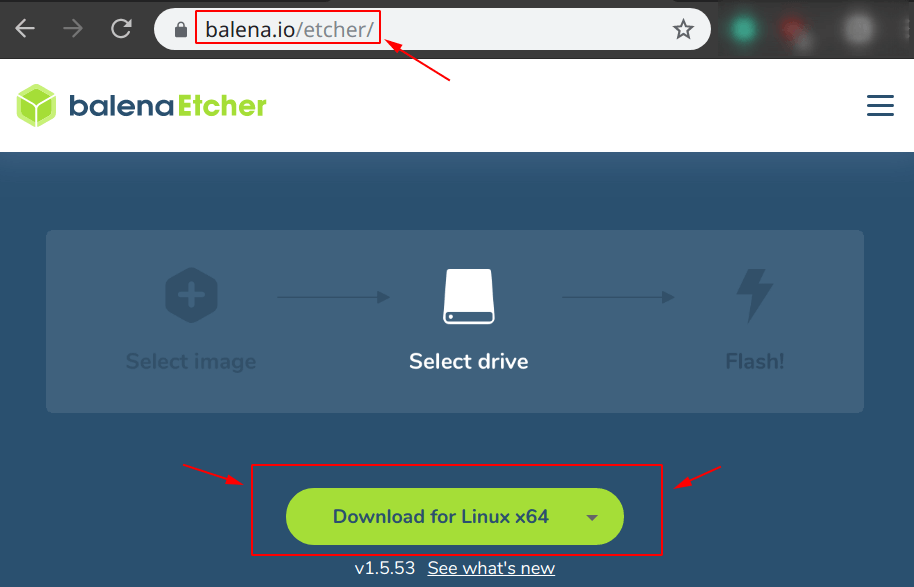
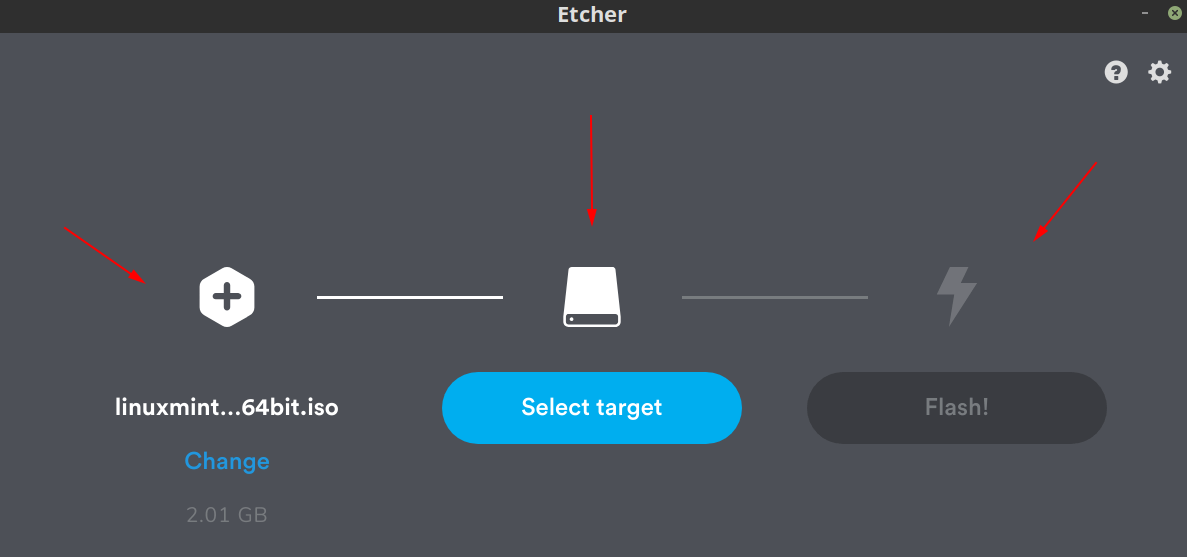
Now open the Etcher program and specify the following:
- Select Image (ISO File download in Step 1)
- Select the USB
- Click on Flash icon to start the flashing process
Boot From USB
After creating a bootable Pendrive, you have to use that to boot into the system and in a minute or two you’ll be seeing a screen similar to the one shown in Step 3.
Step 3: Install Linux Mint 19.2
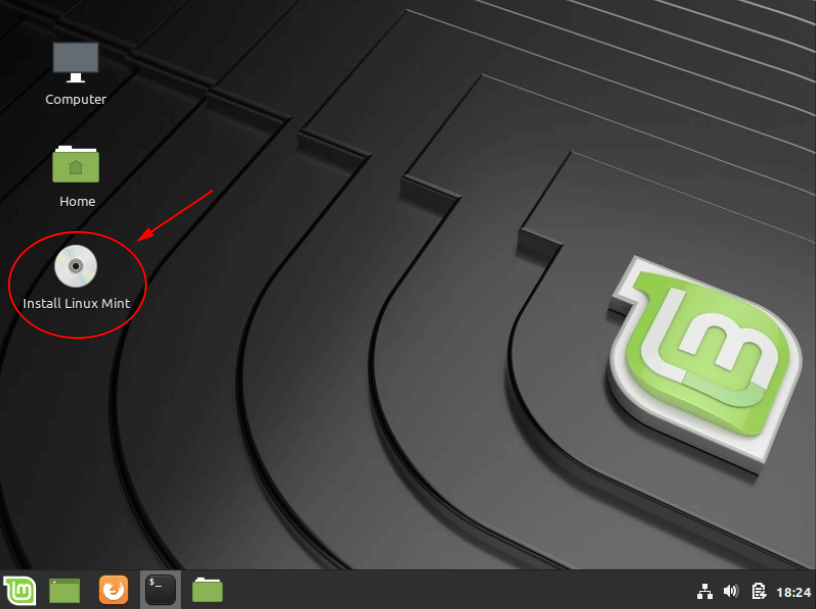
Now, after booting into the USB, click on the “Install Linux Mint” CD-Icon as shown in the below. It will launch the installer and you will be asked a few things.
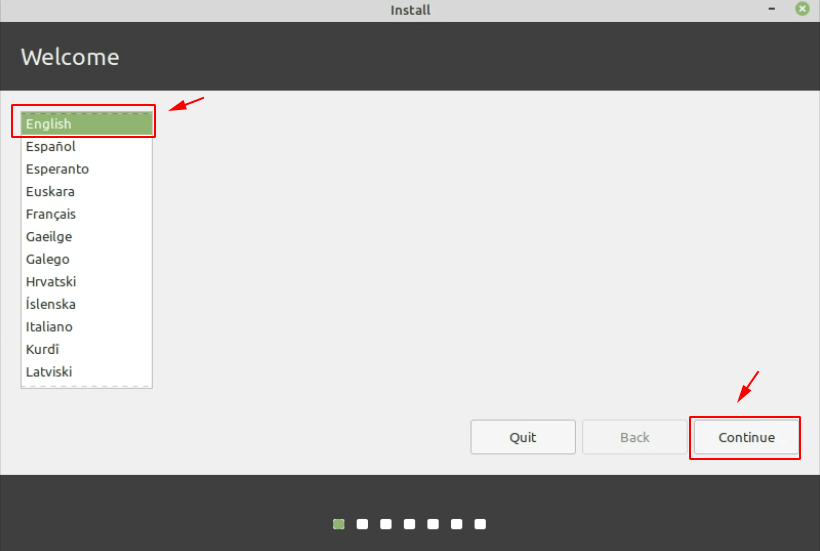
Language
Specify the language with which you want to install your mint and use it.
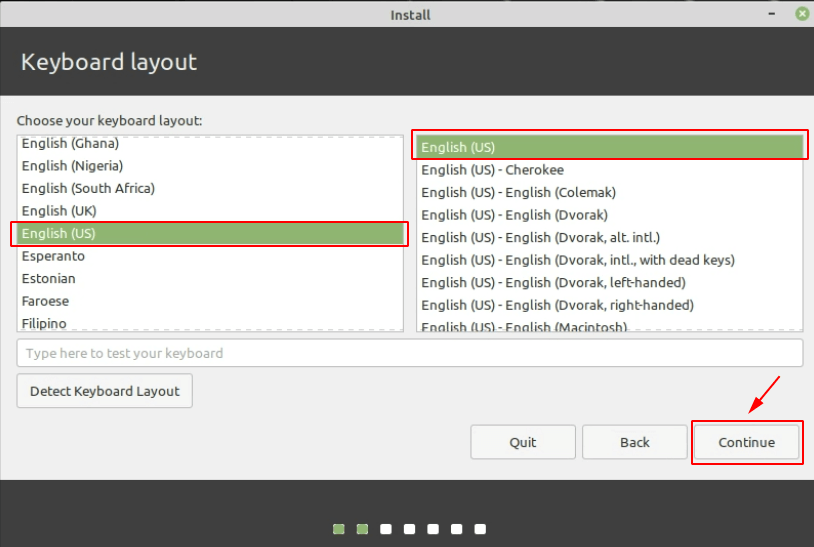
Keyboard Layout
It is an important part of the installation, make sure you specify the layout for the keyboard according to the keyboard you are having. In our case, we have selected English (US).
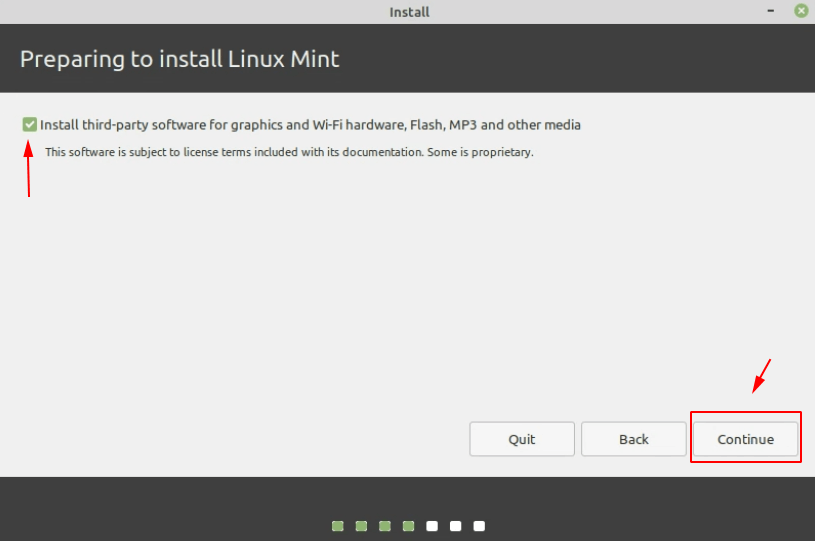
Install 3rd Party Software
One of the good things about “Linux Mint” installer is that it can let you install third-party software, such as:
- Graphics (Nvidia users should be happy)
- Wi-Fi hardware
- Flash
- MP3
Note: This may also include some proprietary software as well
Installation Type
Now, we have to specify and select one of the following:
- Erase disk and install
- Encrypt the installation
- Use LVM
- Something else
In our case, we are going to select the 1st (Erase disk and install) option. If you are an advanced user, you can choose other options as well.
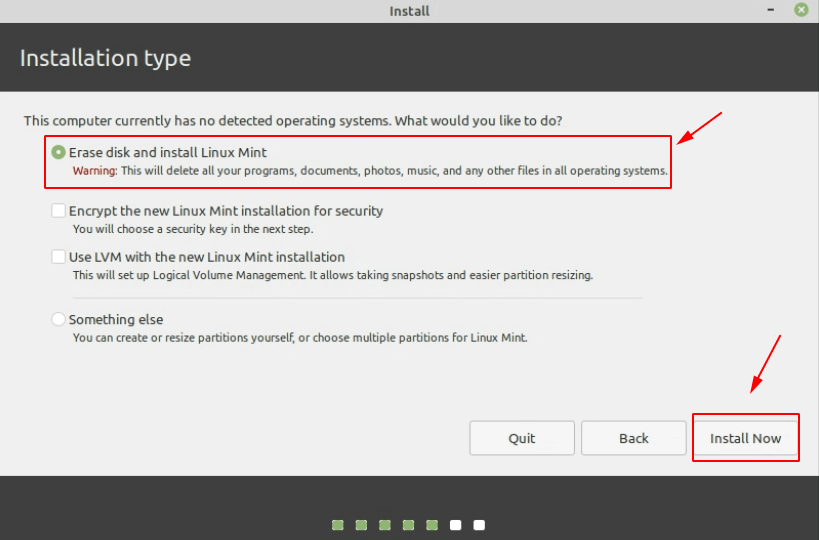
After selecting the type of installation, you will be asked for the confirmation about “formatting the selected hard disk or a particular partition“.

Location
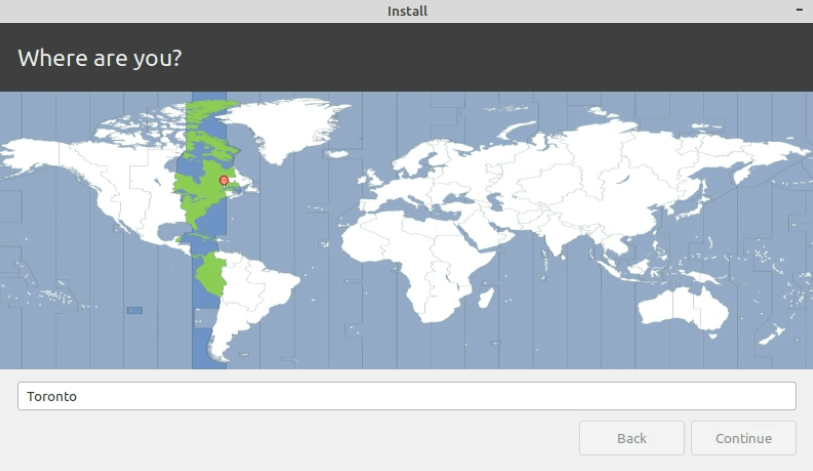
We are going to select the “Toronto” as location, but you can select your precise location.
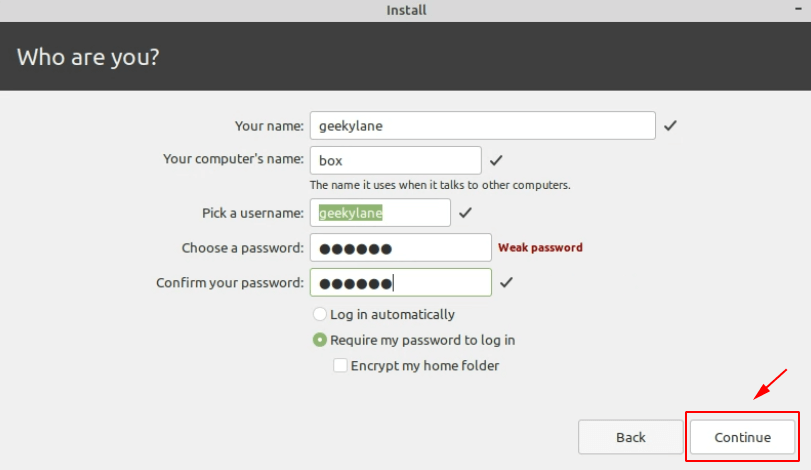
User Details (sudo user)
During the installation, you can create a new user with special administrator privileges. You will be asked for the following details:
- Your name
- Computer’s name
- Username
- Strong password
Note: This user is not a “root user”, it is a sudo user with some root user-level privileges.
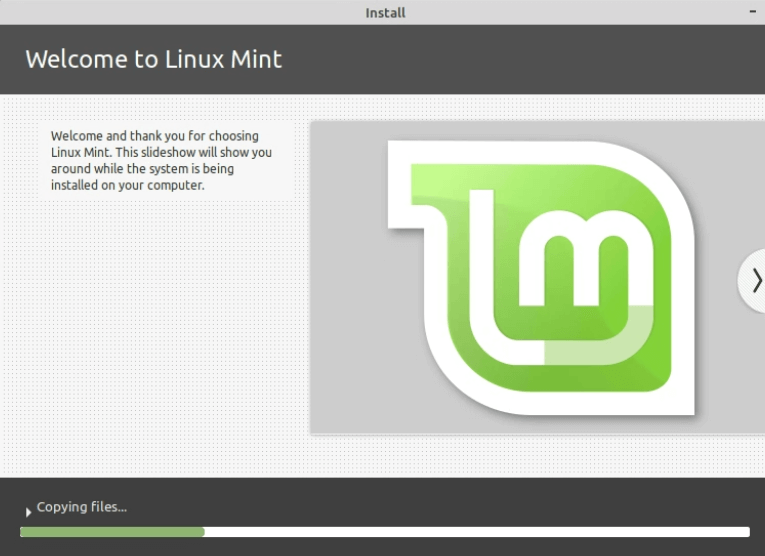
Copying Files
Before the installation starts, the installation is going to copy some required files to the hard disk.
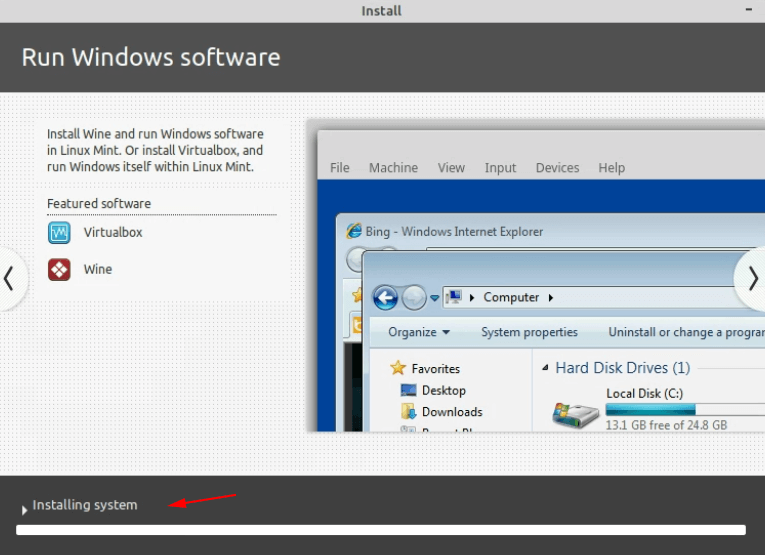
Installation
After copying the important files, now you will be seeing something as shown below that the system is now “installing“.
Retrieving Extra Files
During the installation, the installer will be going to download some required and essential files from the internet, if you do not have an internet connection, the installer will simply going to skip this thing.
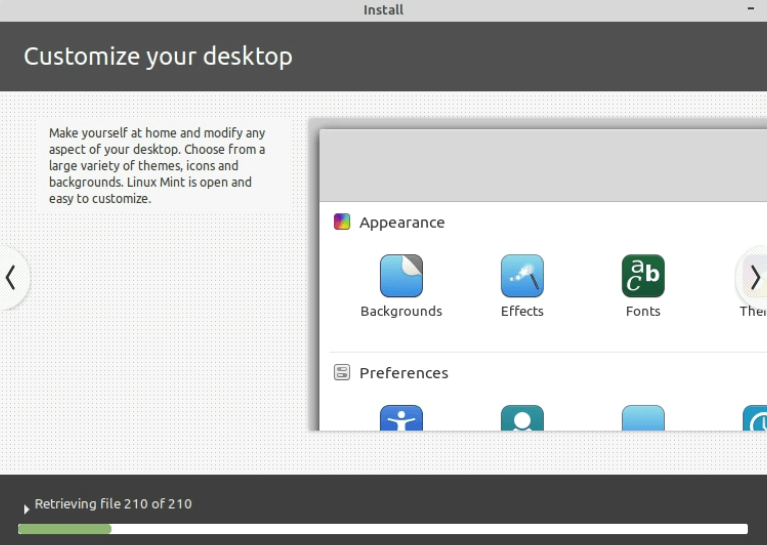
Installing 3rd Party Software
If you have selected the option for “3rd party drivers“, the installer will now download them, again you should be having a working internet connection.
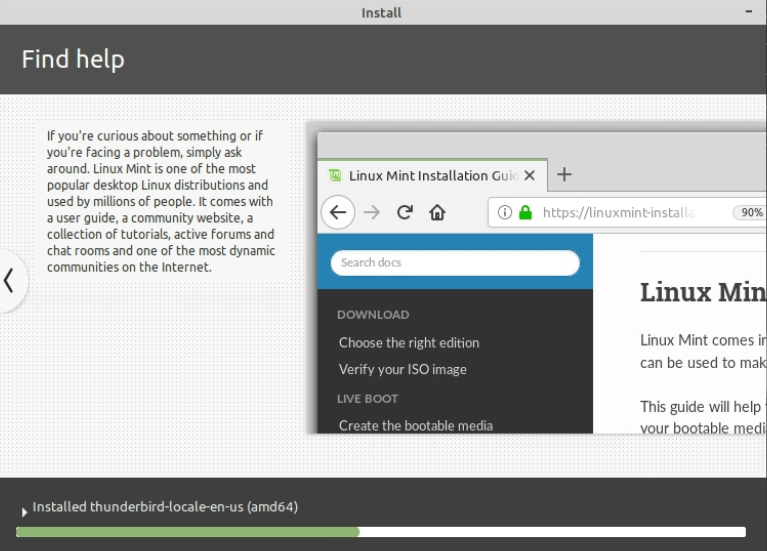
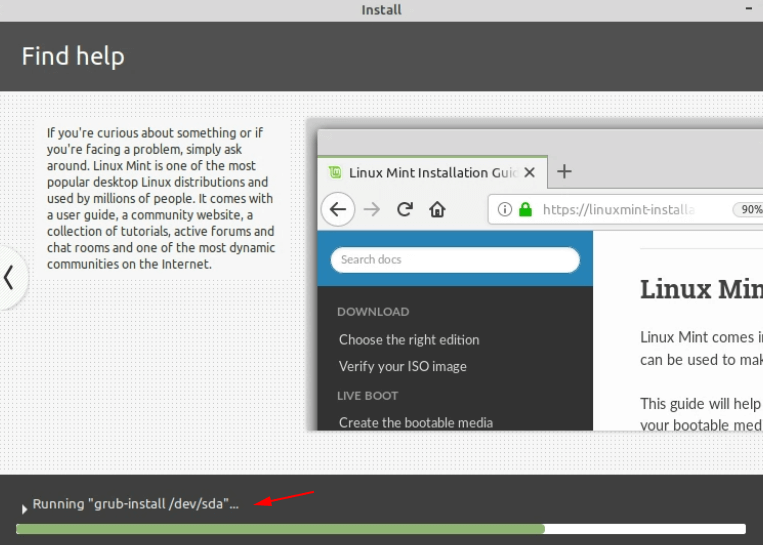
Boot Loader Installation (GRUB2)
The installer will now be going to install the “boot loader” on the selected hard disk.
Note: Boot Loader is a program that is installed on a specific partition (most of the time 1st one) of the hard disk. It is a program that boots up the system from hard disk to main memory (RAM).
Installation Complete – Install Linux Mint 19.2
After a few minutes, the installation will be completed and you will be seeing a screen or a pop-up window similar to the one shown below.
Click on the “Restart Now” button to restart the system.

Step 4: System Started
After the restart has been performed, the Linux Mint is going to boot up.
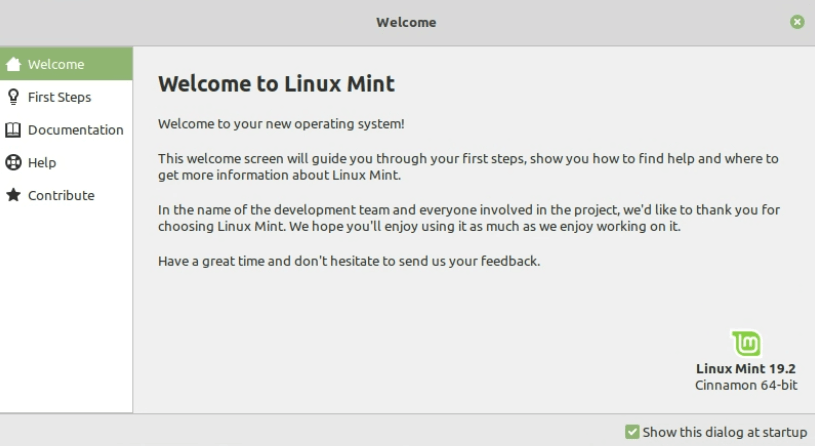
And a “Welcome Screen” as shown in the image below is going to be shown. You can navigate through it and set-up according to your needs.
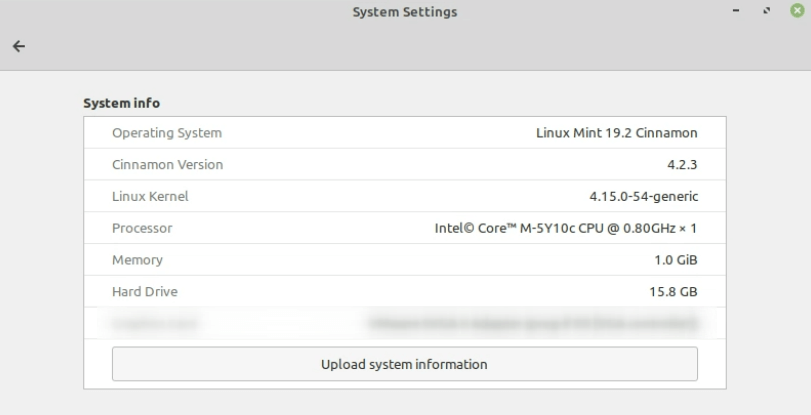
System Information
Under the “System Settings“, you can view the complete information about your computer.
More on Linux:

Hi there!
Before Step 3: Install Linux Mint 19.2, after flashing the USB, how do we boot into the USB?
Is there a key have to tap before the windows logo comes on (after restarting) or does the system automatically ask which system to be booted into?
You have to look for specific keys combination for your particular laptop/pc brand and model.