Table of Contents
When it comes to the best download manager alternative of Internet Download Manager (Windows), then in the case of the Linux, “Xdman” tops the list. It provides a lot of similar features to that of IDM. So, today we are going to learn about “how to install xdman on ubuntu 19.04” using the command line as well as the GUI.
Download the Xdman Package
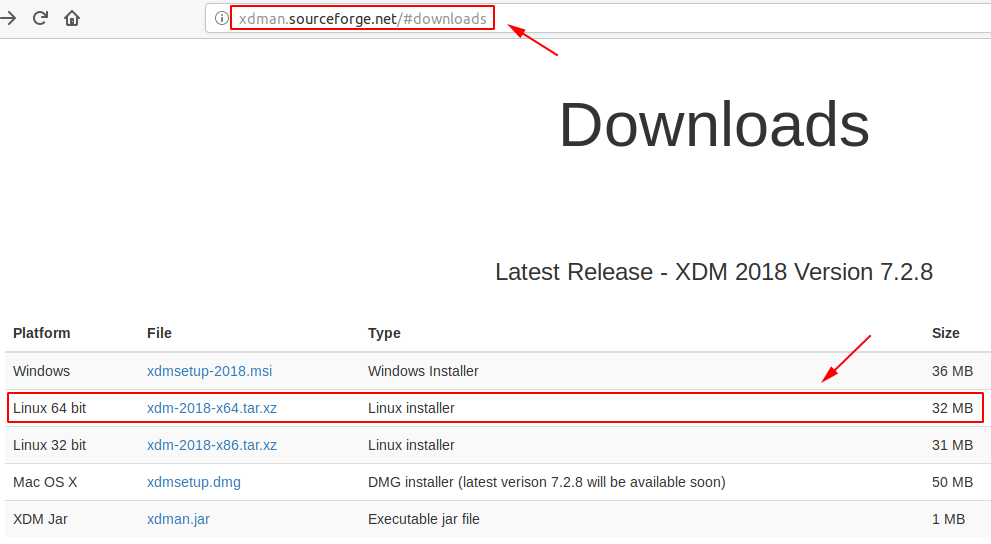
In order to download the Xdman, go to the official website URL (http://xdman.sourceforge.net/#downloads), after that download the appropriate package for your needs, in our case we have downloaded it for “Linux 64 bit“.
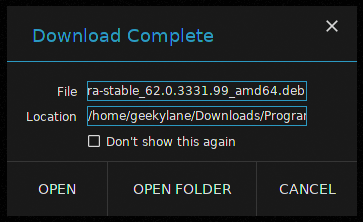
From the picture below we can confirm that our download has been started.

Extract the “.tar.xz” package file
Now, here we can achieve this task with two different methods:
1. GUI method
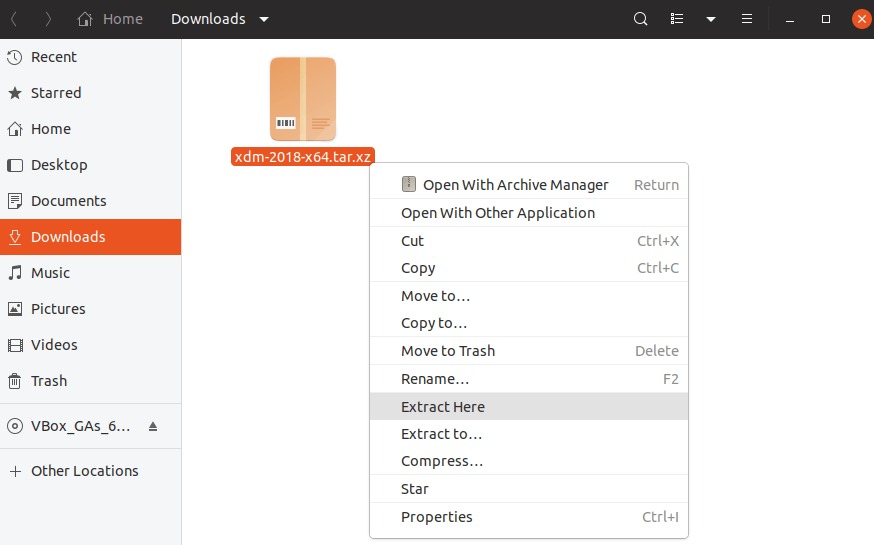
In this, we can simply right-click on the package for the “Extract Here” option, as shown in the picture below.
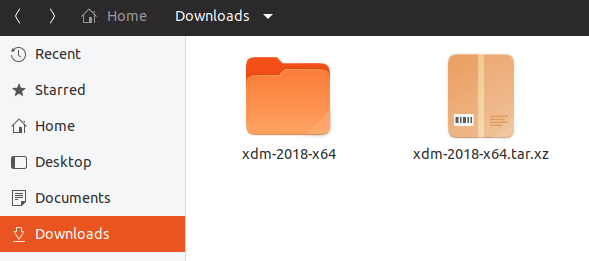
After the extraction has been completed, a folder with the name of “package file name” except the “.tar.xz” extension will be created, as shown in the image below. After the package has been extracted the folder with the “xdm-2018-x64” has been created.
2. Command-Line method
This method is more appropriate as the follow-up steps after this is going to be done in the command-line itself, so why not run the terminal in the first place.
In our case, it is the “~/Downloads” folder, but run the following command in the folder where your xdman package has been download.
$ tar -xvf xdm-2018-x64.tar.xz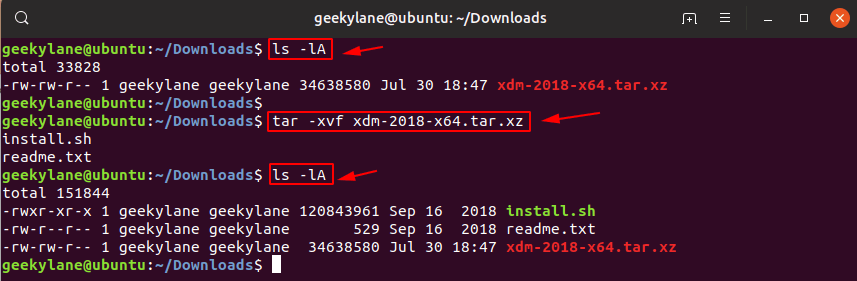
From the screenshot shown above, after the package has been extracted, we will be having two files:
- install.sh = main file to start the installation
- readme.txt = metadata about the install.sh file
Install Xdman
It is time to install the package in order to use the xdman download manager, we can do that with the help of the following command:
$ sudo ./install.sh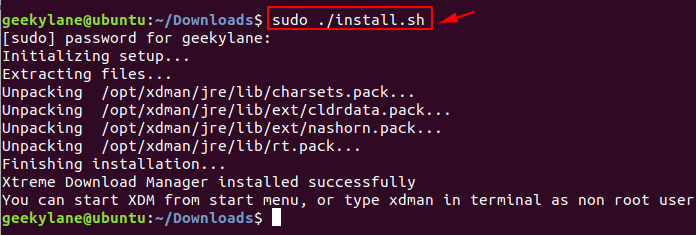
Start Xdman
Now, in order to manually start the “xdman” process we need to run it inside the terminal by typing “xdman” and hitting the “Enter” key from the keyboard.
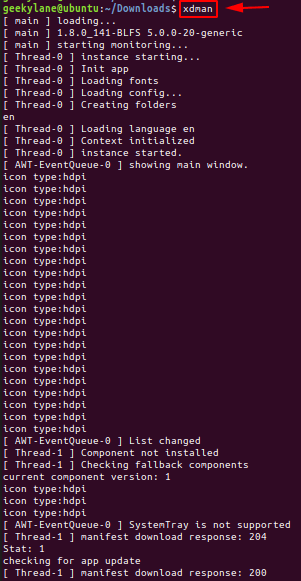
After that, a window as shown below will be going to pop-up on your screen, it confirms that our xdman has been successfully installed.
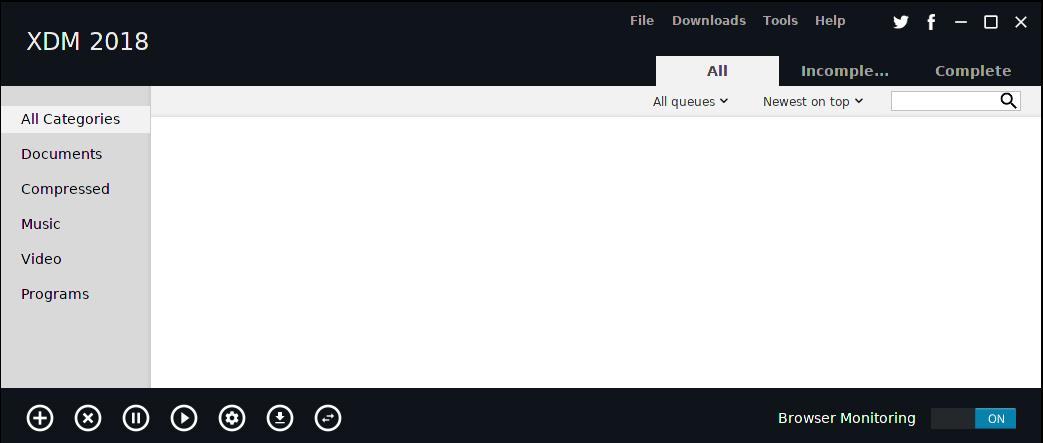
One of the advanced features of “Xdman” is the “Browser monitoring” and seamlessly grab the download links from the browsers.
So, in order to activate and use that feature, we have to enable it for each browser choice, specifically.
Xdman Browser Monitoring
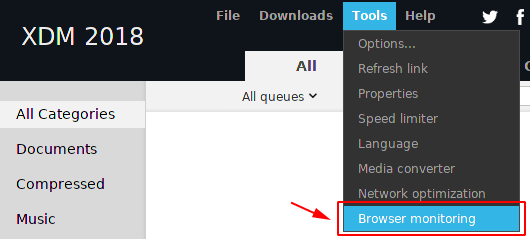
Go to Tools -> Browser monitoring as shown below in order to access its related settings.
Xdman browser monitoring for “Mozilla Firefox”
To install it, simply click on the Install addon button for the firefox browser, as shown below.

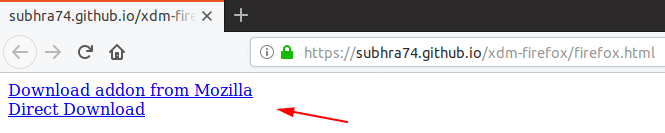
A screen as shown below will be going to be shown to you, click on either of the options, the addon will going to be installed.
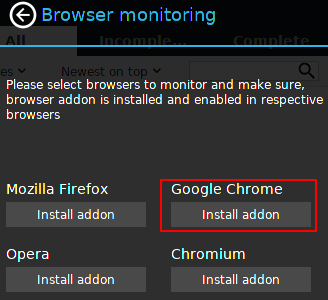
Xdman browser monitoring for “Google Chrome”
To install it, simply click on the Install addon button for the Chrome browser, as shown below.
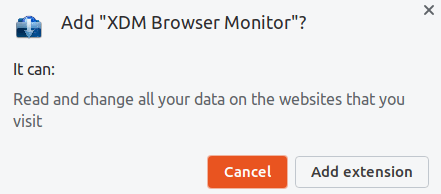
You will be redirected to the Chrome Web Store, and a screen like below will be shown to you, click on the “Add to Chrome” button to start the installation process.

After that, click on the “Add extension” button.
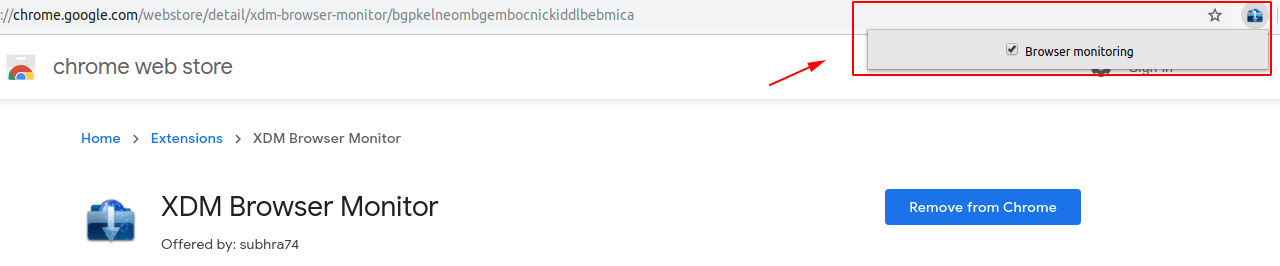
From the picture below, we can confirm that the “Xdman chrome extension” has been successfully installed.
Test Xdman
We are going to download the “Opera Browser” in order to test the “xdman installation“.
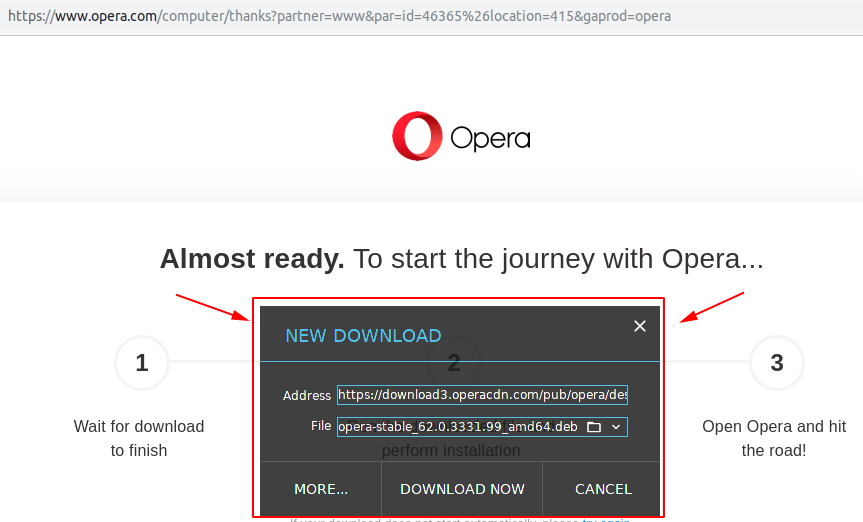
From the picture below, we can see that the “opera” installation file has been successfully downloaded using the xdman download manager.