
In this world full of gadgets, people nowadays are moving towards more automation, and when it comes to automation raspberry pi is what comes in mind to the majority of the audience out there. So, today we are going to see “Raspberry Pi headless set up” for the first time.
We are going to cover the following:
- Downloading the software for the raspberry pi.
- Grabbing a memory card.
- Grabbing a card reader.
- Flashing the OS to memory card.
The post is going to be covered in the following steps, make sure you follow each step very carefully.
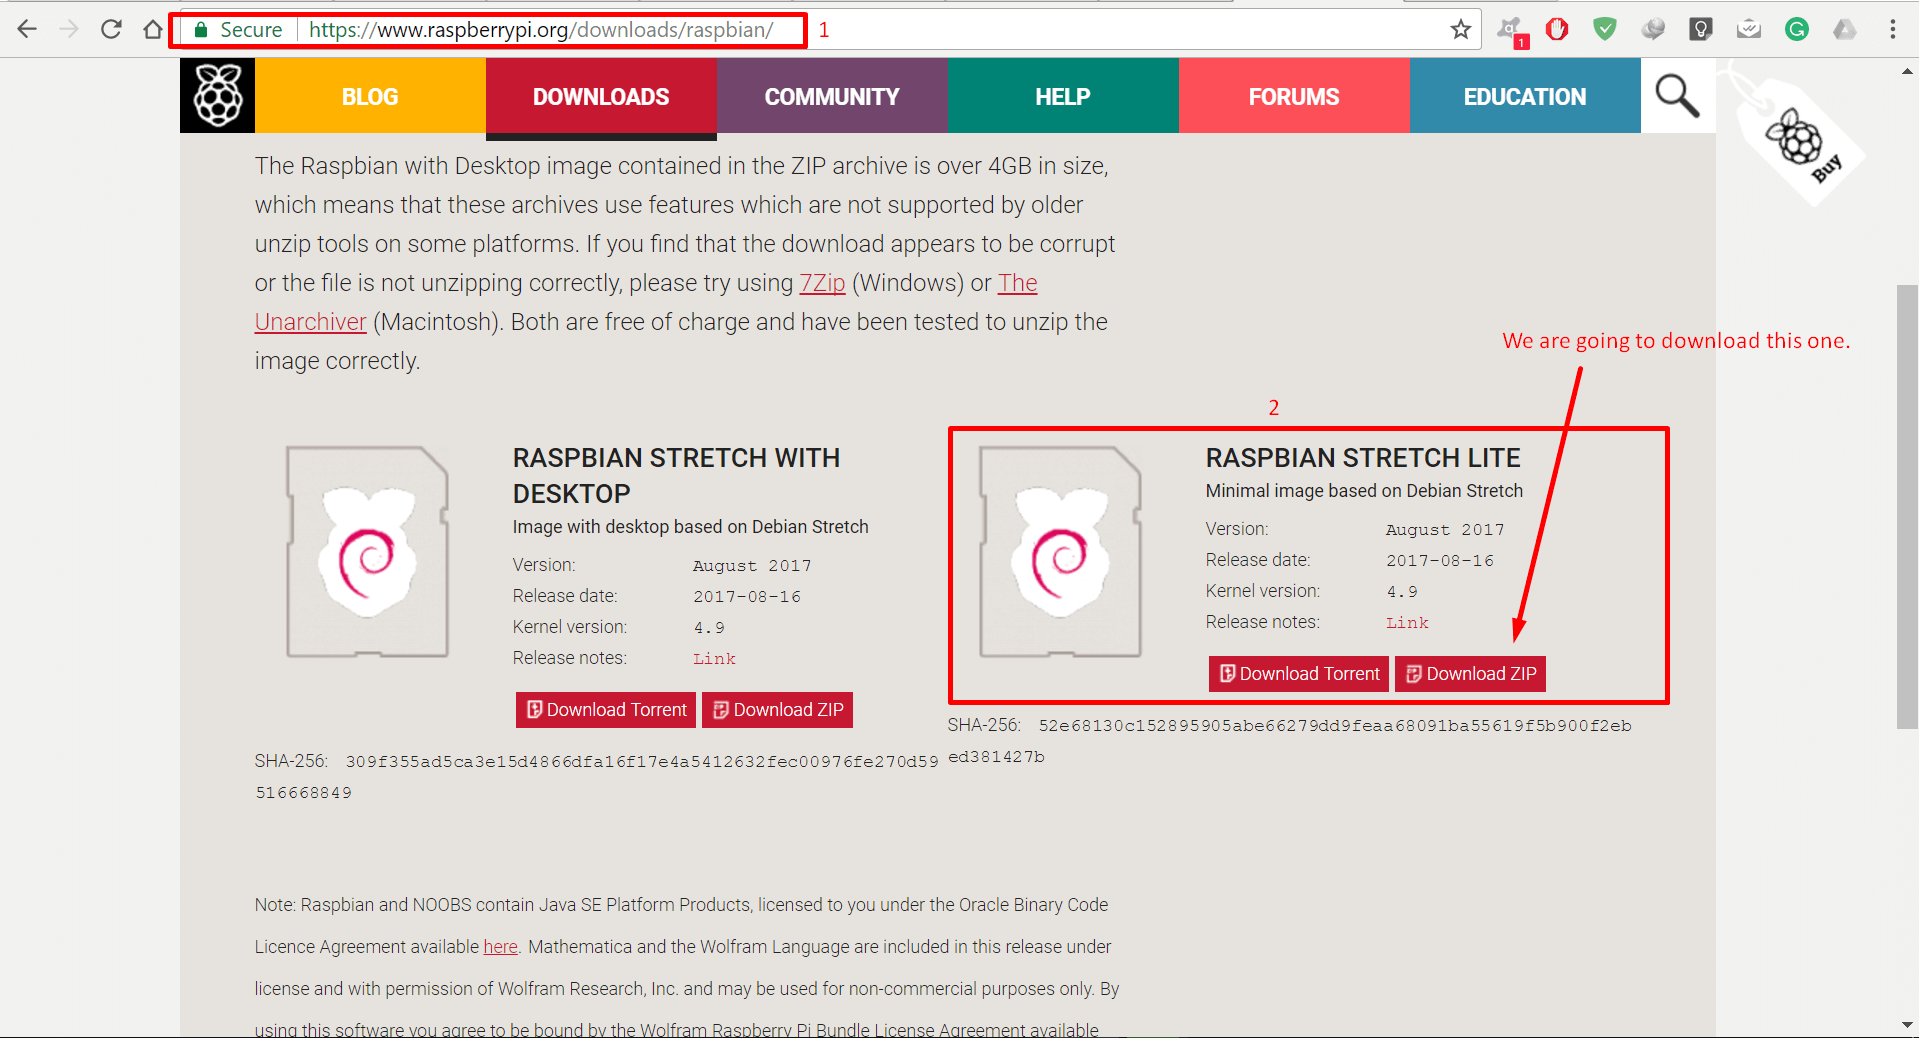
Step 1: Download the “Raspbian Stretch lite” from this URL, as
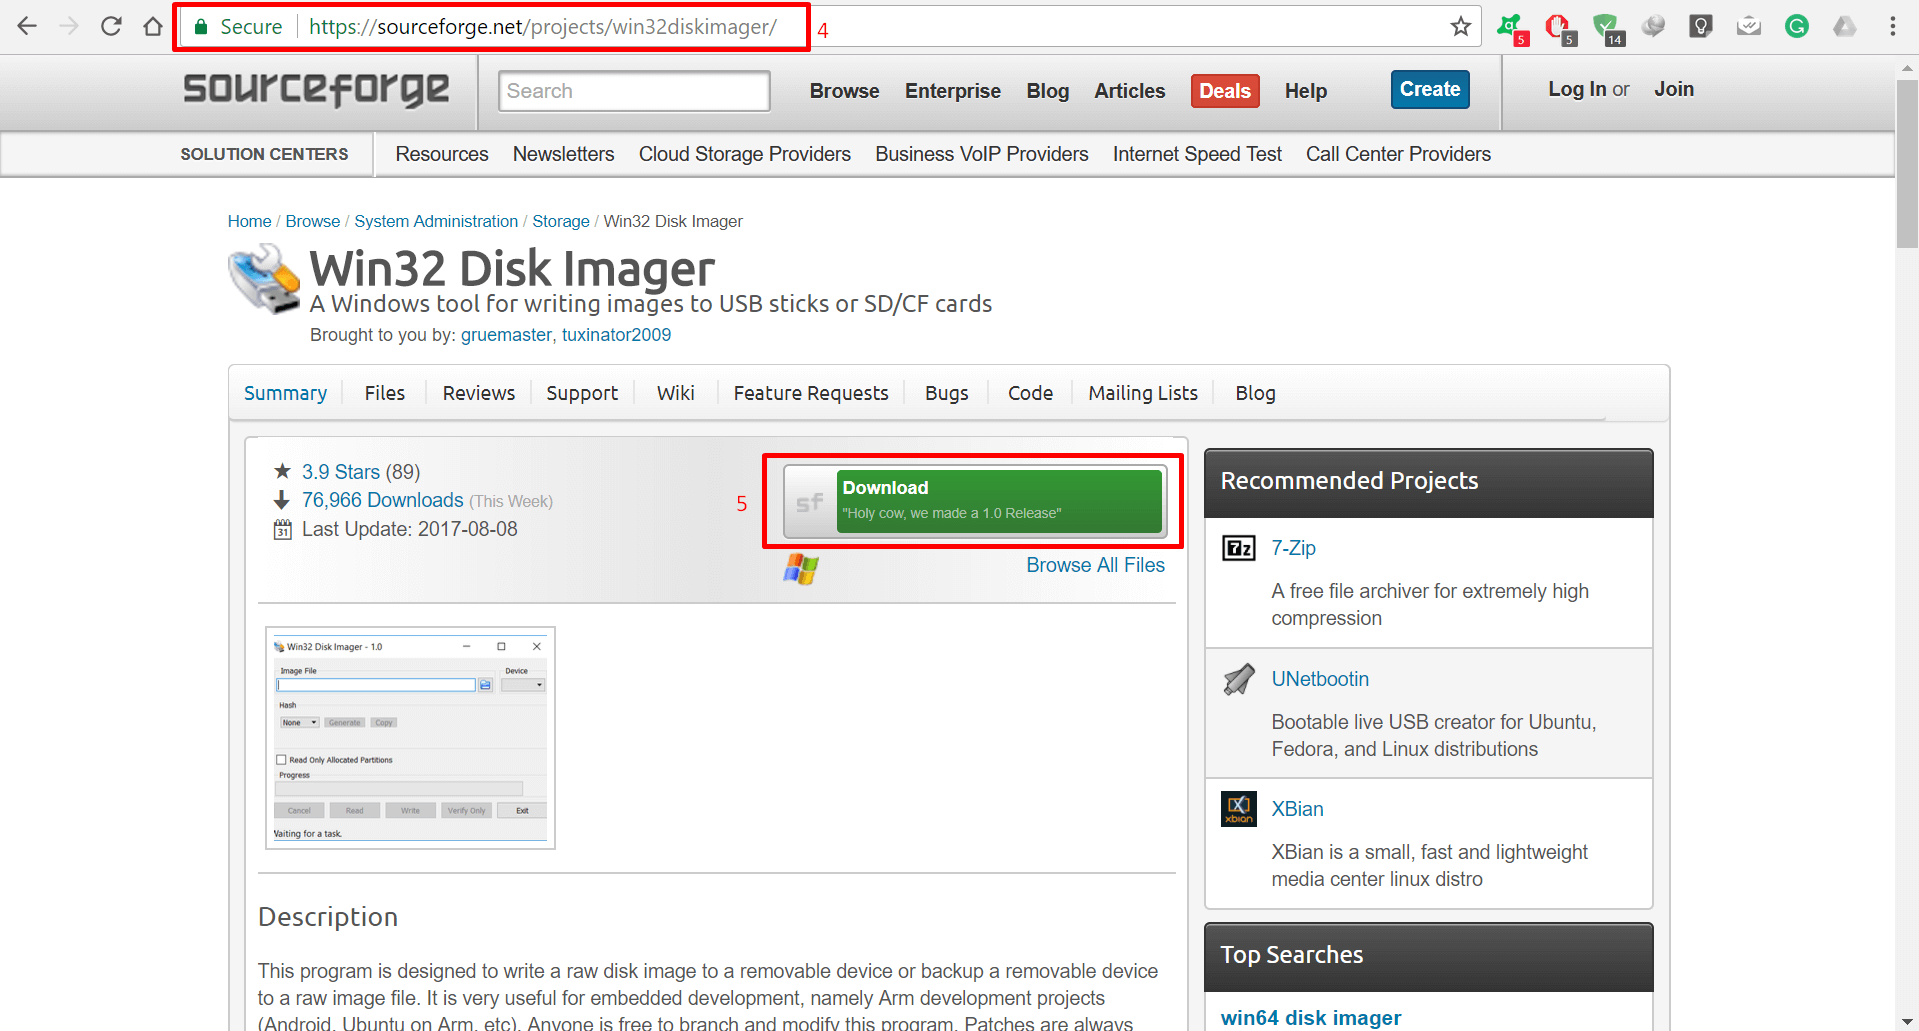
Step 2: Download the “Win32 disk imager“, this will help in flashing the OS to raspberry pi.
Step 3: See the download progress, be patient it will take time in your case well.

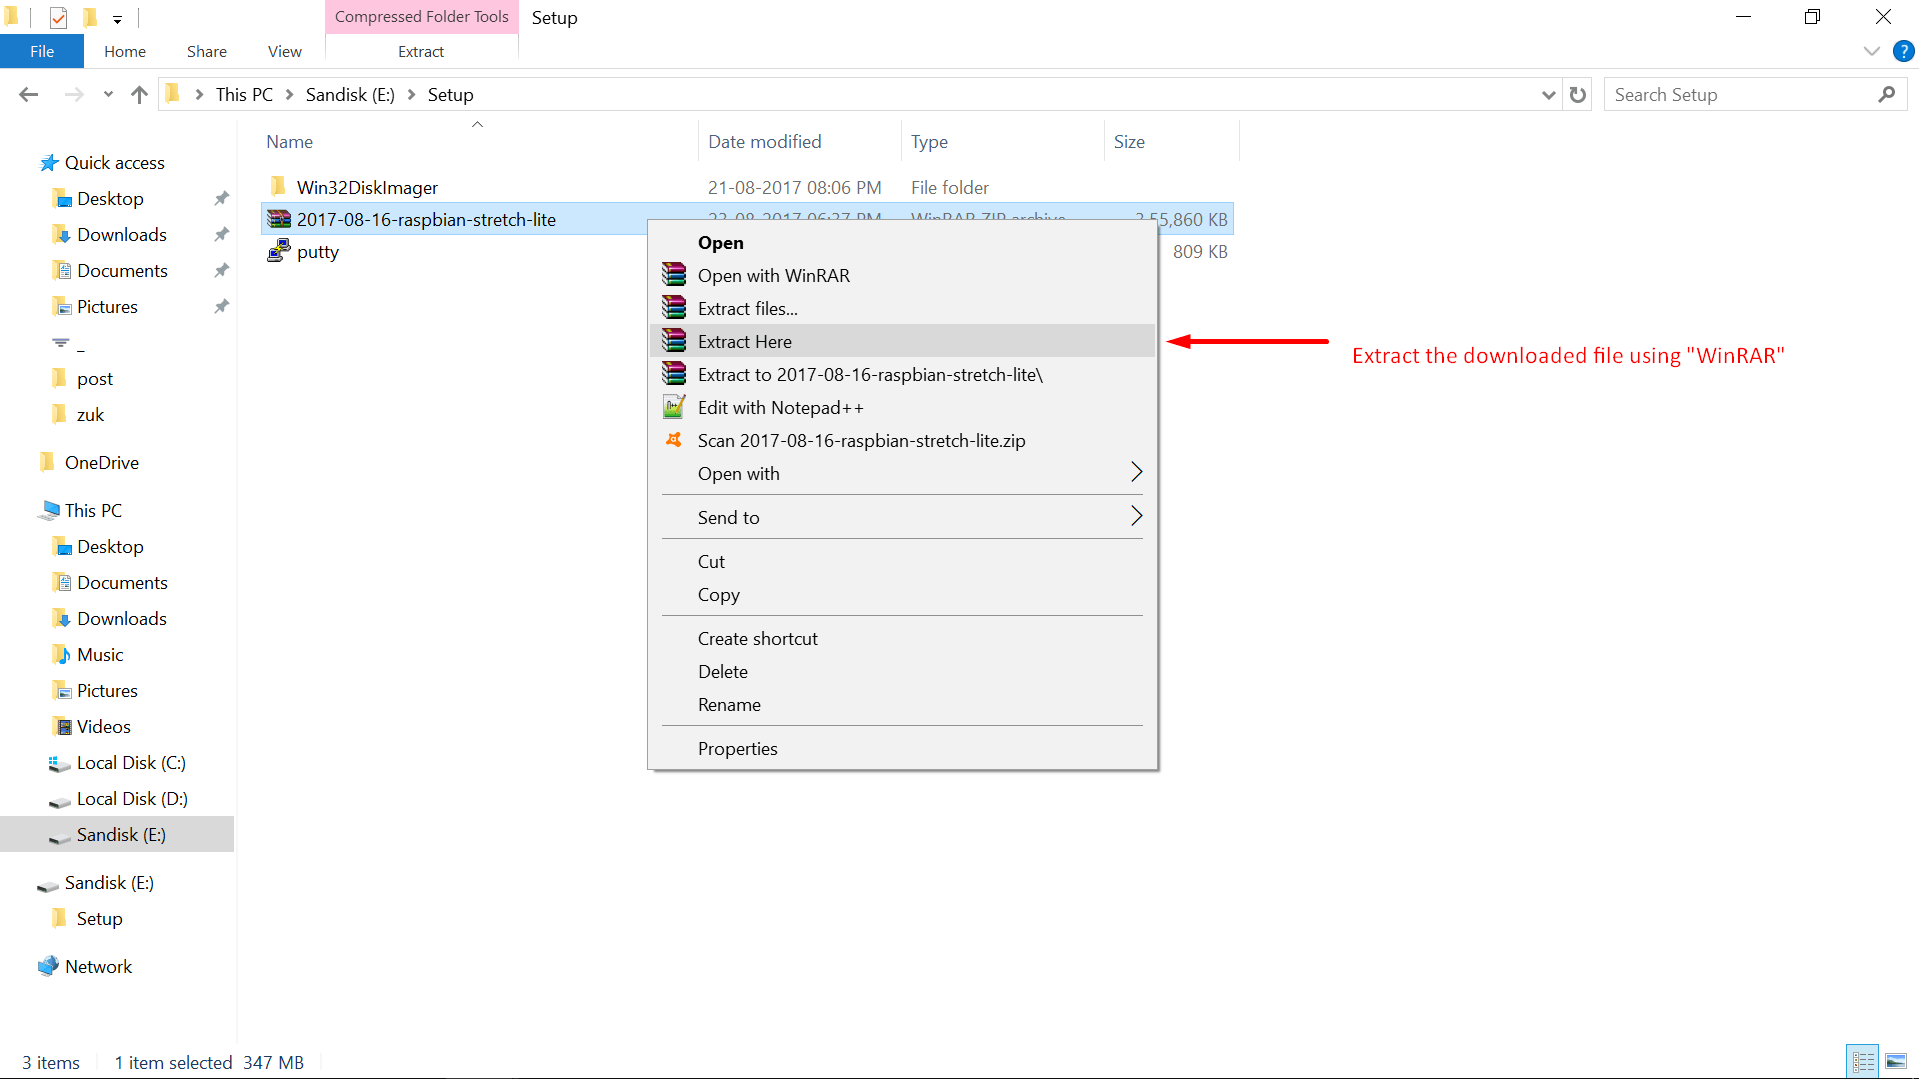
Step 4: After the “Raspbian Stretch File” is downloaded, extract it using any software but in our case, we are using “WinRAR“.
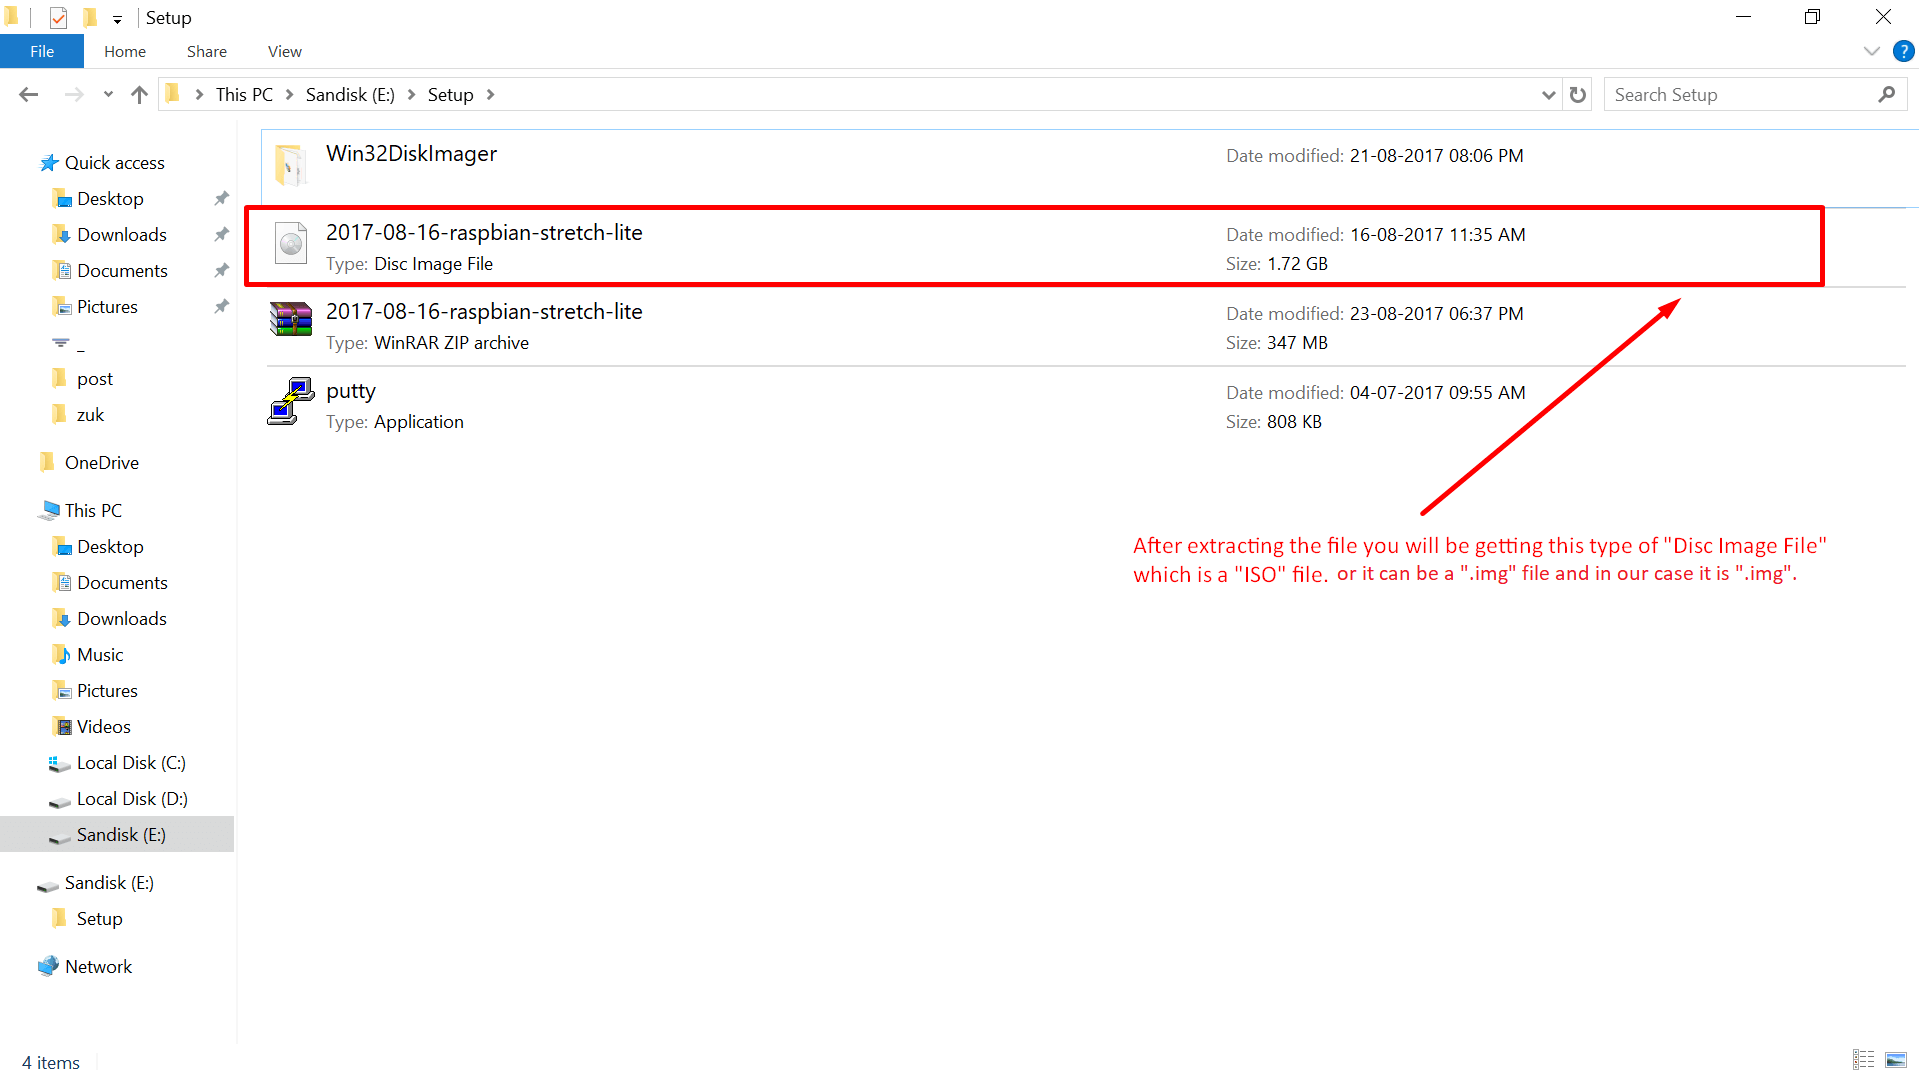
Step 5: After the file has been extracted, you will see something like as shown in the picture, this is our OS’s .img format file.
Note: The name of the file may be different in your case, do not panic just go fir the flow. – Raspberry Pi headless set up
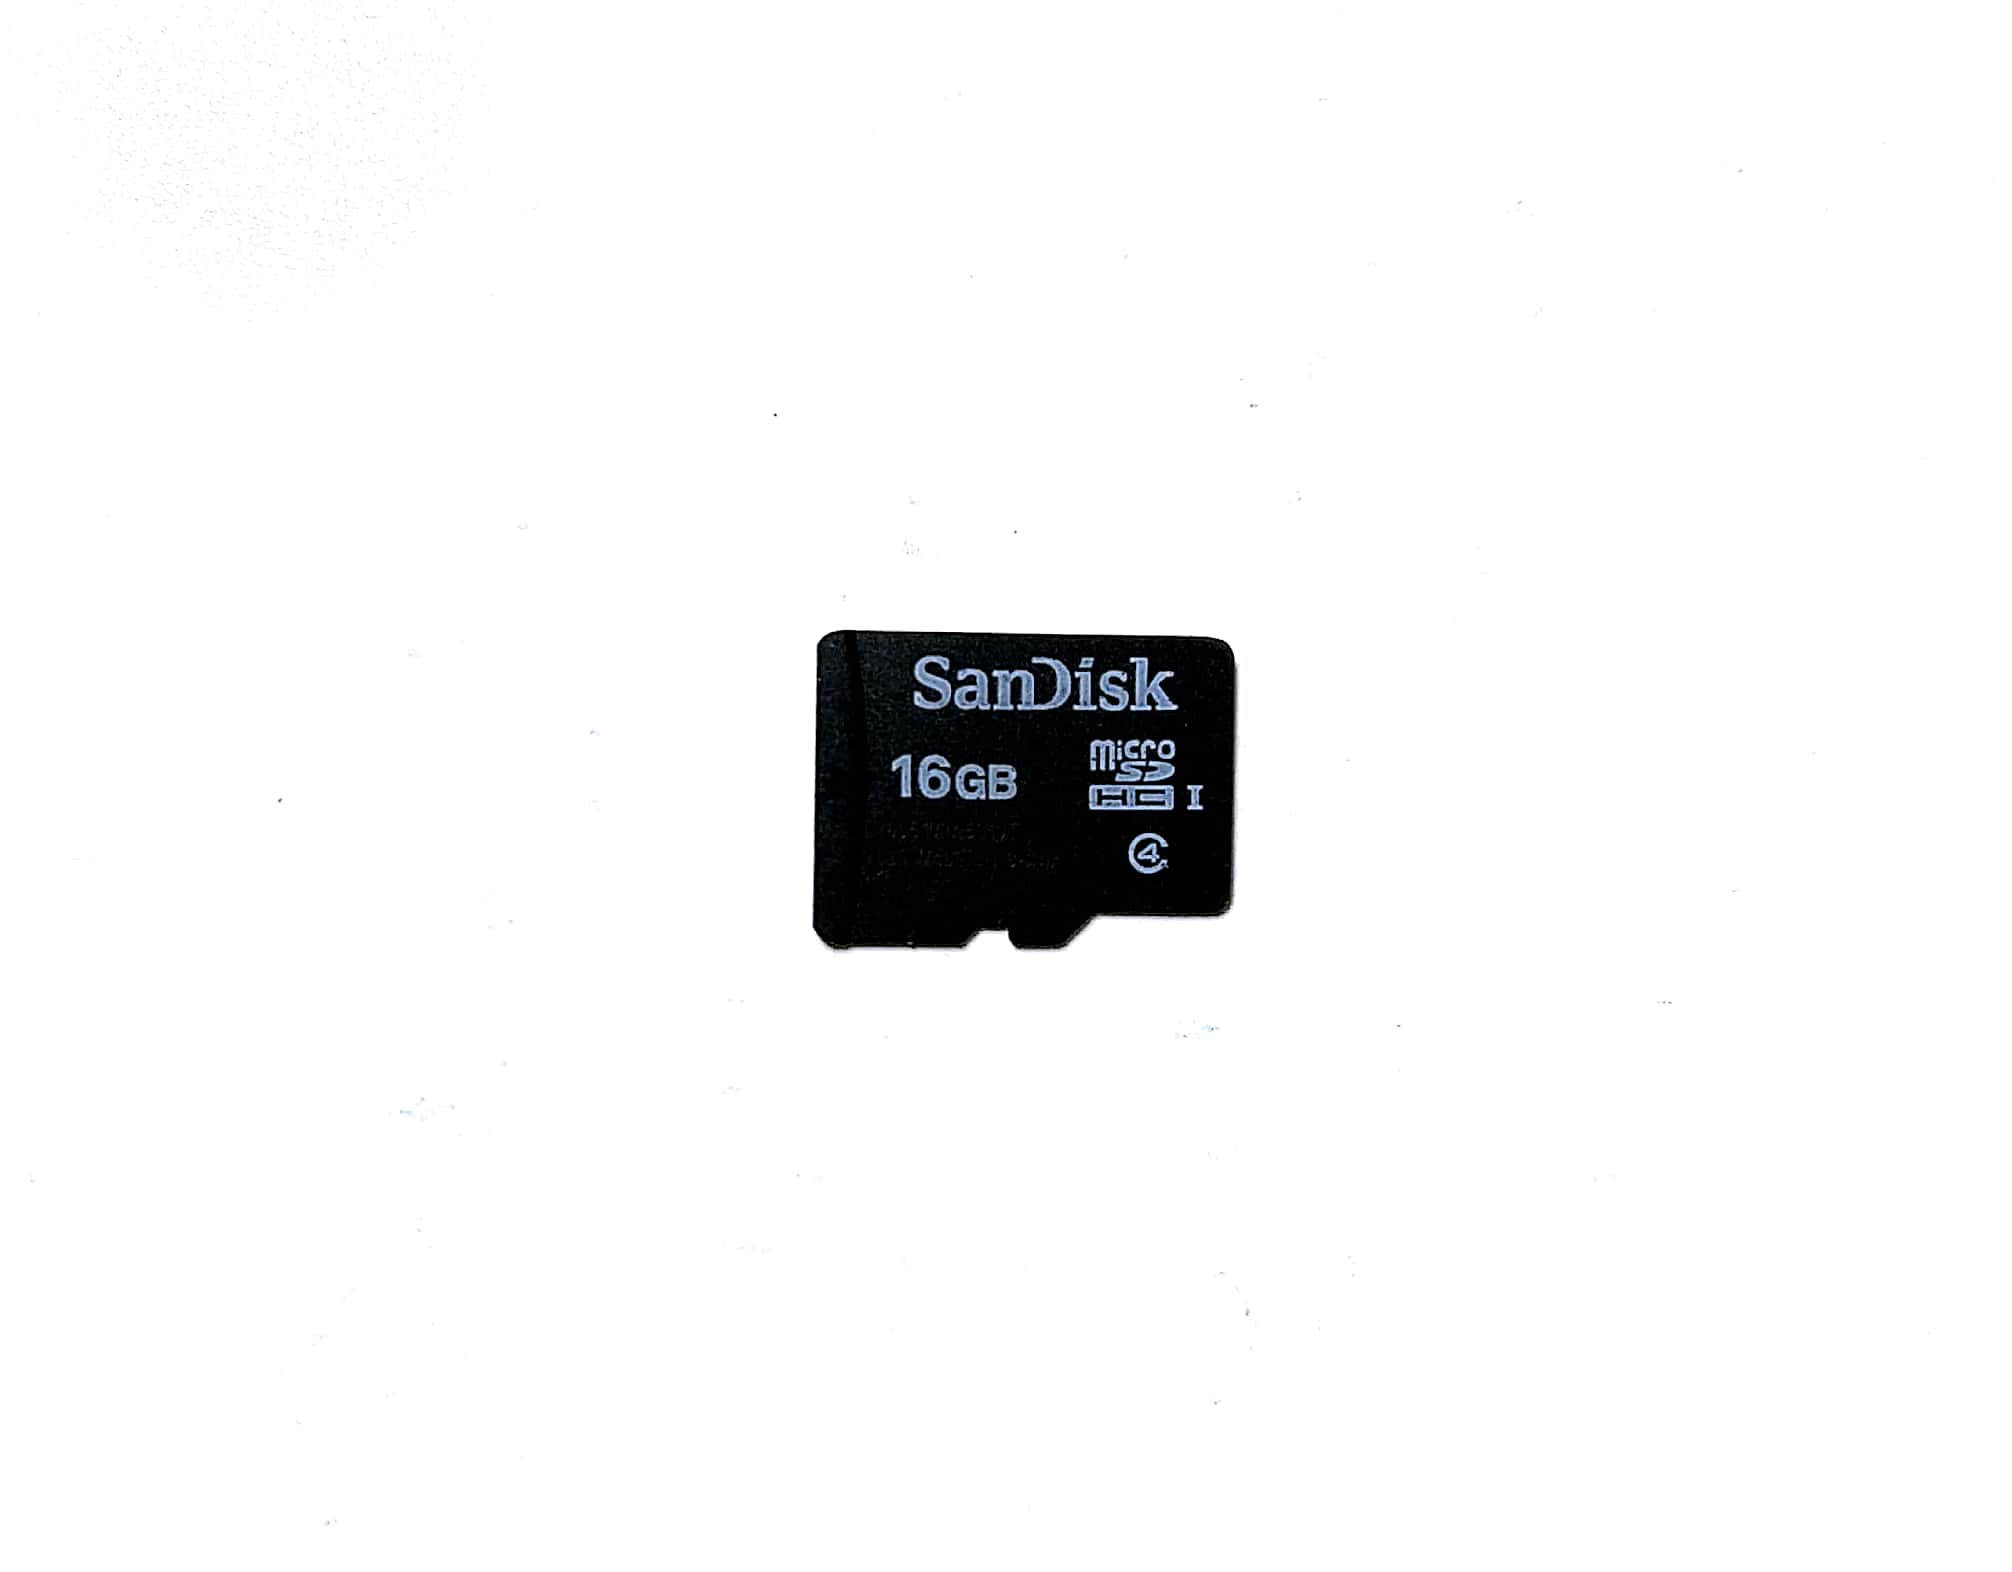
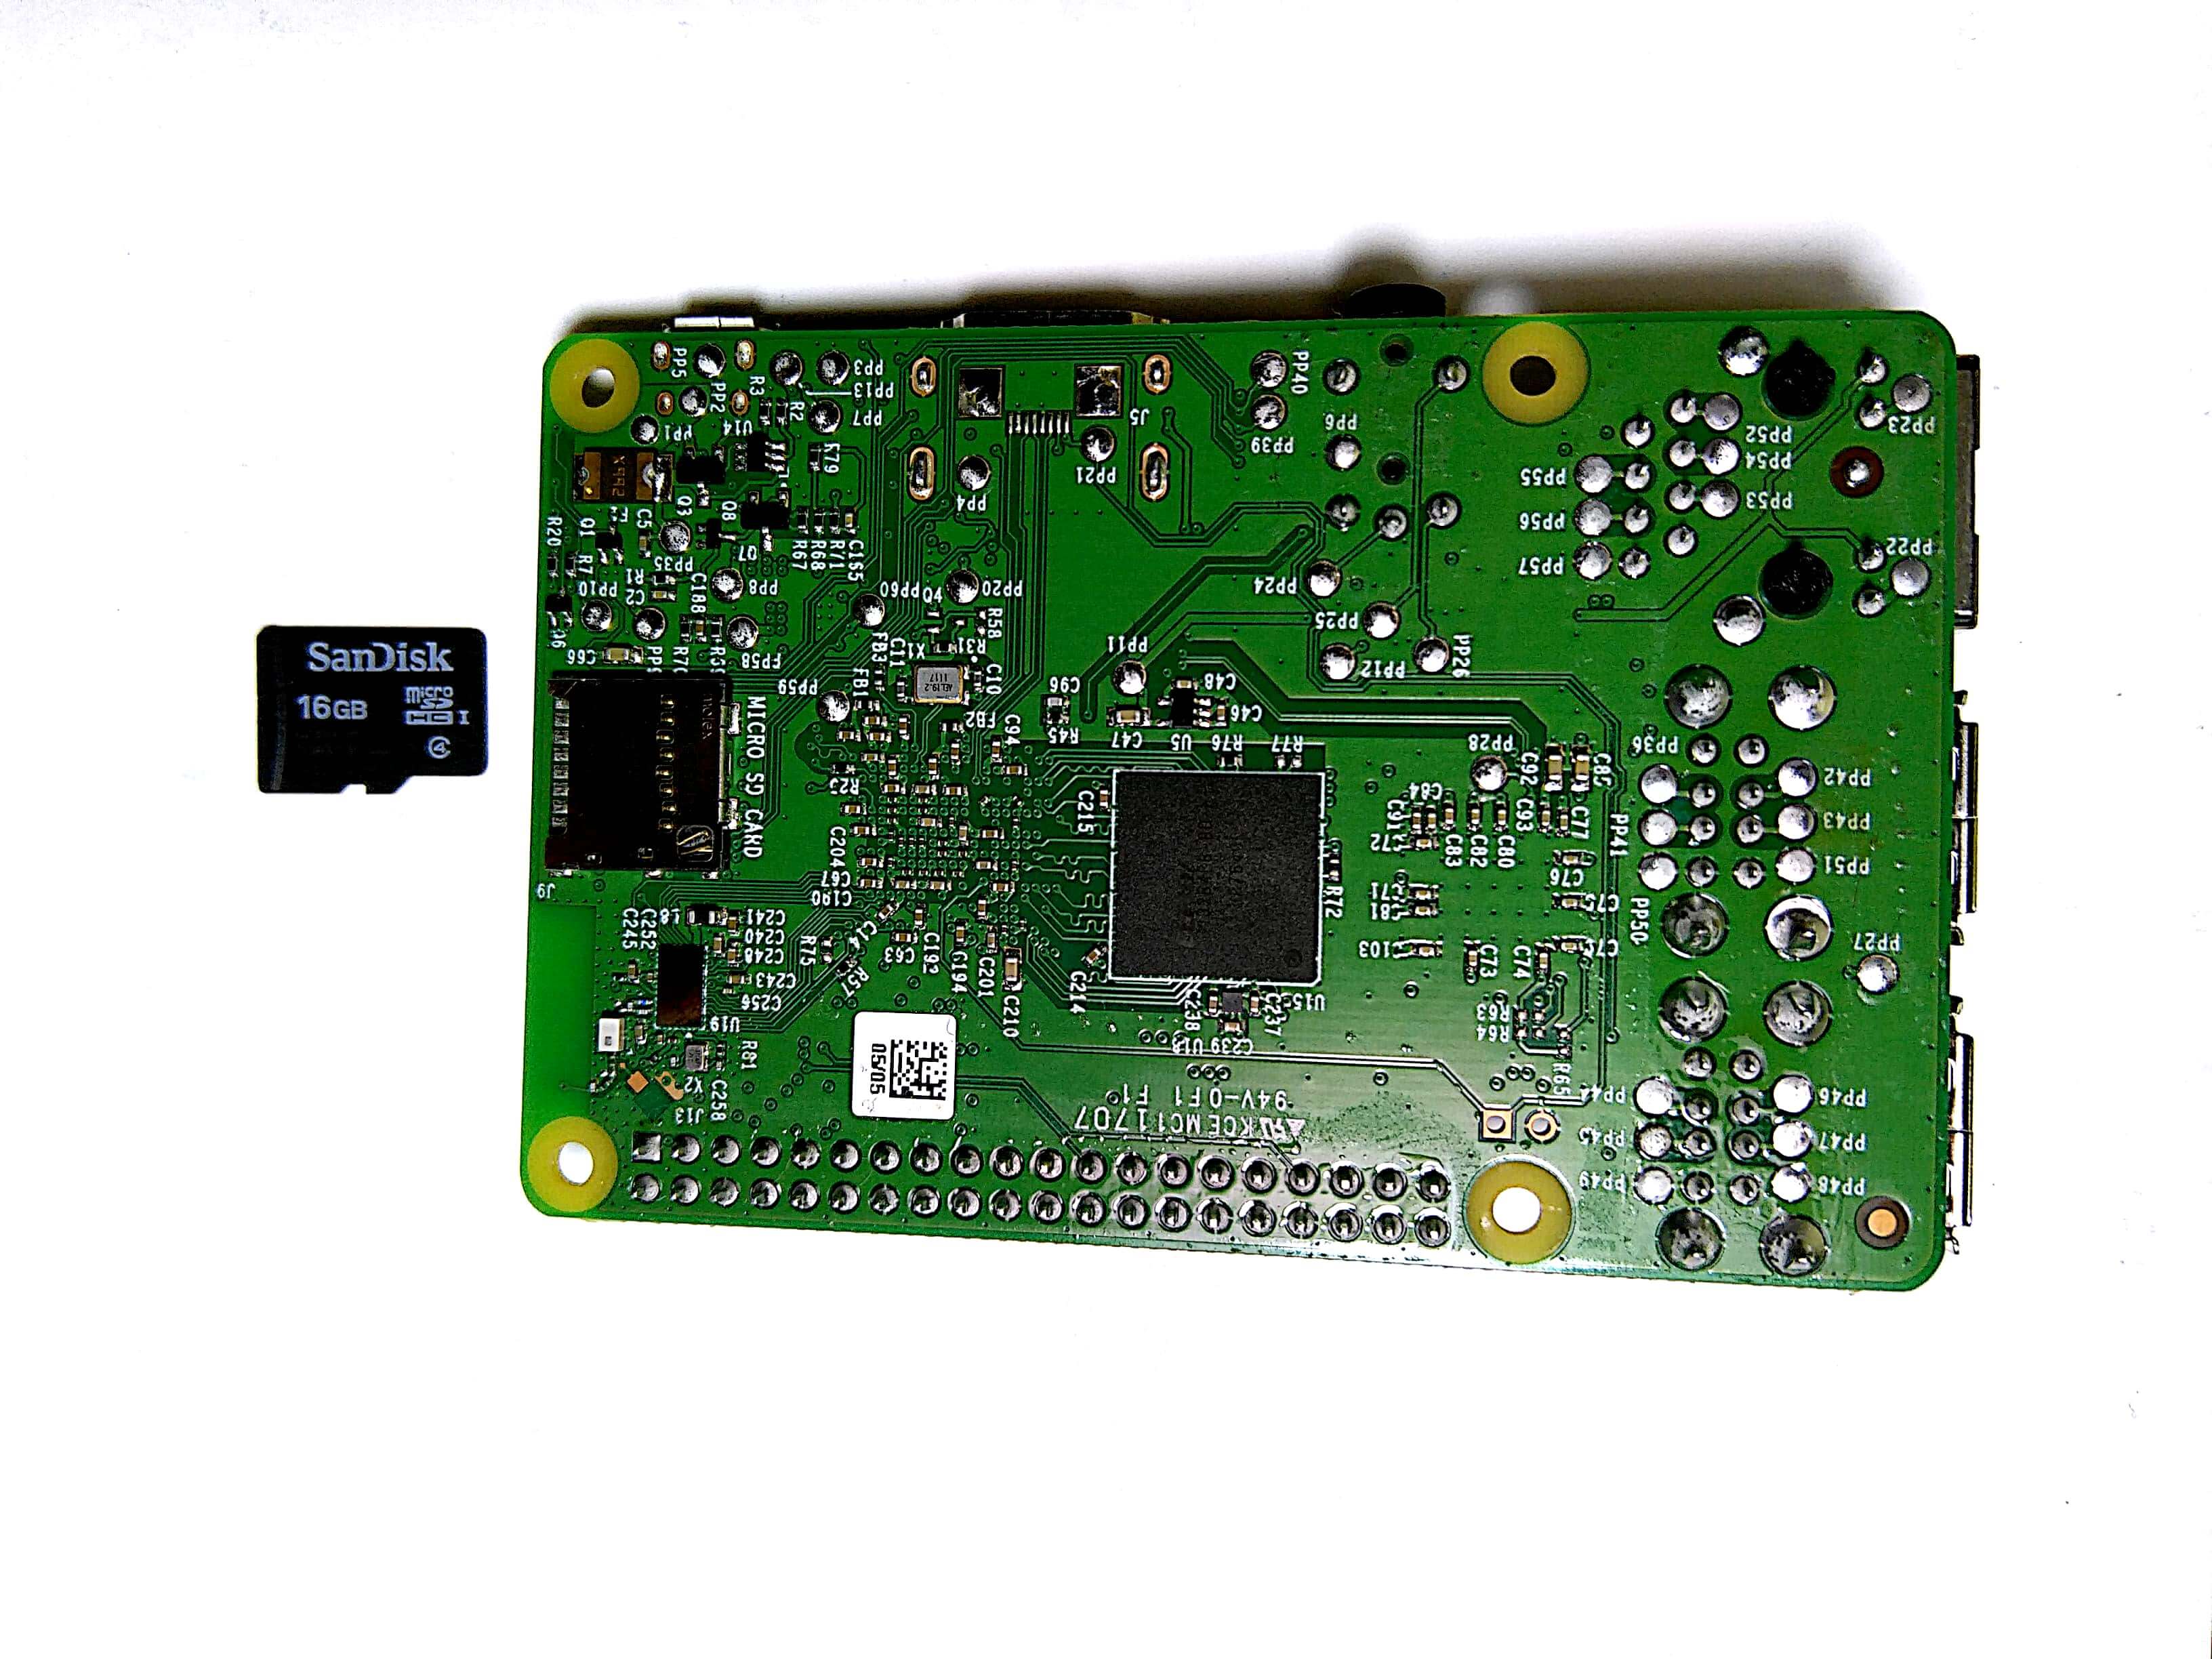
Step 6: It is time to grab our memory card and set it up, we are using a “16GB – Class 4” one.
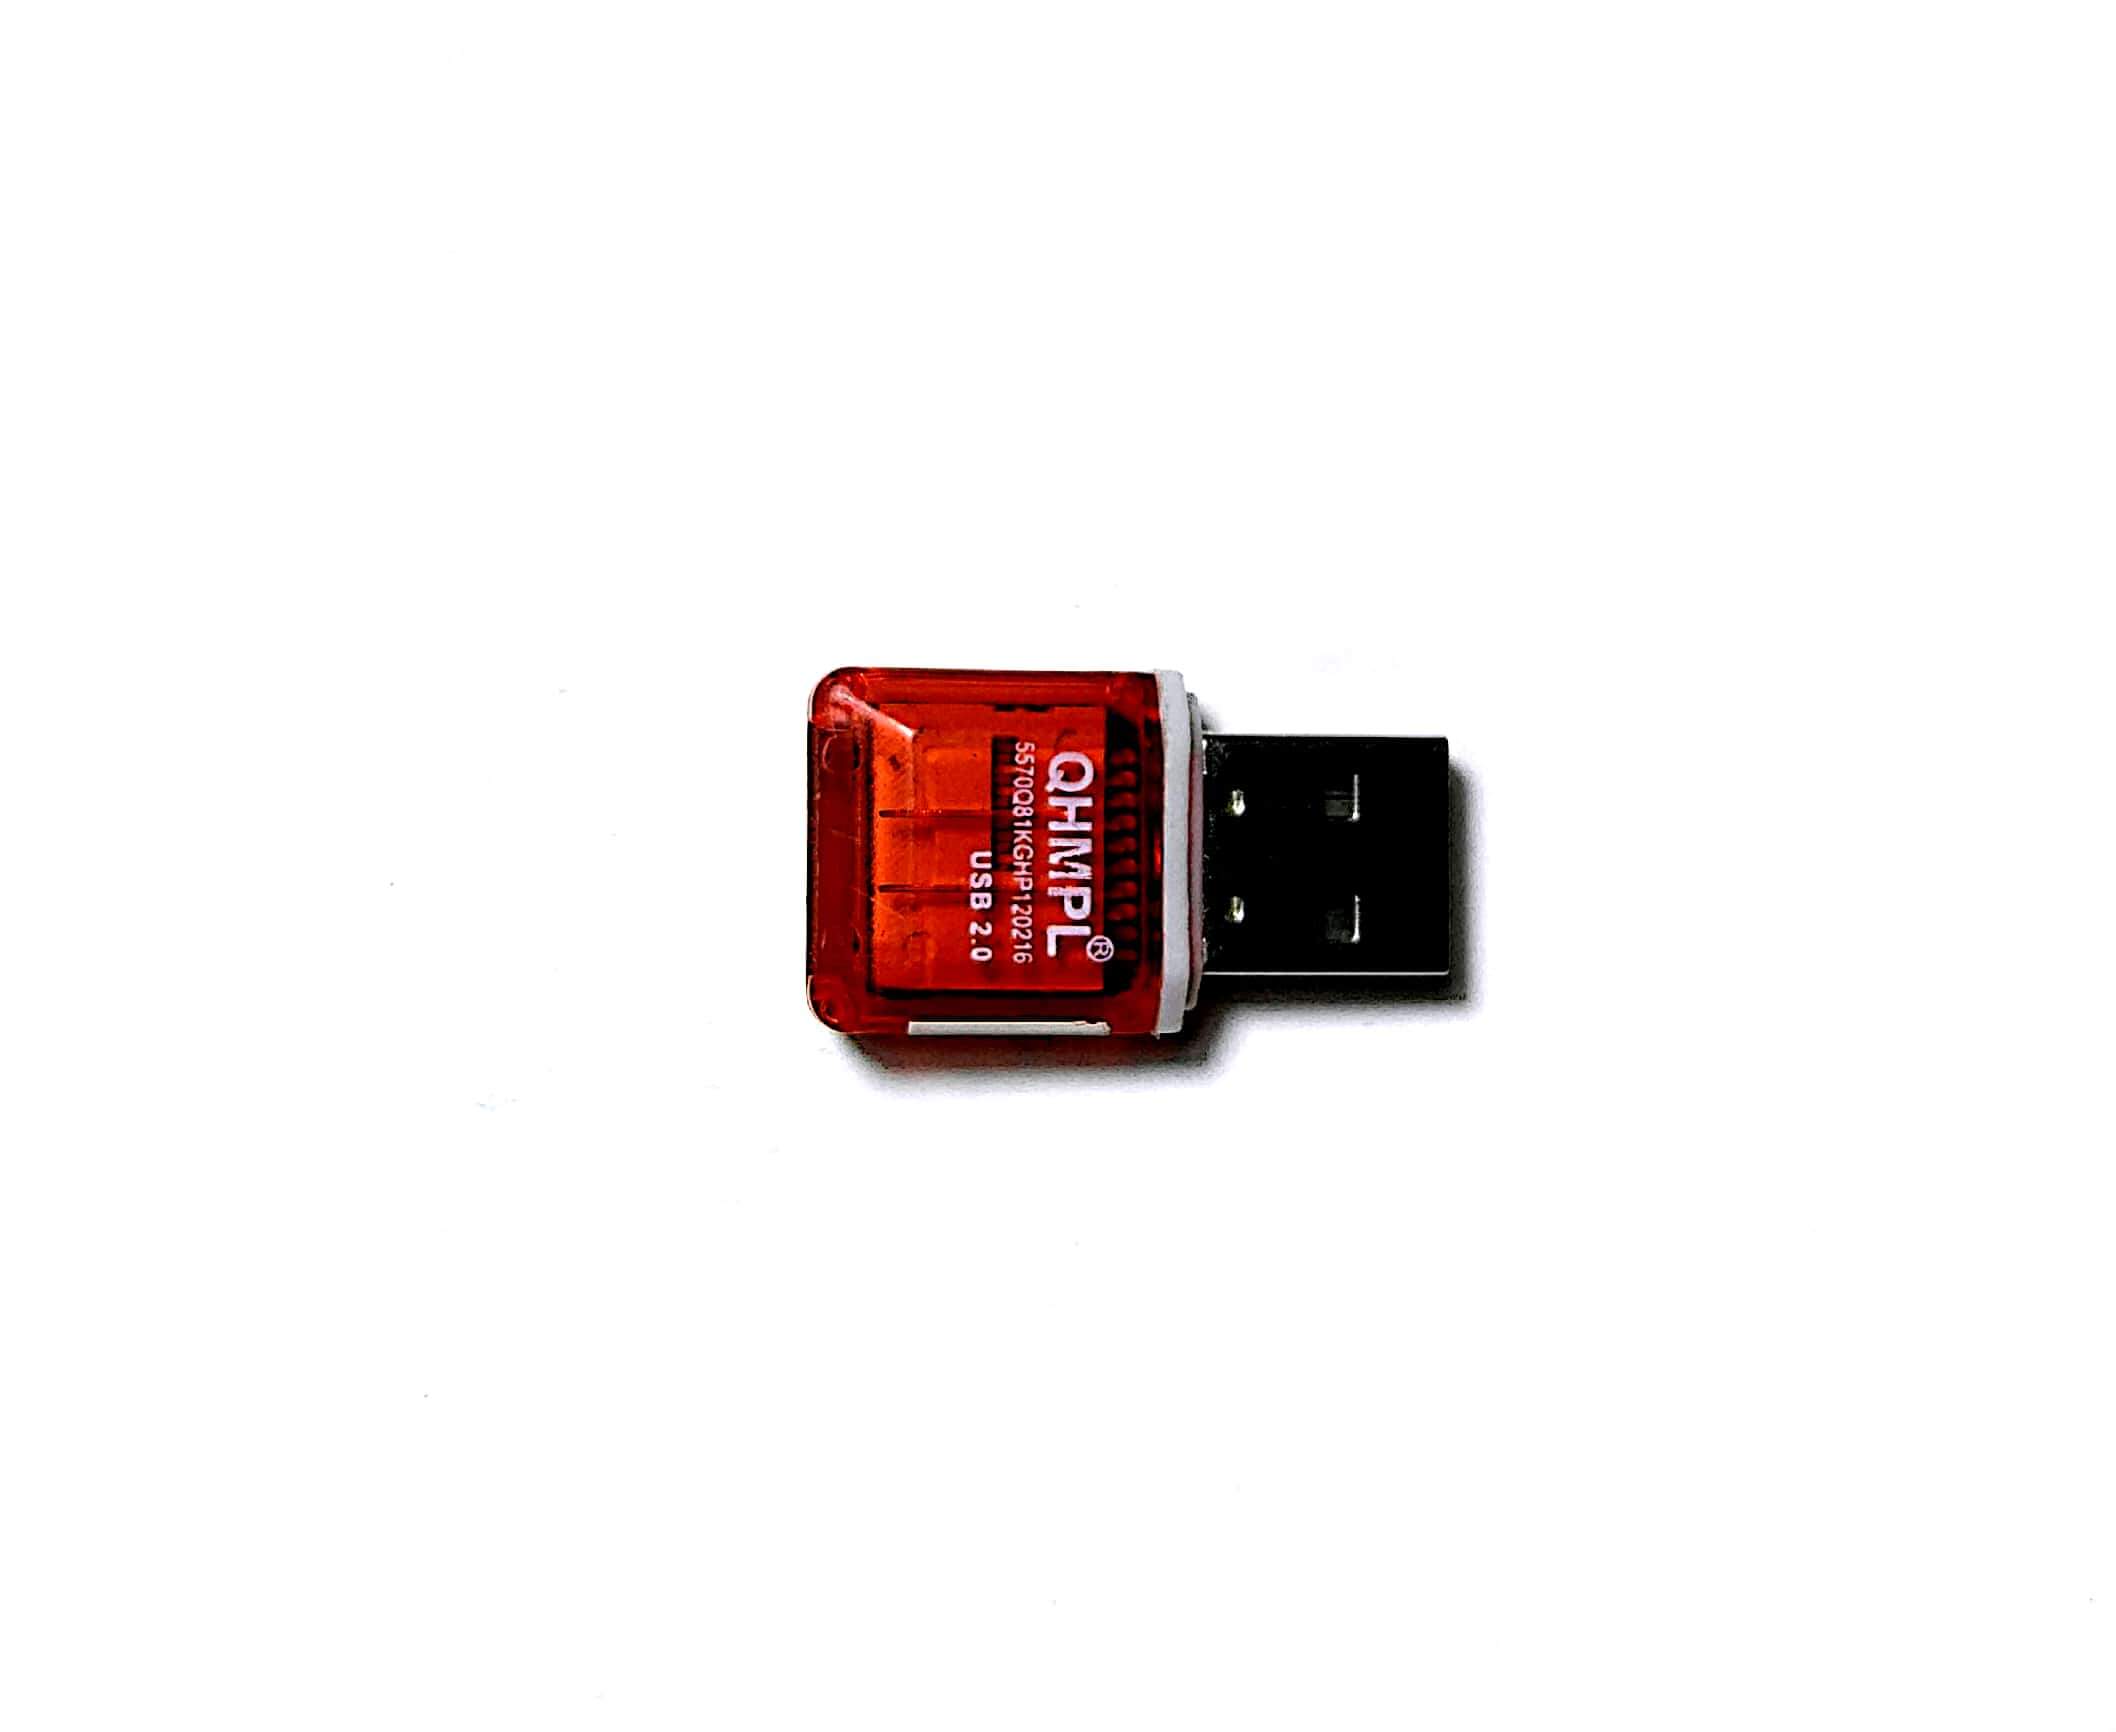
Step 7: Now, grab a card reader, it might look different in your case, but in our case it looks like as shown in the photo below.
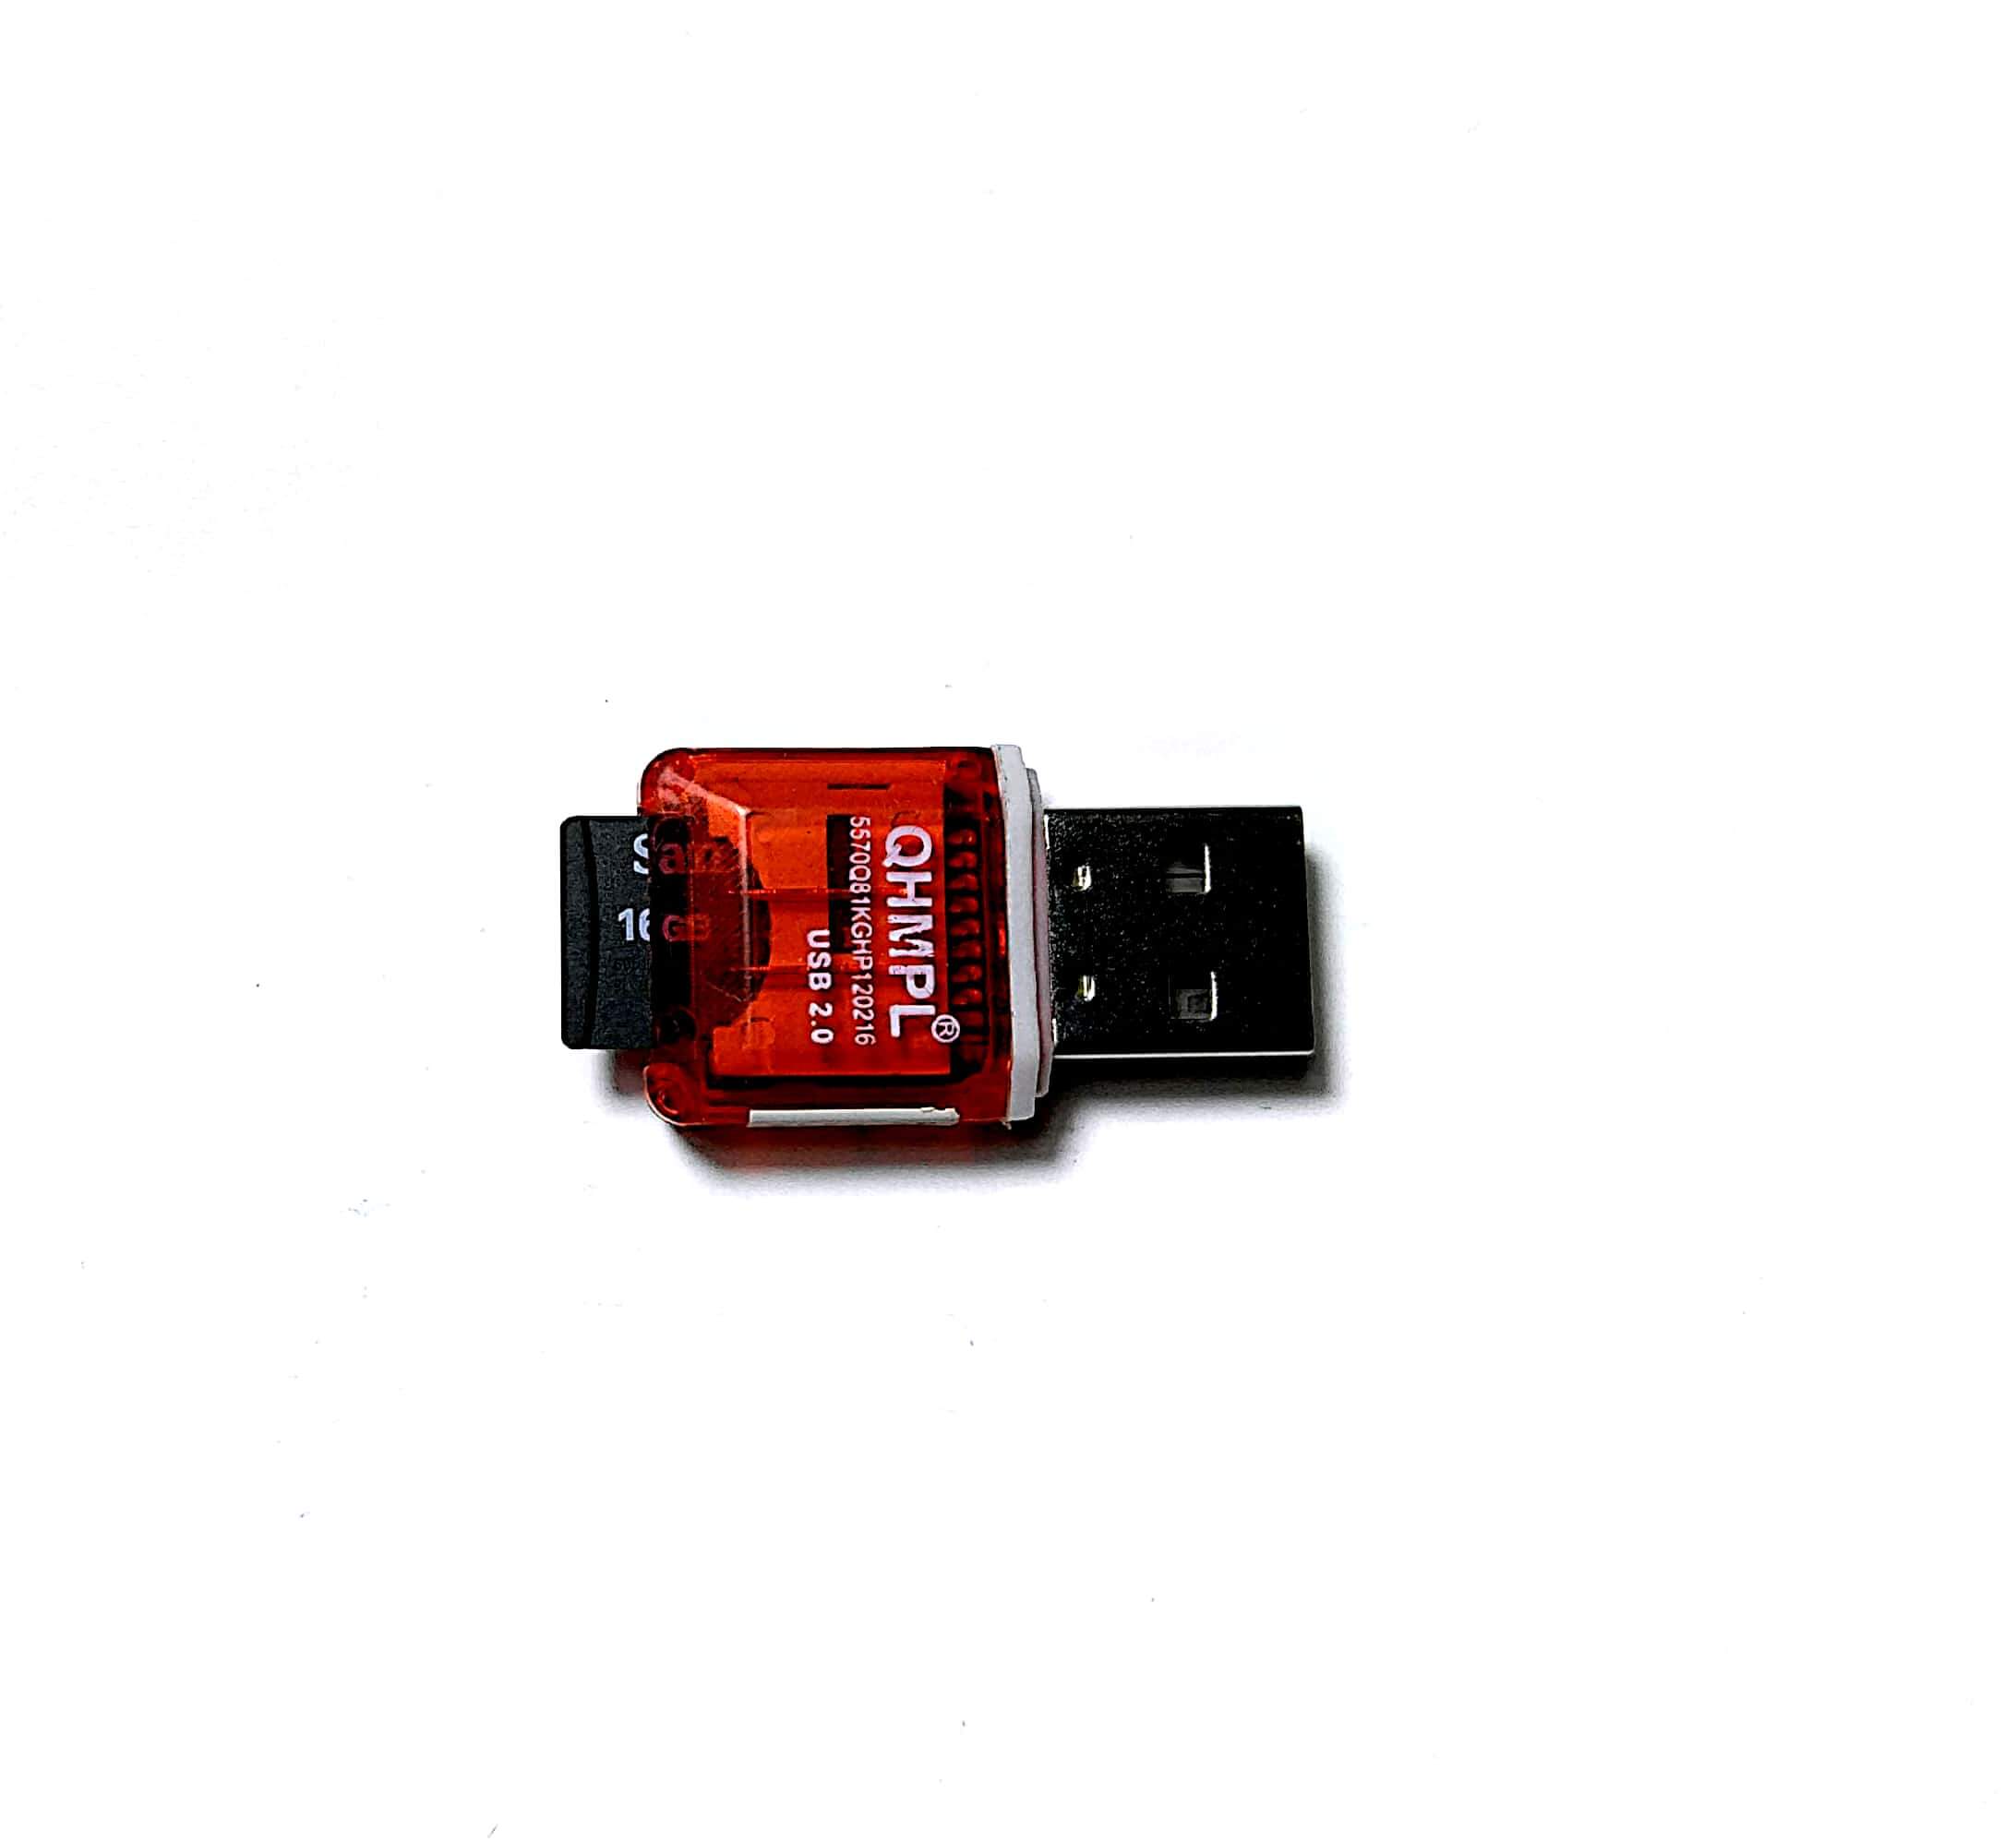
Step 8: Now, insert the “memory card” into the “card reader” as shown below.
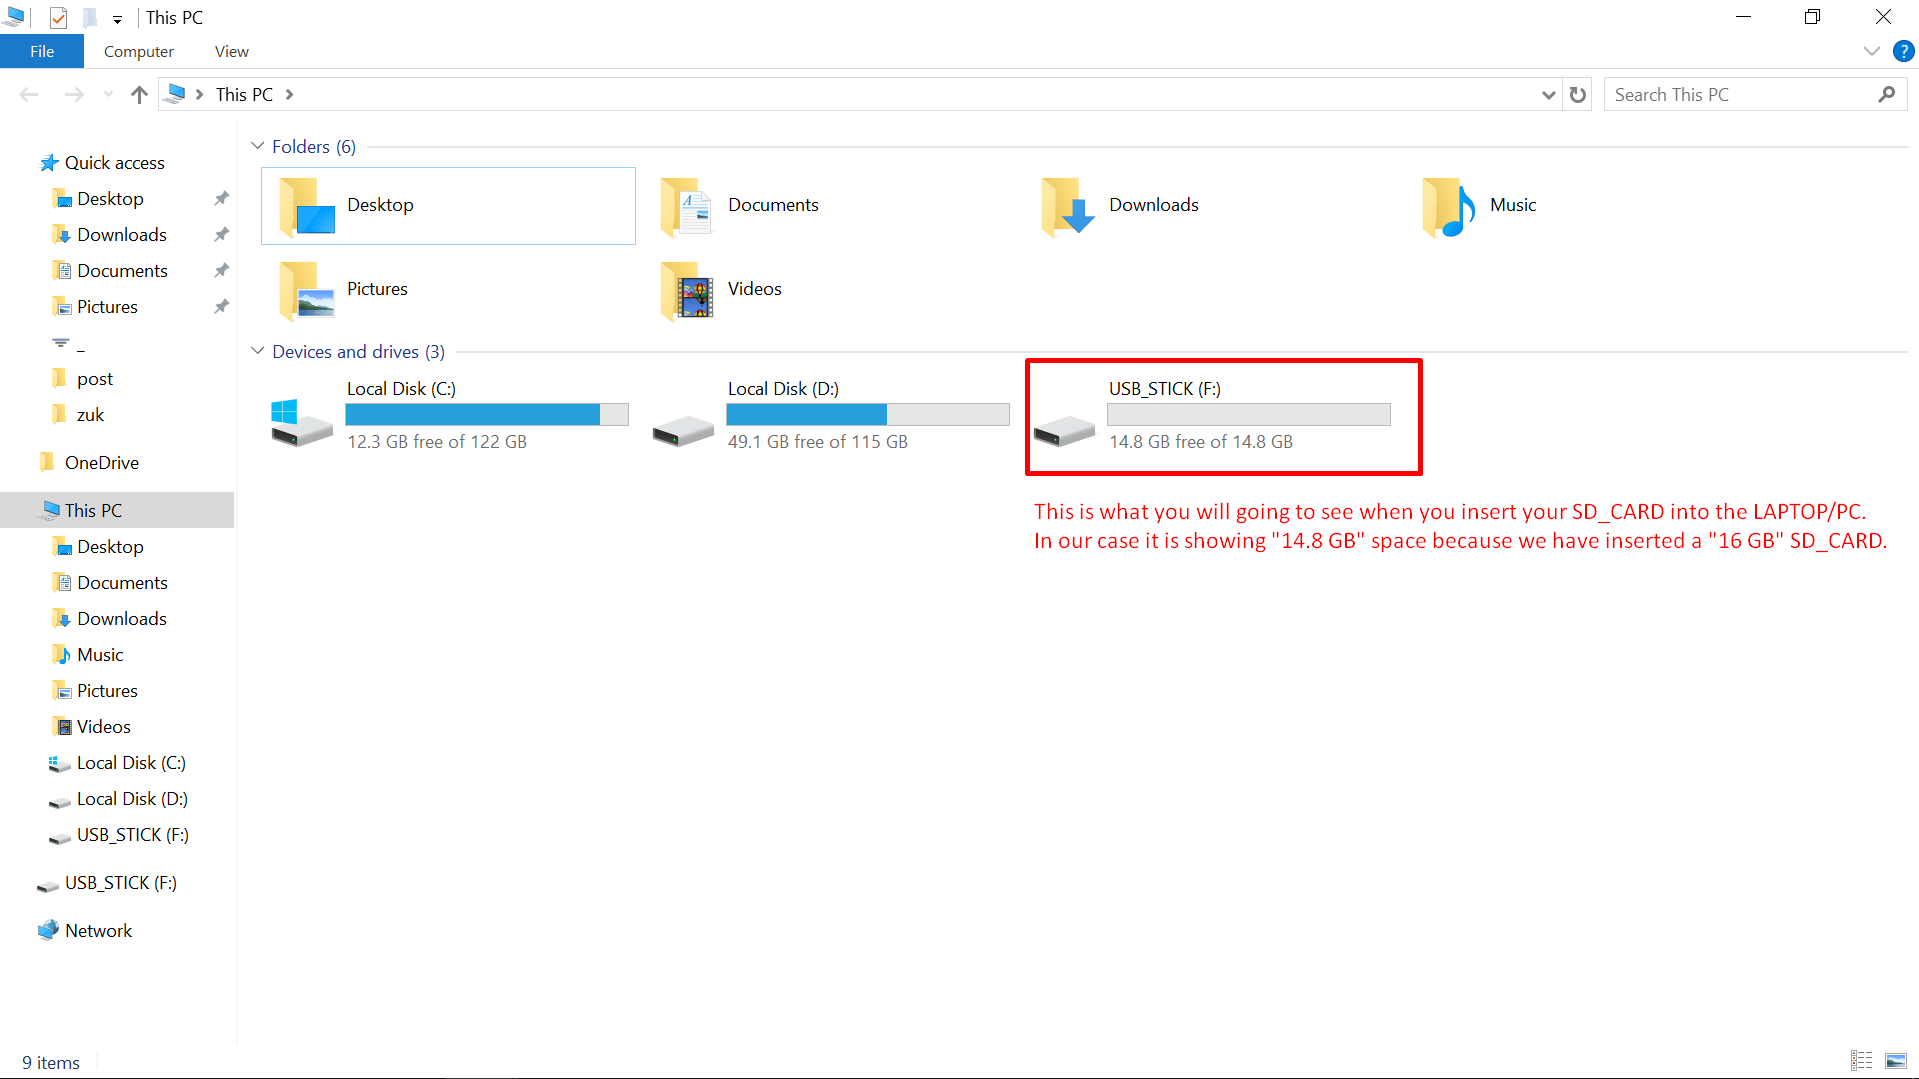
Step 9: Now, it is time to plug our “card reader” into the “USB port” of laptop of computer.
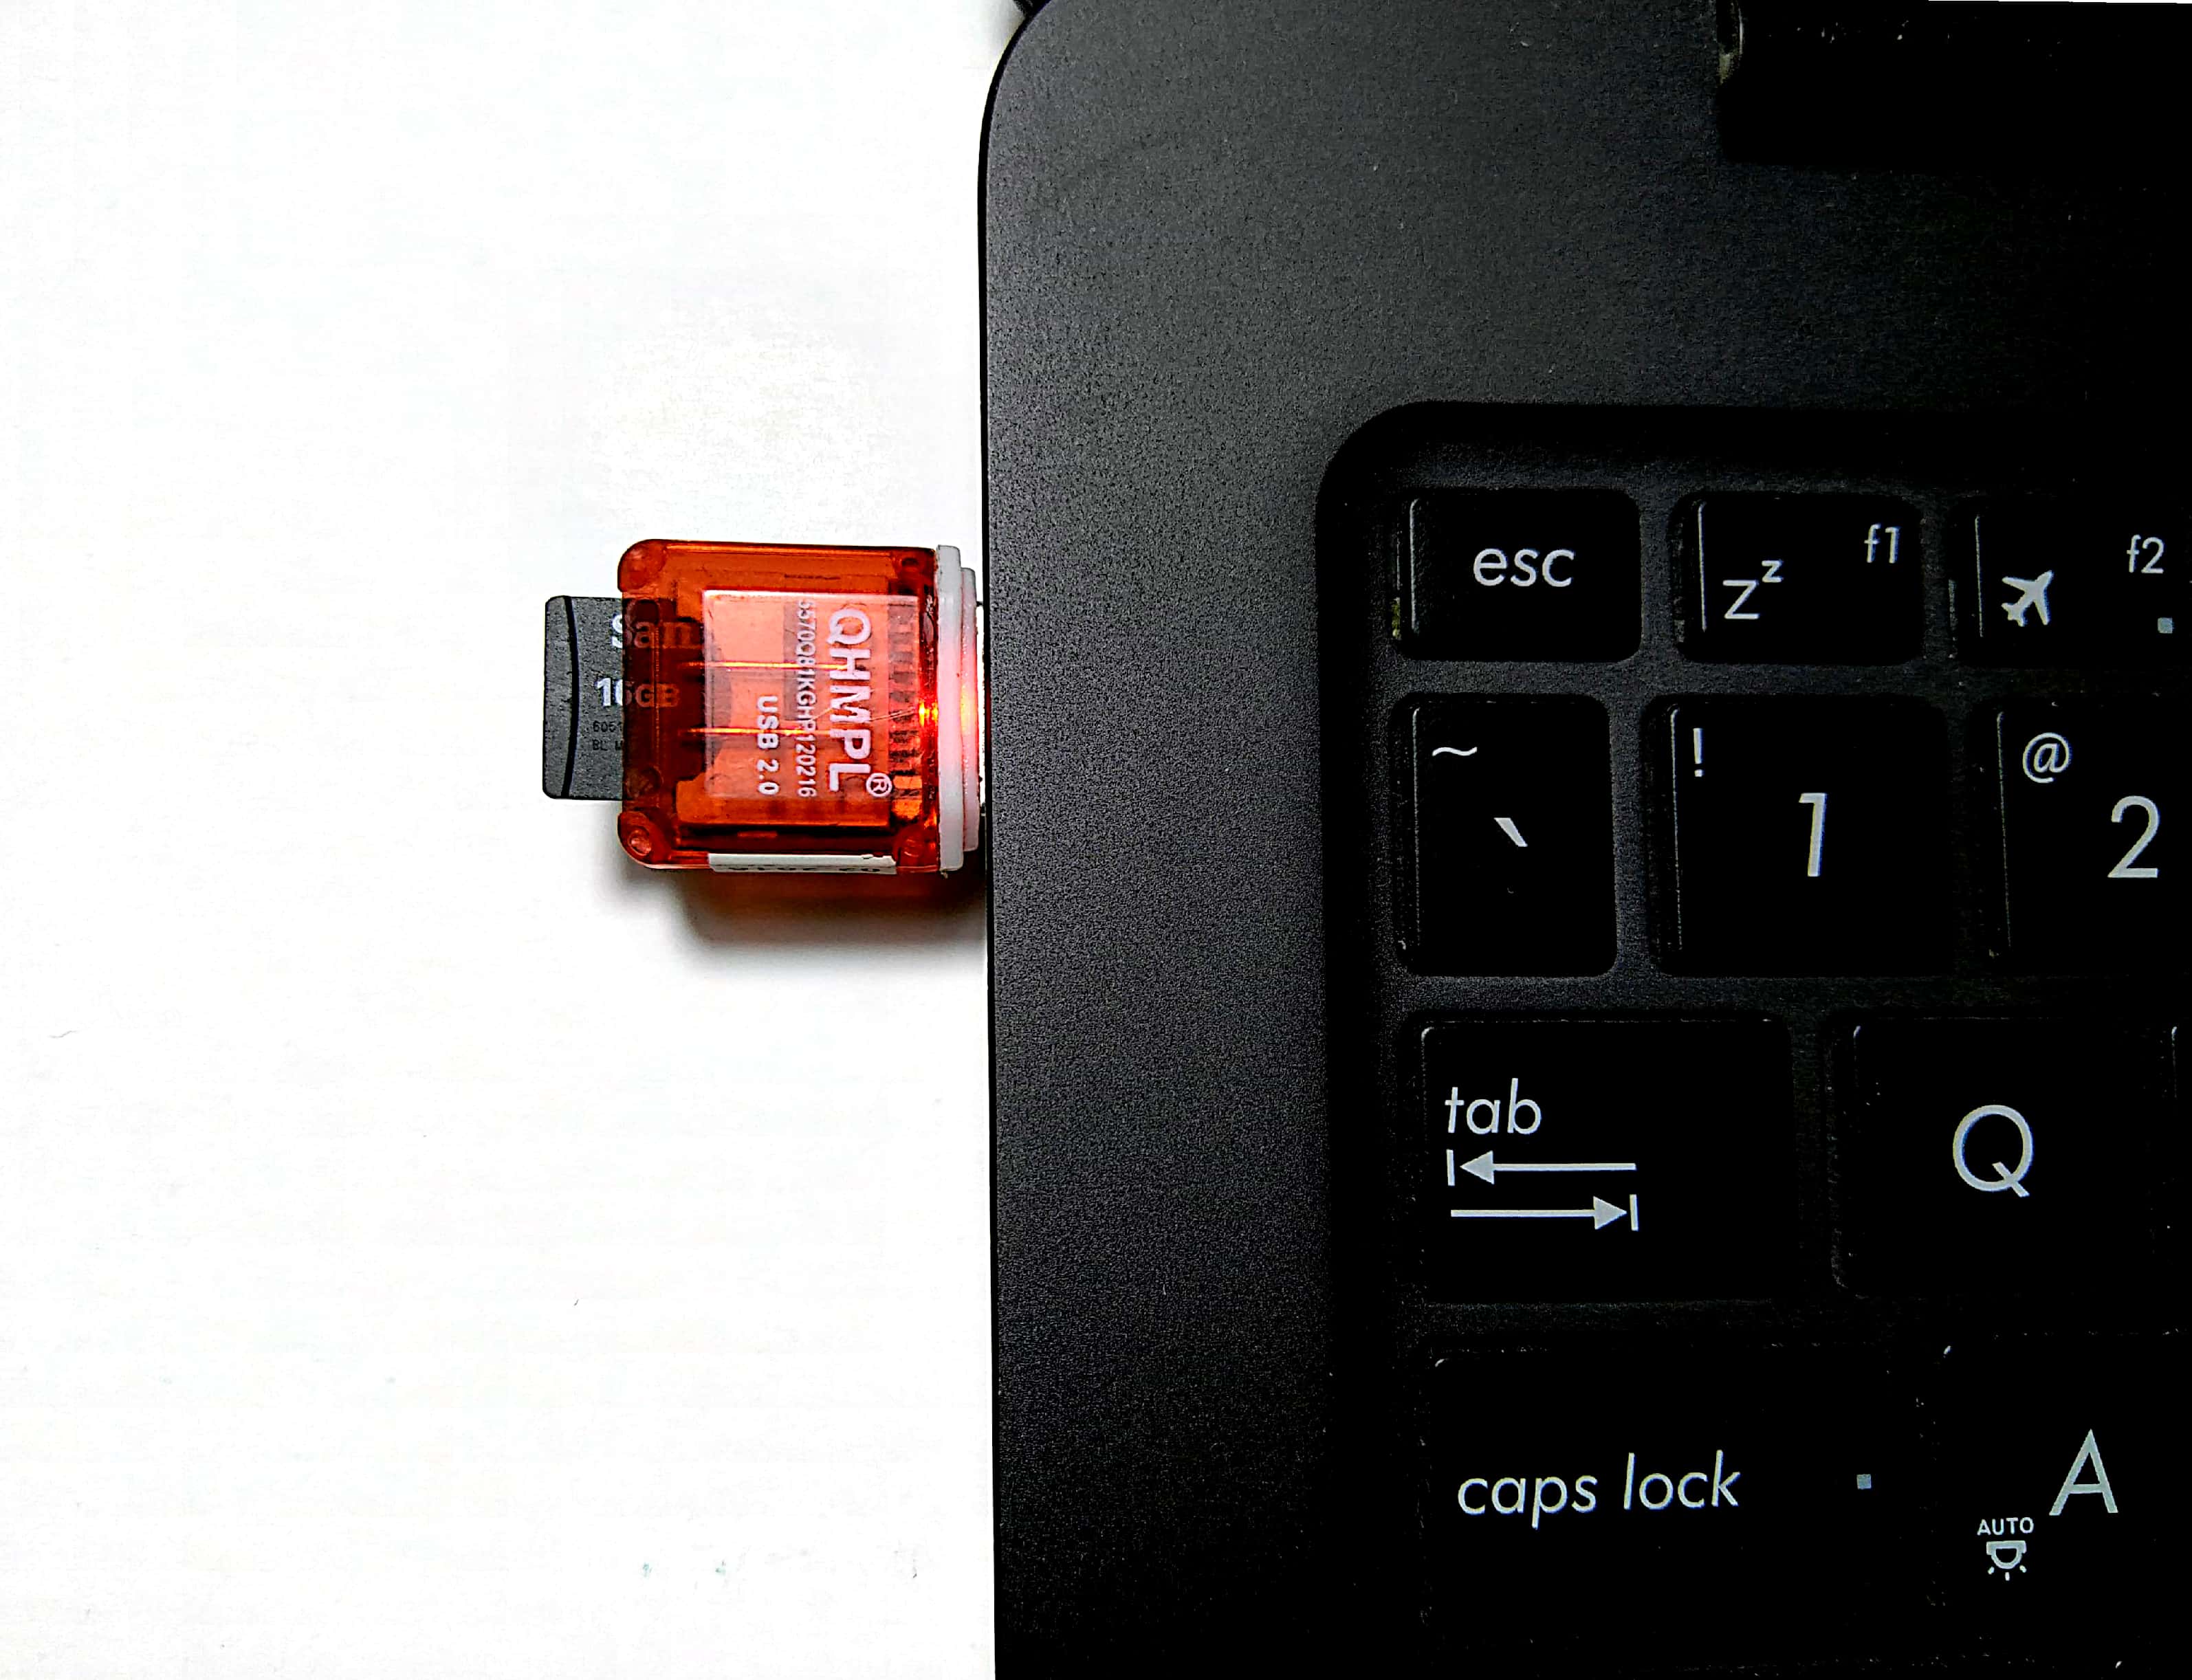
Step 10: From the image below, you can take it as a
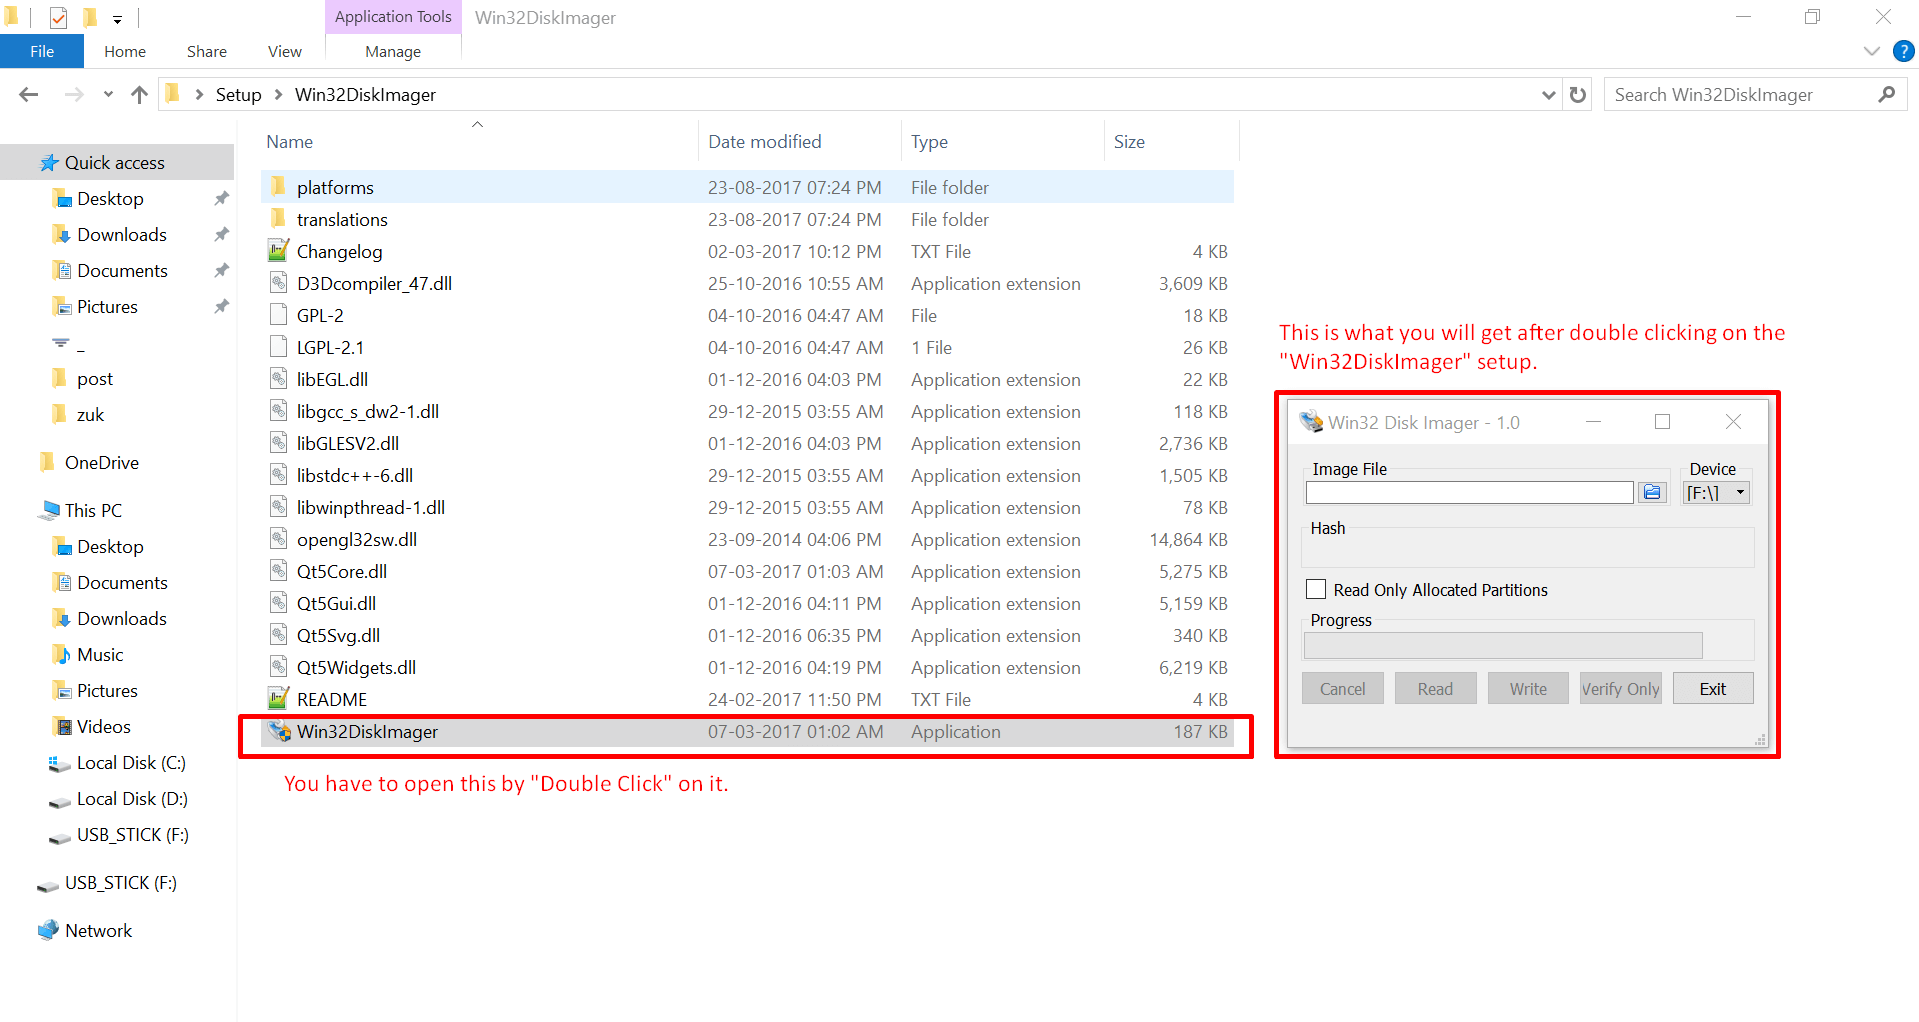
Step 11: Now, open the previously downloaded “Win32 disk imager” as shown in the screenshot below – Raspberry Pi headless set up.
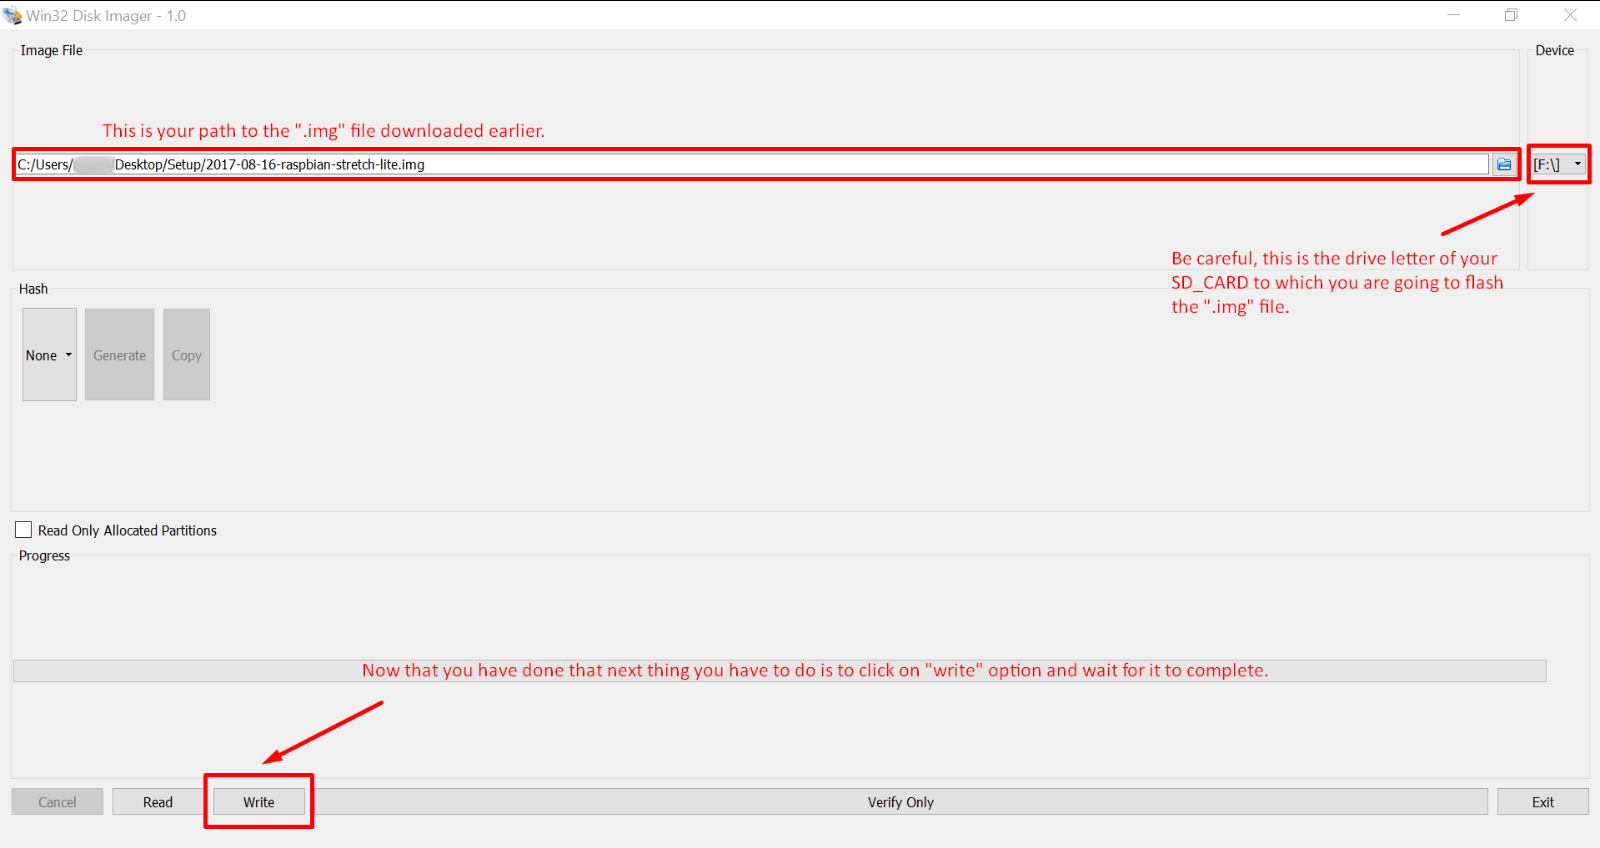
Step 12: It is time to flash the “Raspbian Stretch lite OS” onto the connected memory card, you have to navigate through your system and attach the “.img” file as well as select the “drive letter” for your memory card and click on “write“. Look at the image below for the reference.
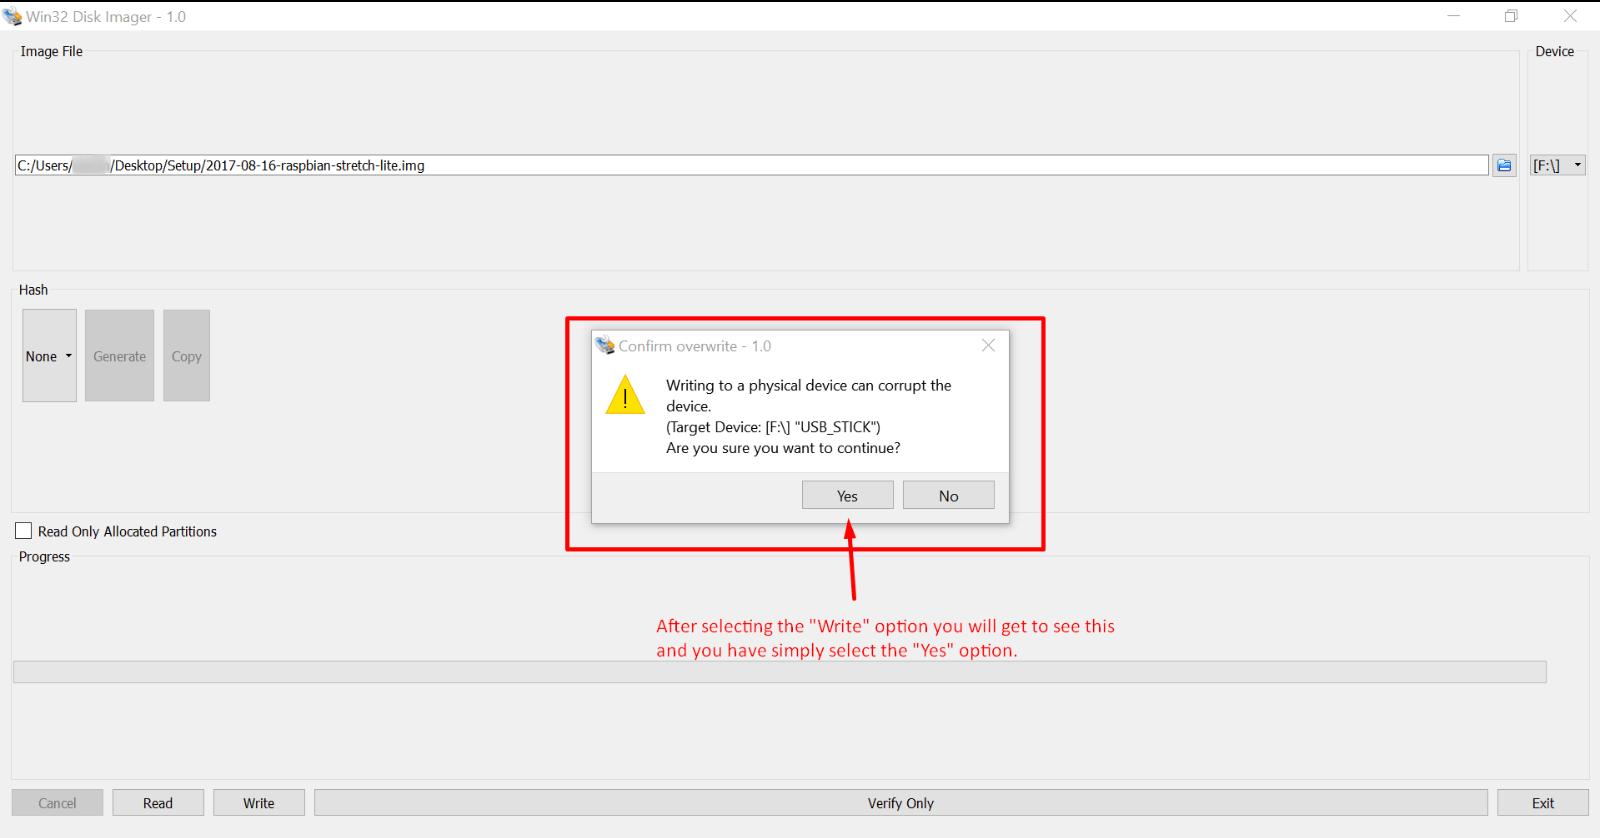
Step 13: At this screen, it is asking for confirmation to “overwrite” any existing data on the memory card.
Simply select “Yes“
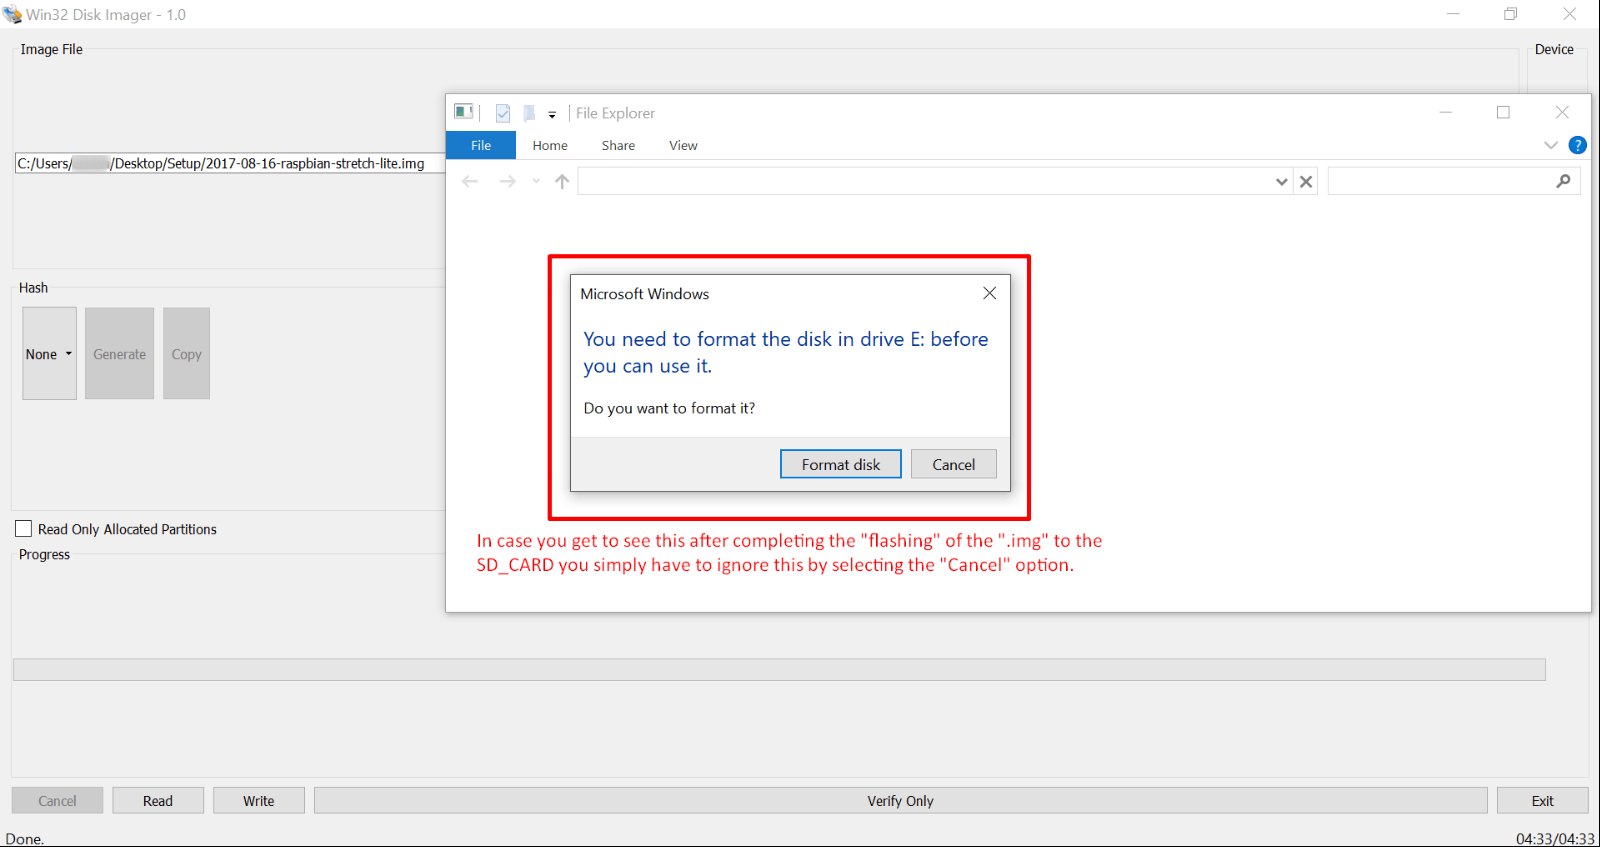
Step 14: On this screen, the program is asking for confirmation on “formatting” the data, you should select the “Format” option – Raspberry Pi headless set up.
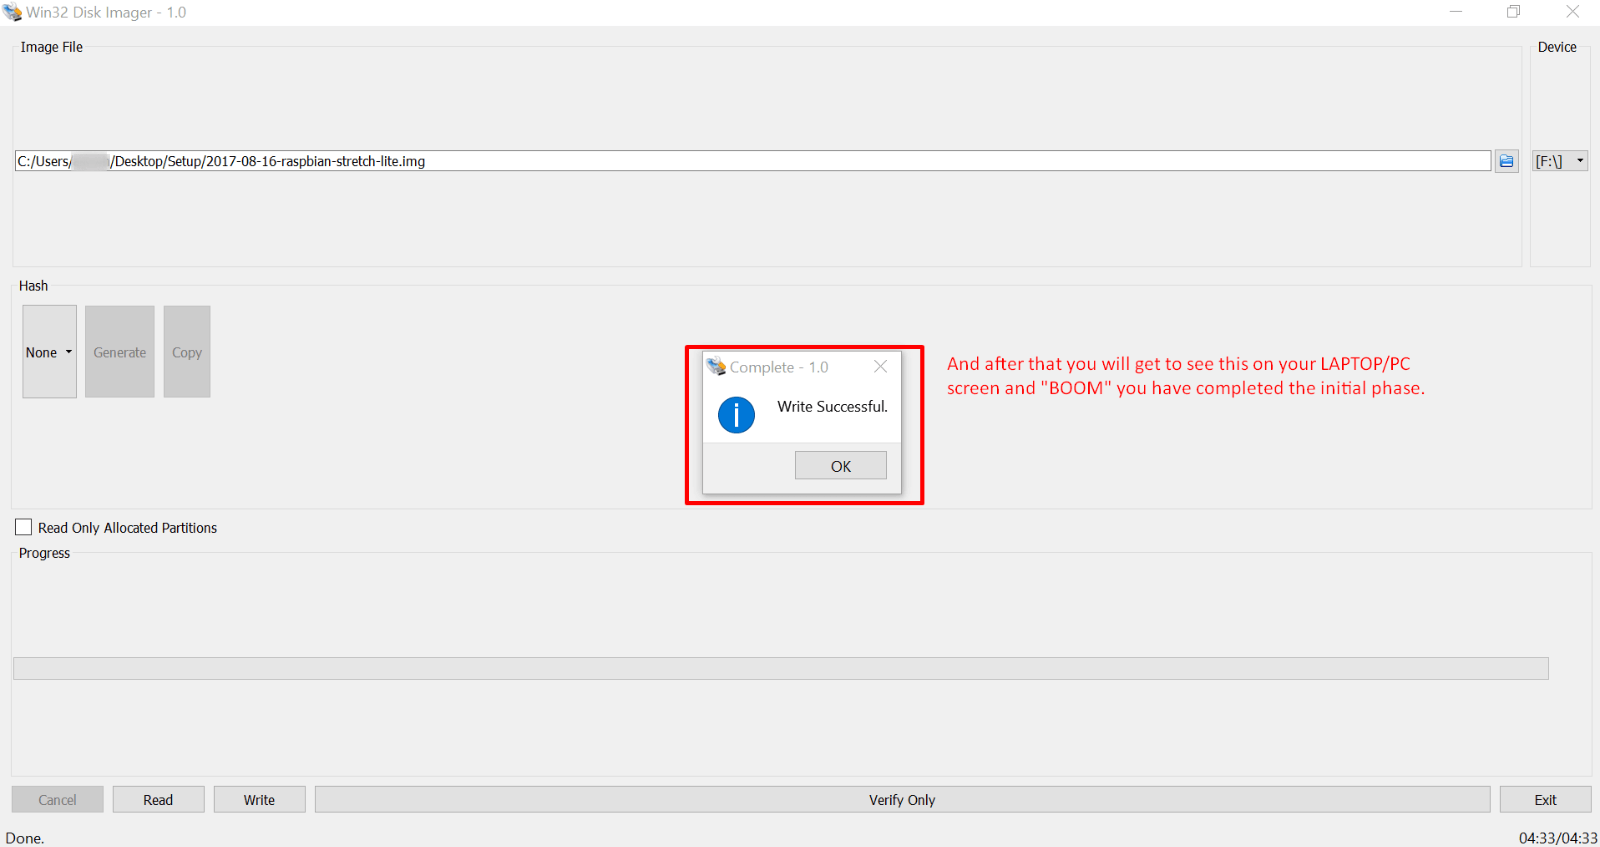
Step 15: After that, it will take some time and you will be seeing something like shown in the photo below, with a “Write Successful” message.
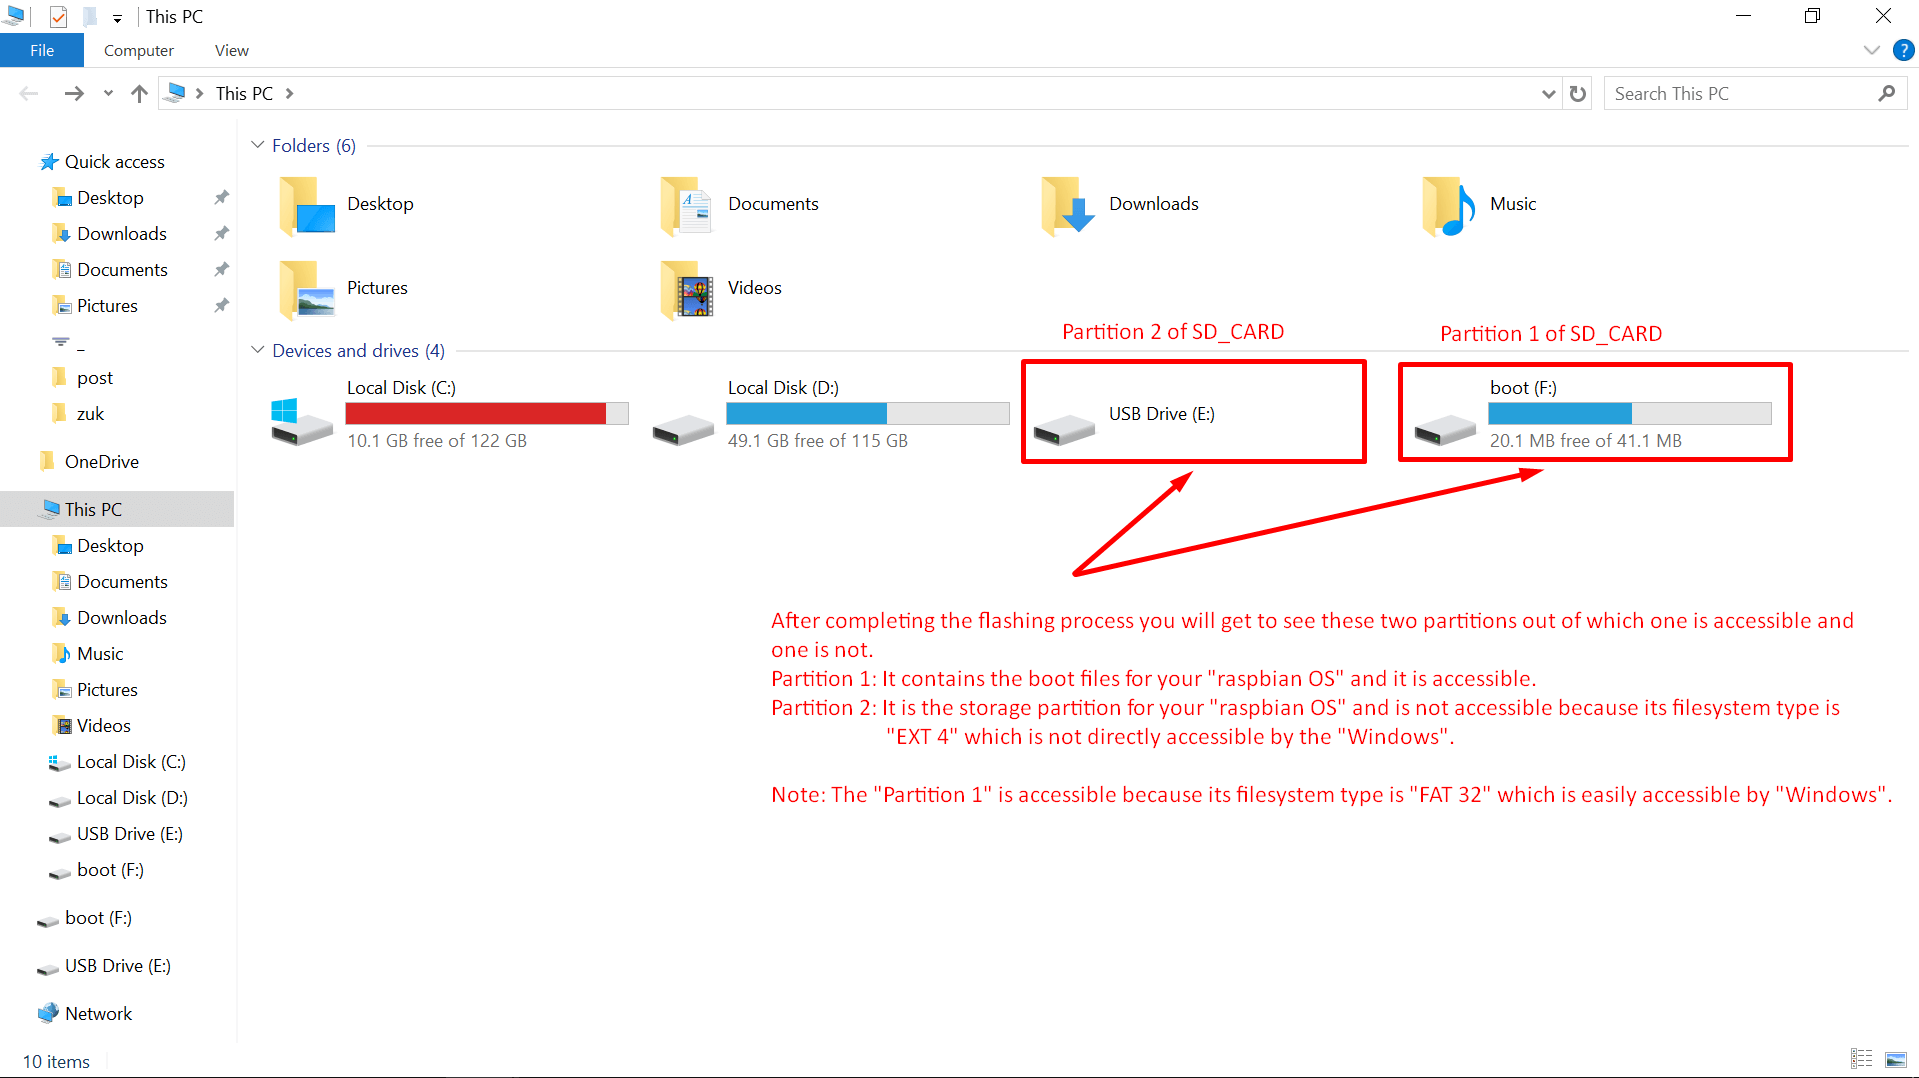
Step 16: After that you will see as shown below, that the memory is now divided into two partitions and the explanation of the same is written in the picture below.
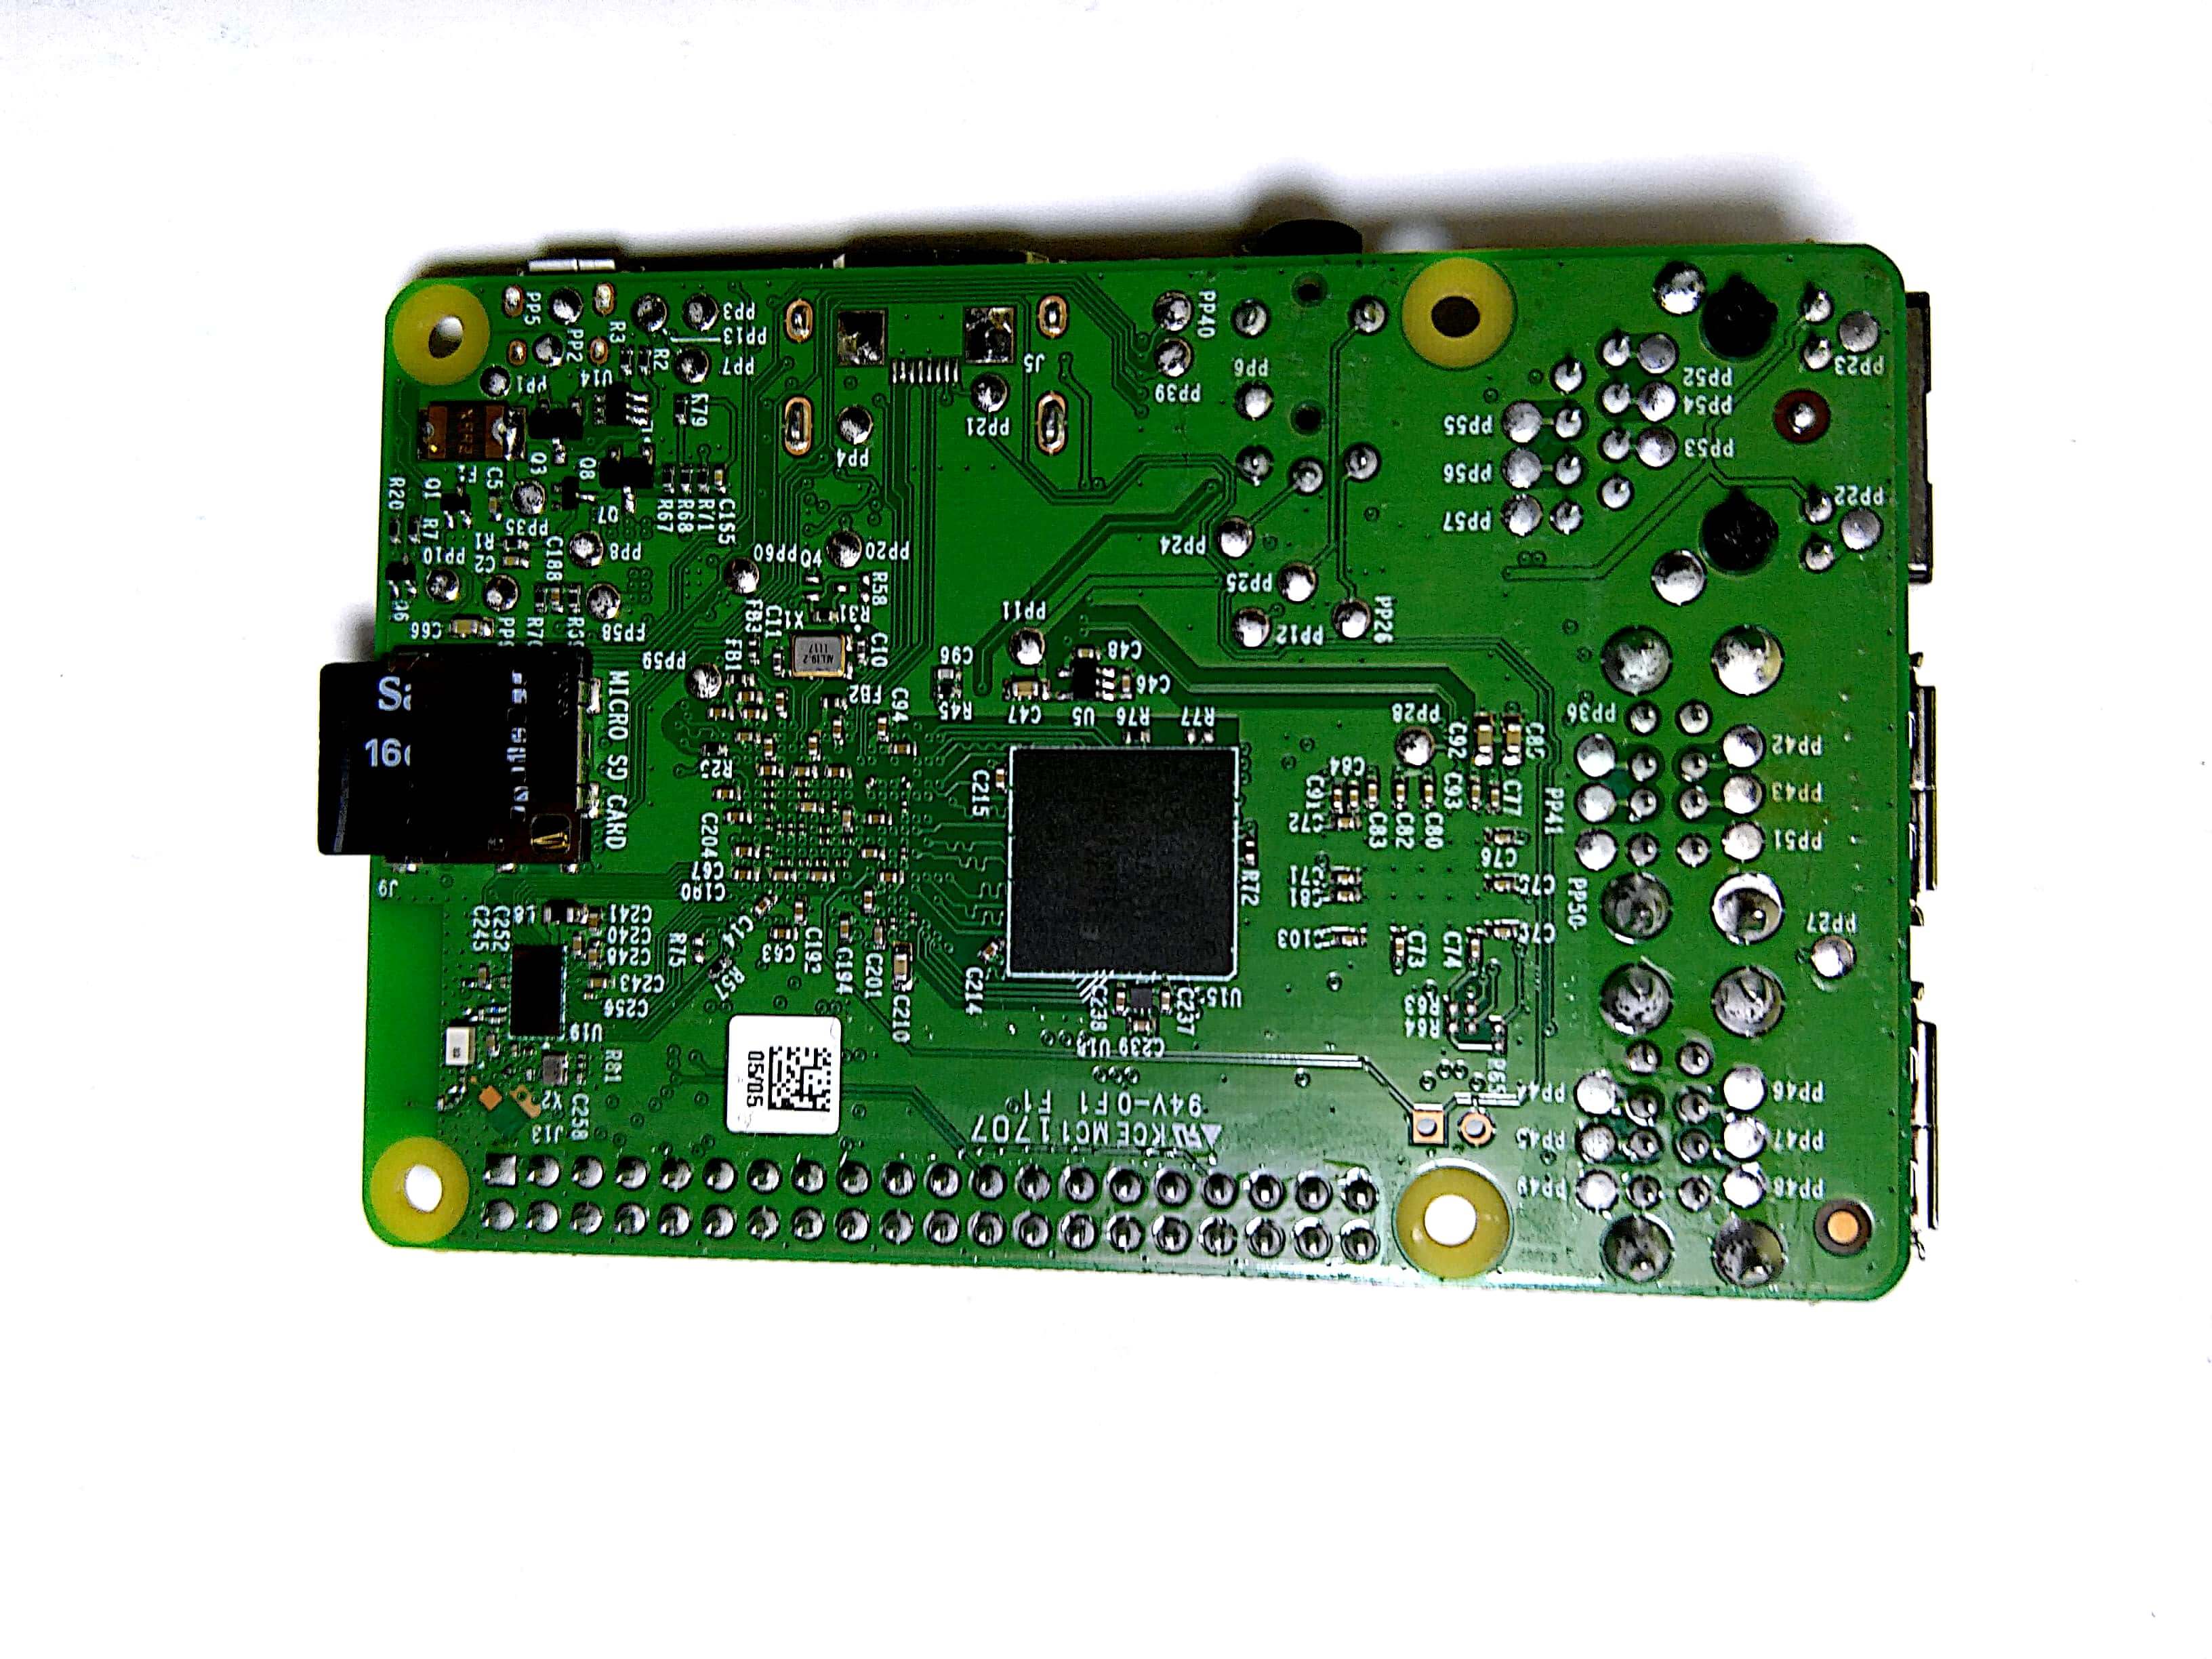
Step 17: Now that we have completed all the steps discussed above, we have our “Raspbian Stretch lite OS” successfully installed on the memory card, it should be inserted into the “Raspberry Pi“. But make sure, first to place the memory card exactly as shown below.
Step 18: After the successful insertion of the “Memory Card” into the “Memory Card Slot” on “Raspberry Pi“. It must look like shown below.
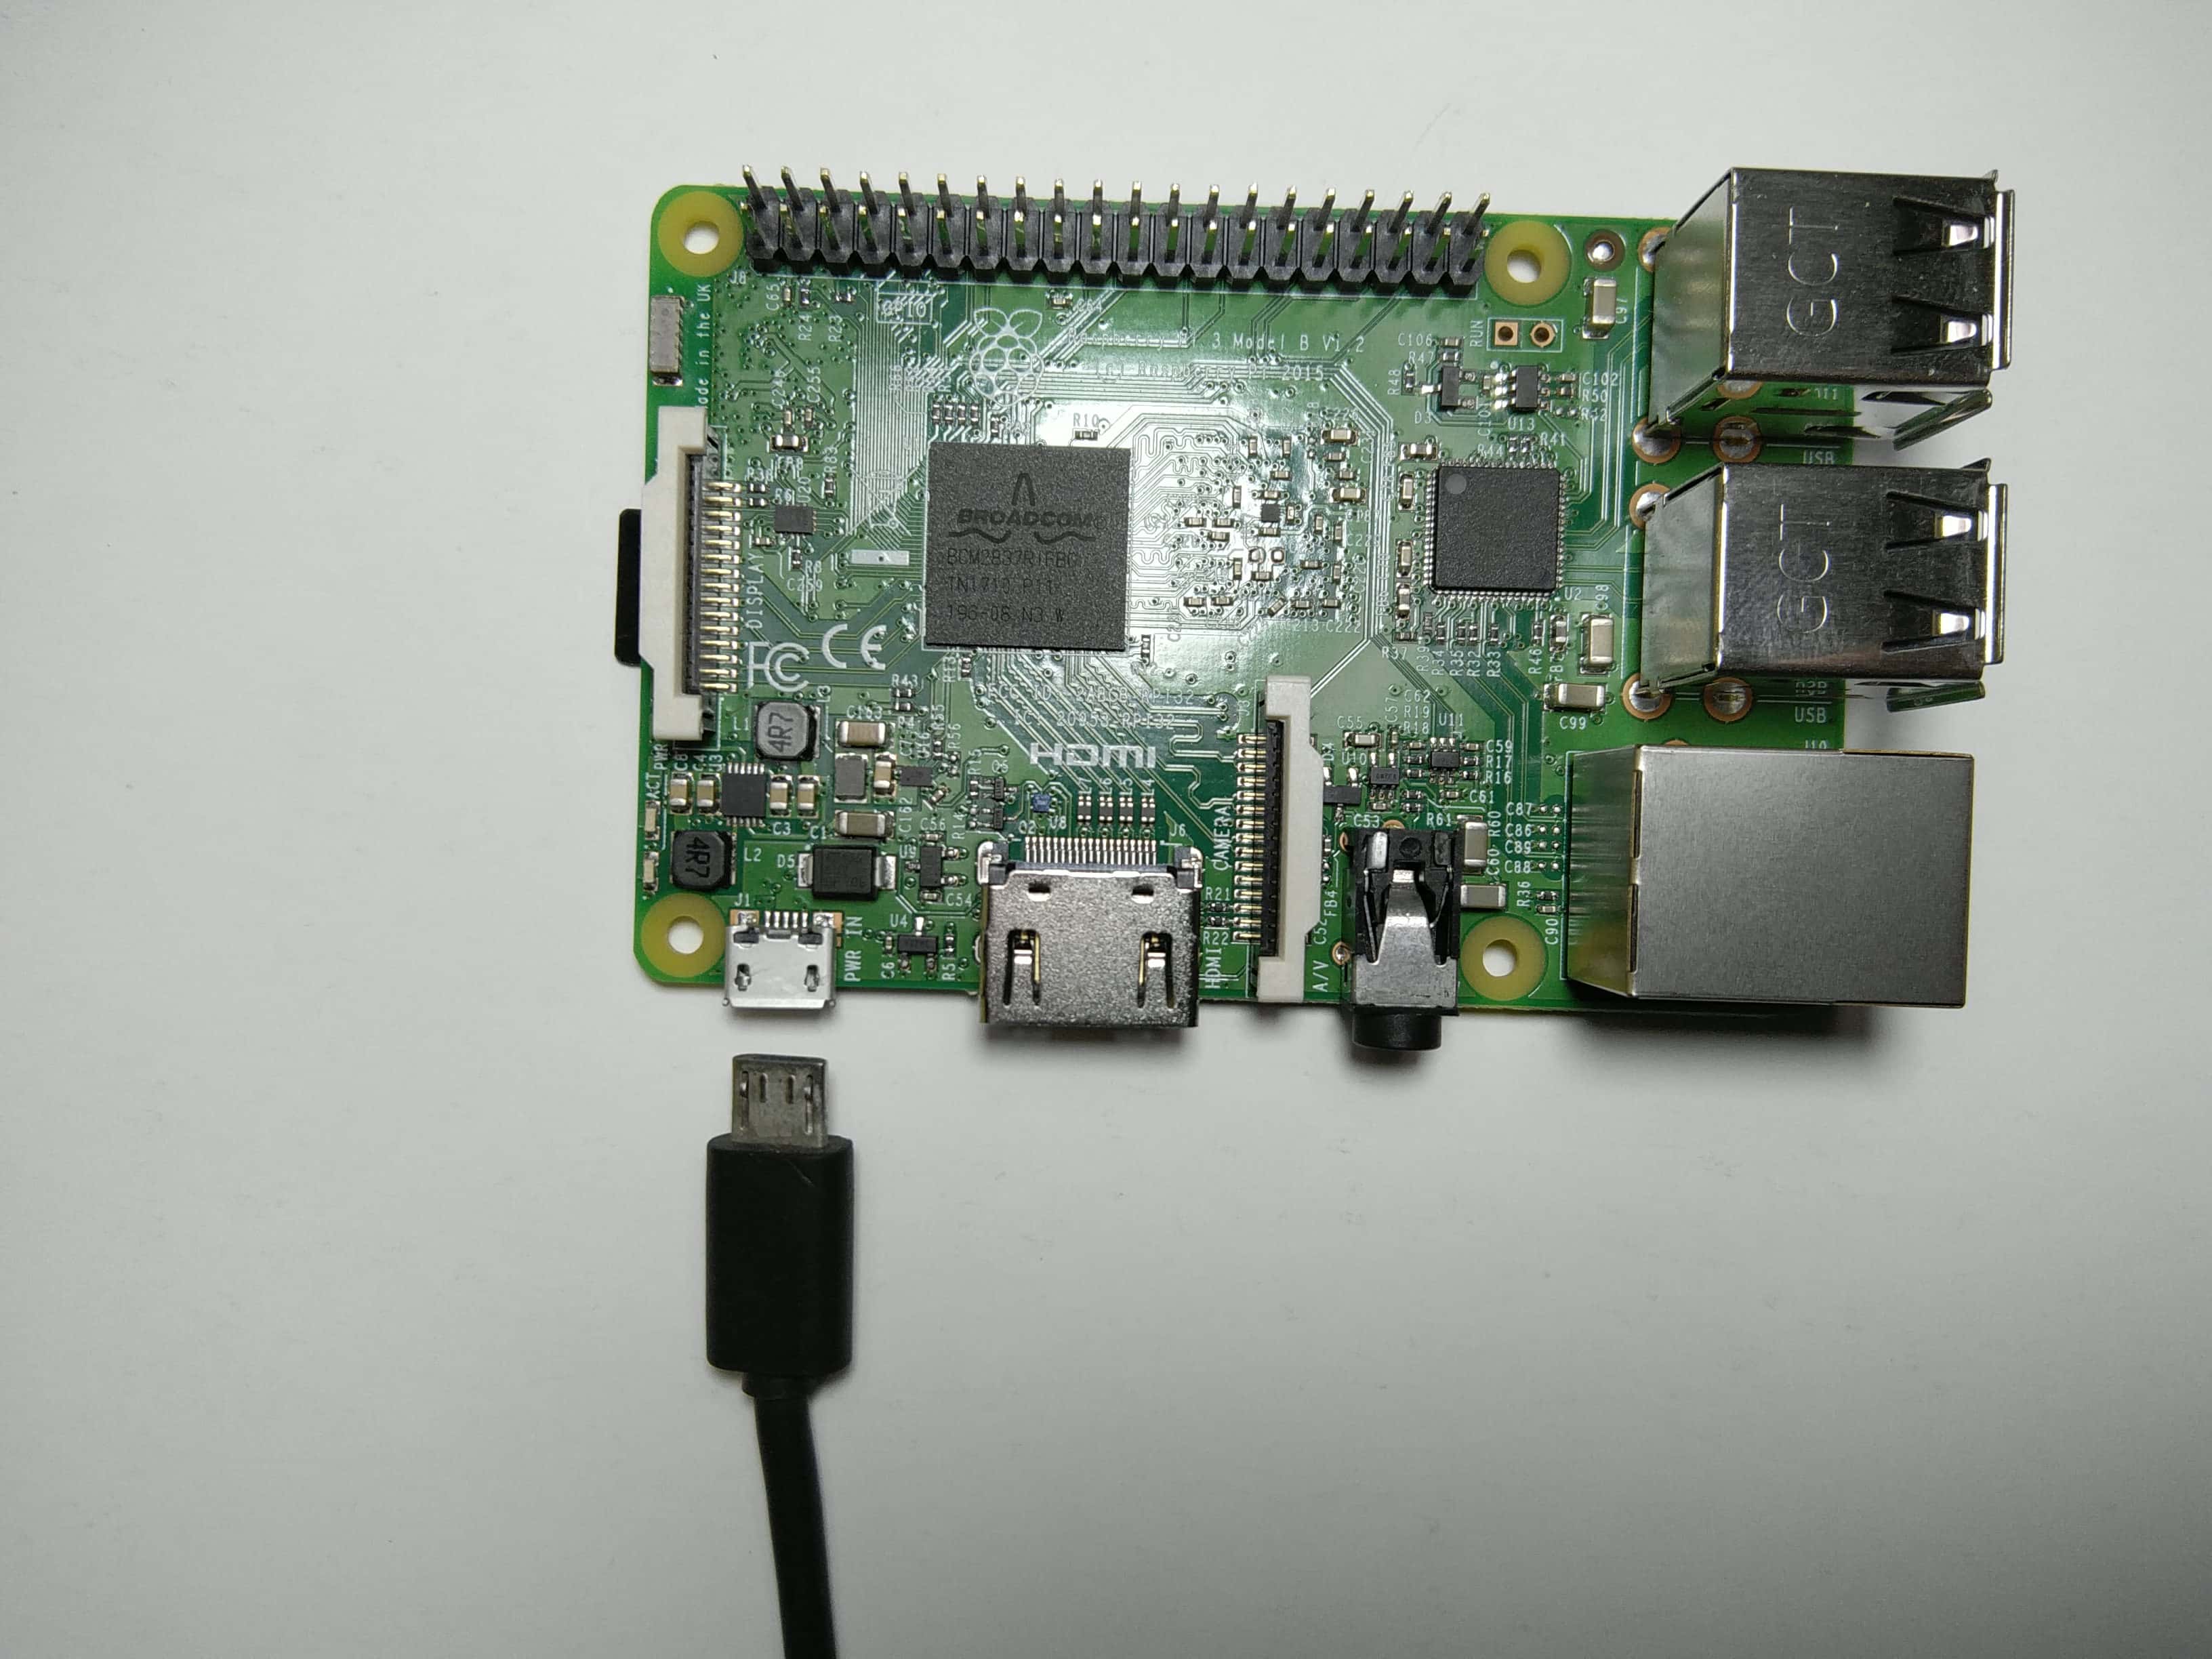
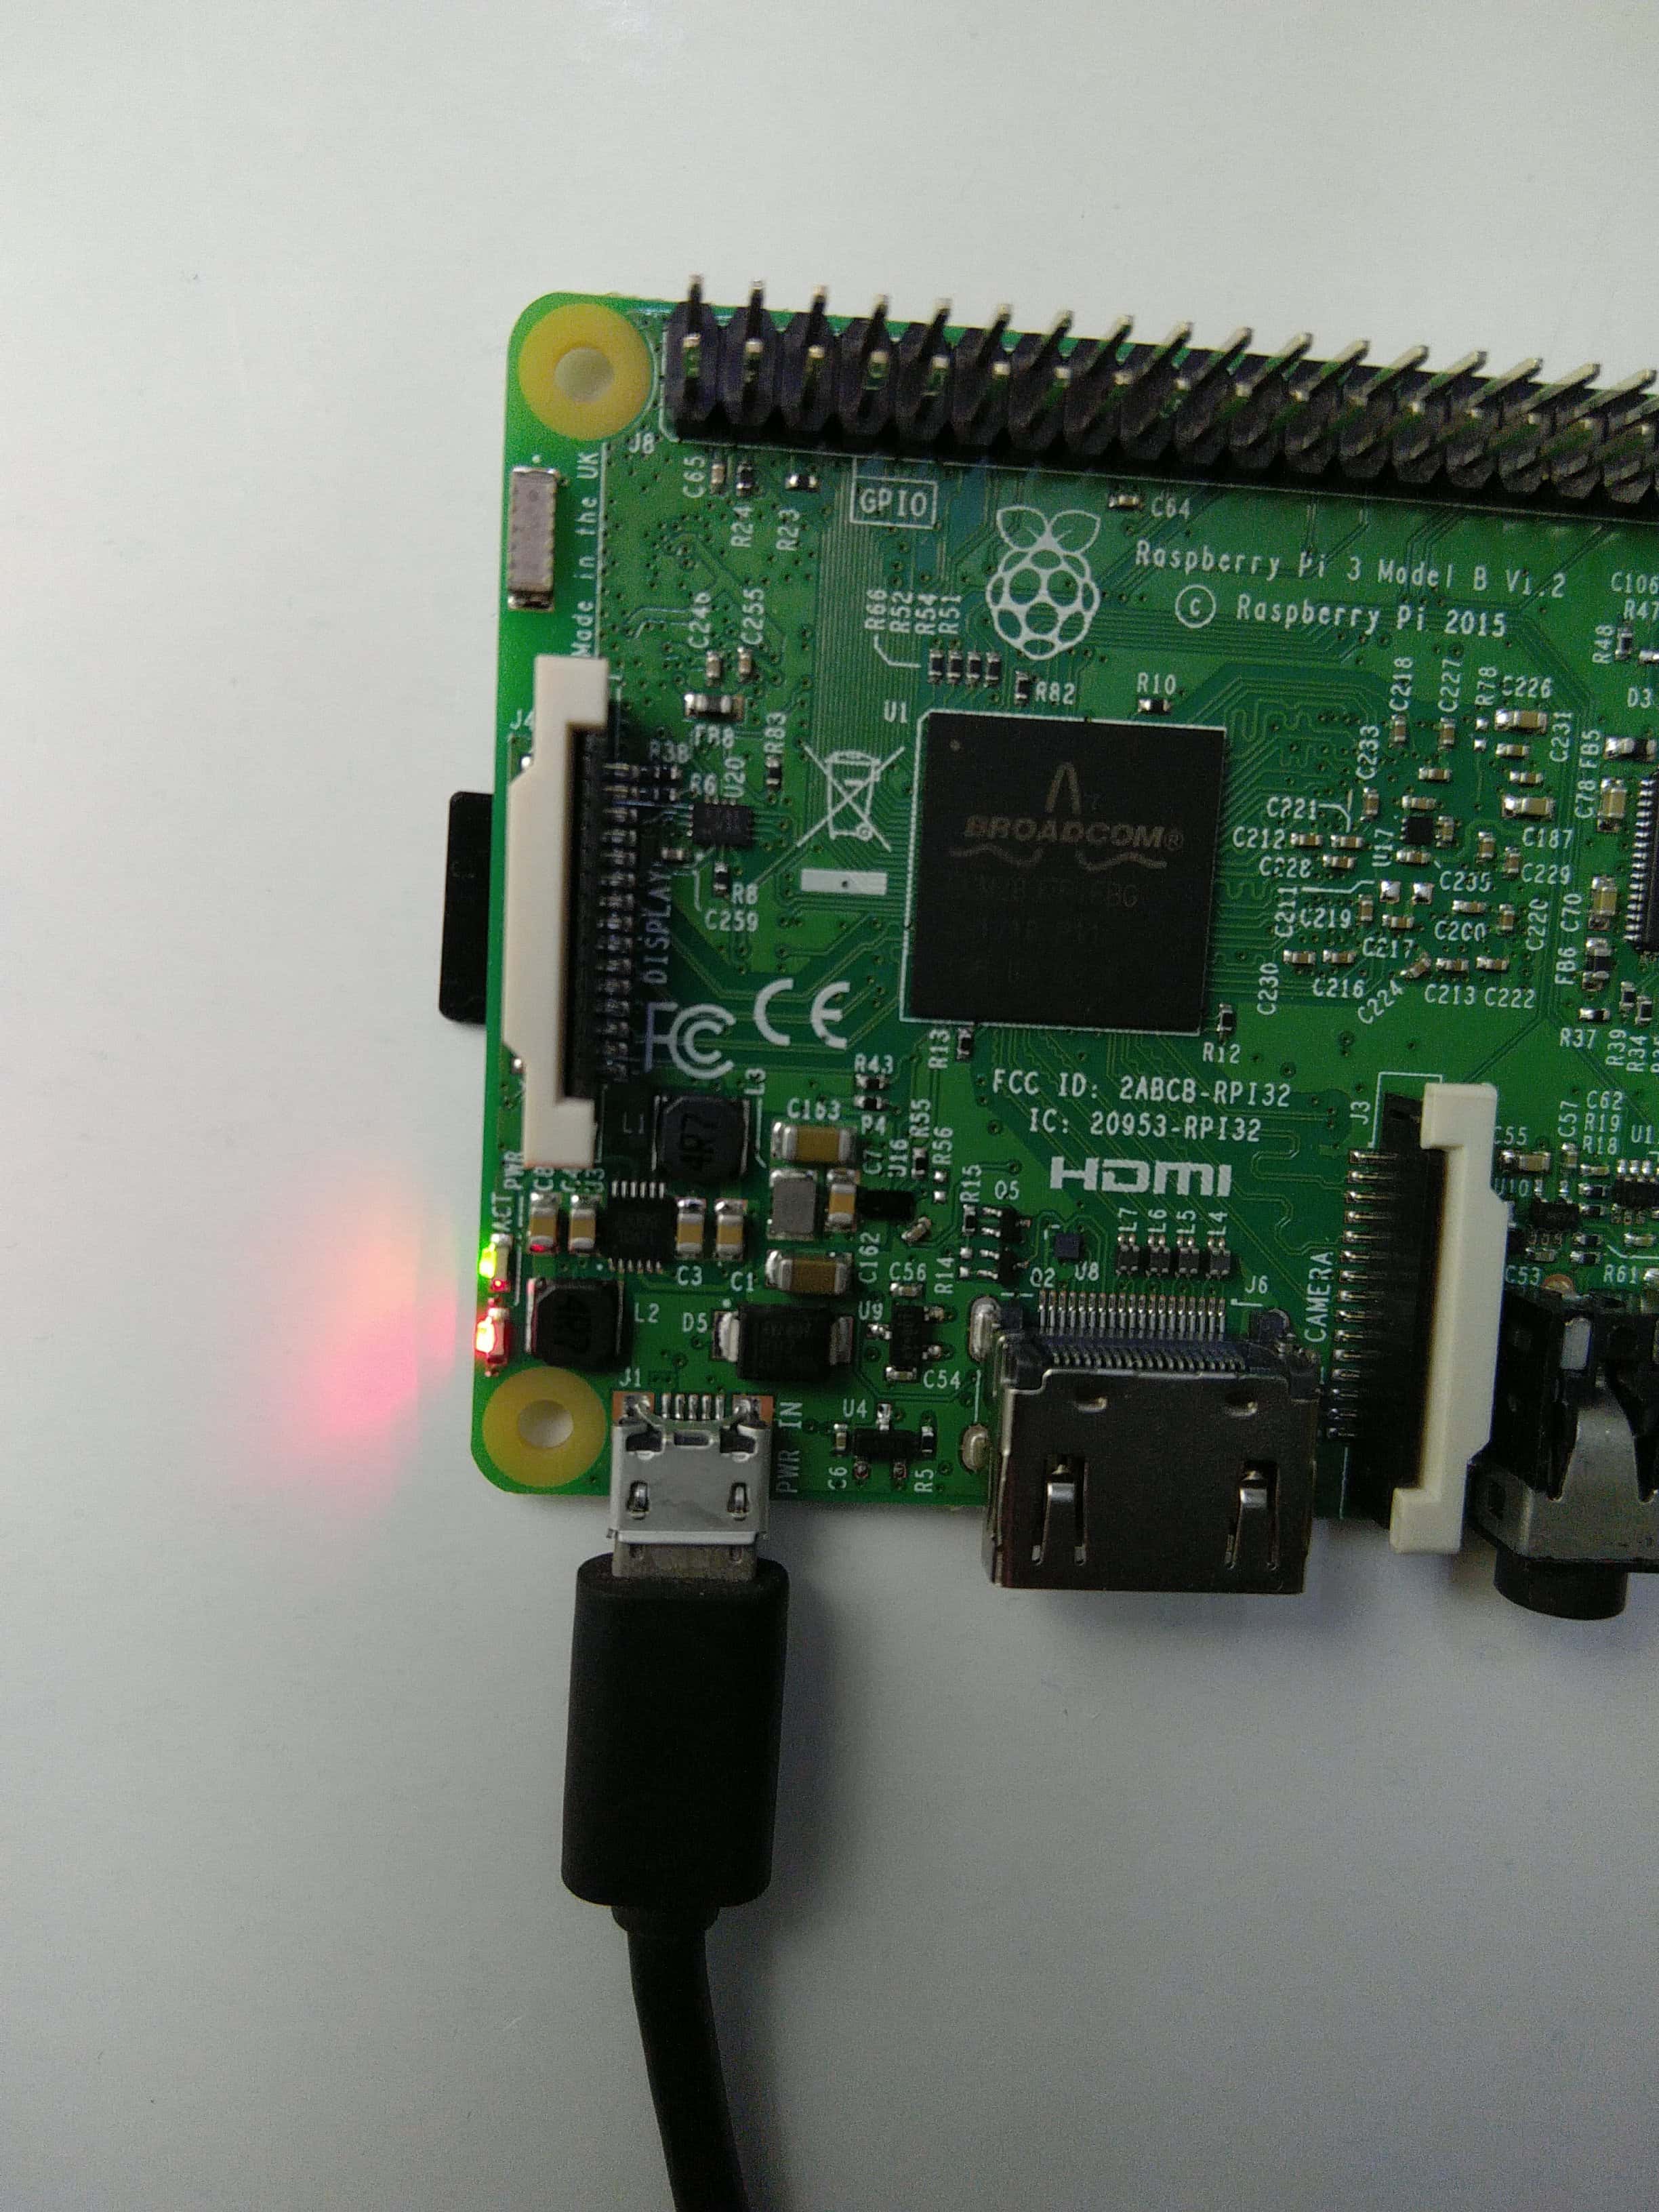
Step 19: In order to give the power to “Raspberry Pi” we need to plug in the “Micro USB Cable“, but before that make sure you should place the cable exactly as shown below.
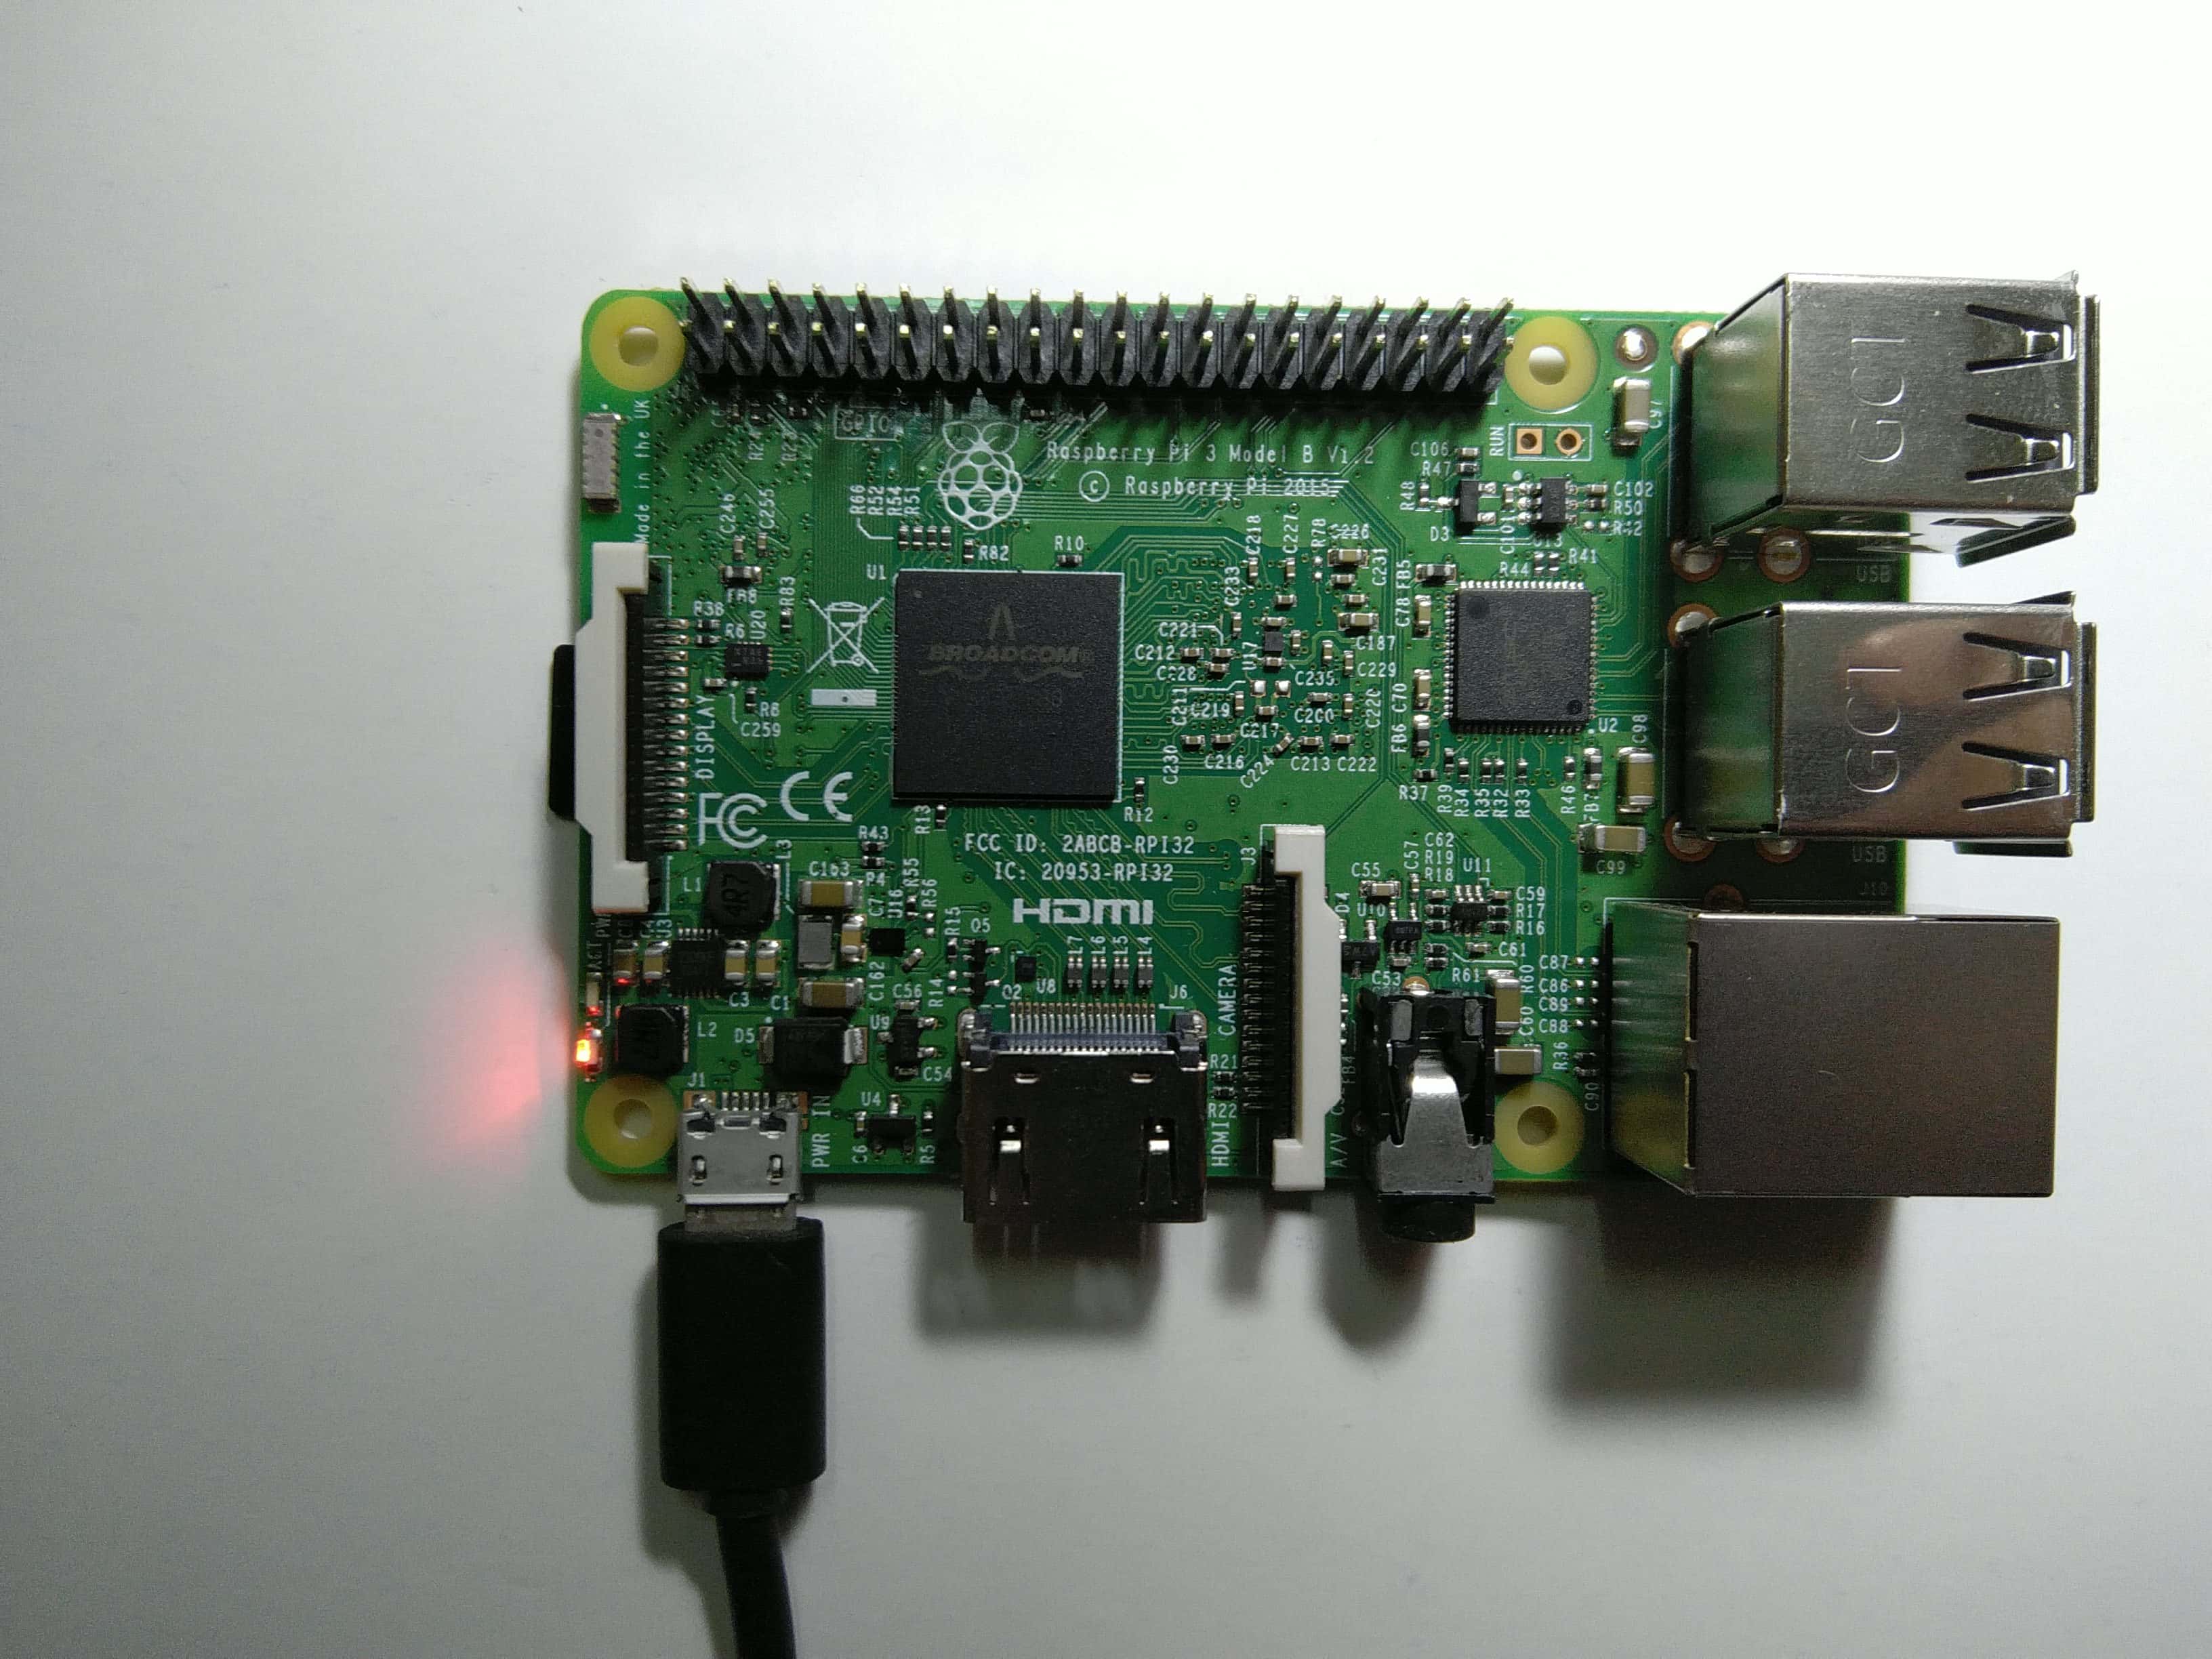
Step 20: After the successful insertion of “Micro USB Cable” in the “Raspberry Pi” you will be seeing “Red LED” light lighten up as shown below.
Step 21: Now, in order to connect to the “Raspberry Pi“, we have mainly two options:
- Using Ethernet Cable
- Using Inbuilt WI-FI or Attaching WI-FI module.
Note: In our case, we will be using the prior one, which is “Using Ethernet Cable”.
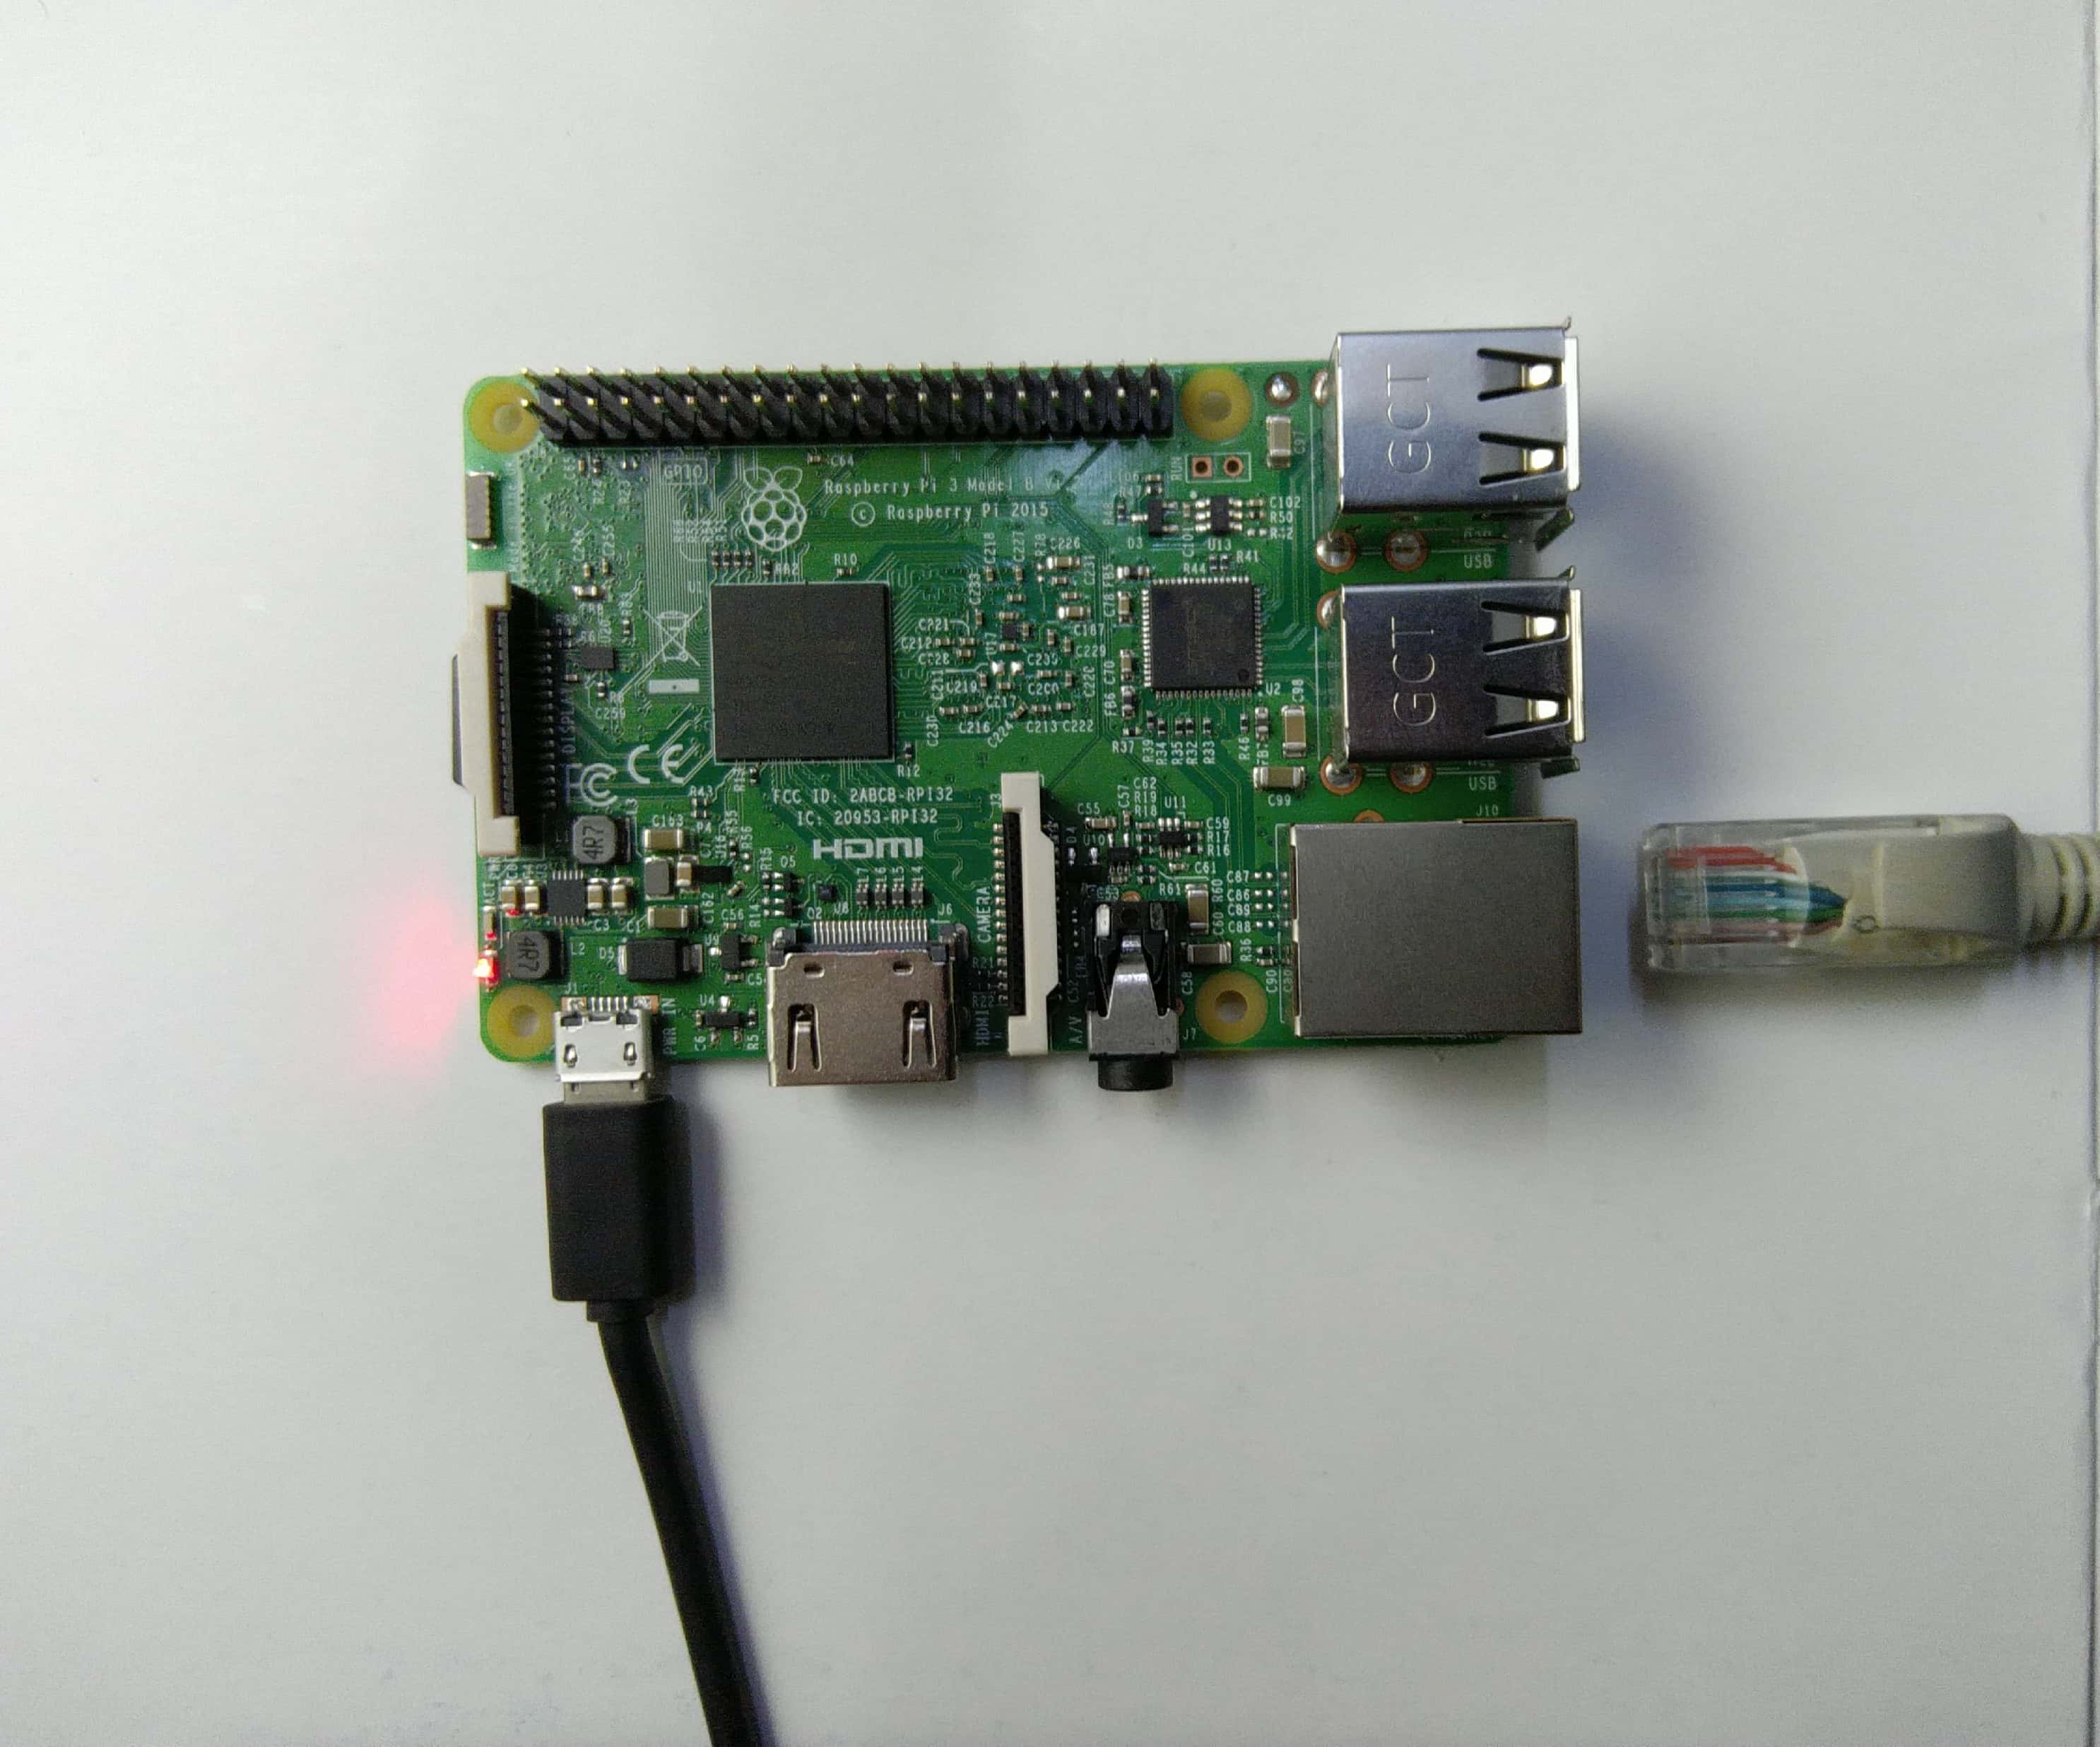
Make sure you place the Ethernet Cable properly as shown below.
Step 22: On successful insertion, the two lights “GREEN & ORANGE” should lighten up as shown below.
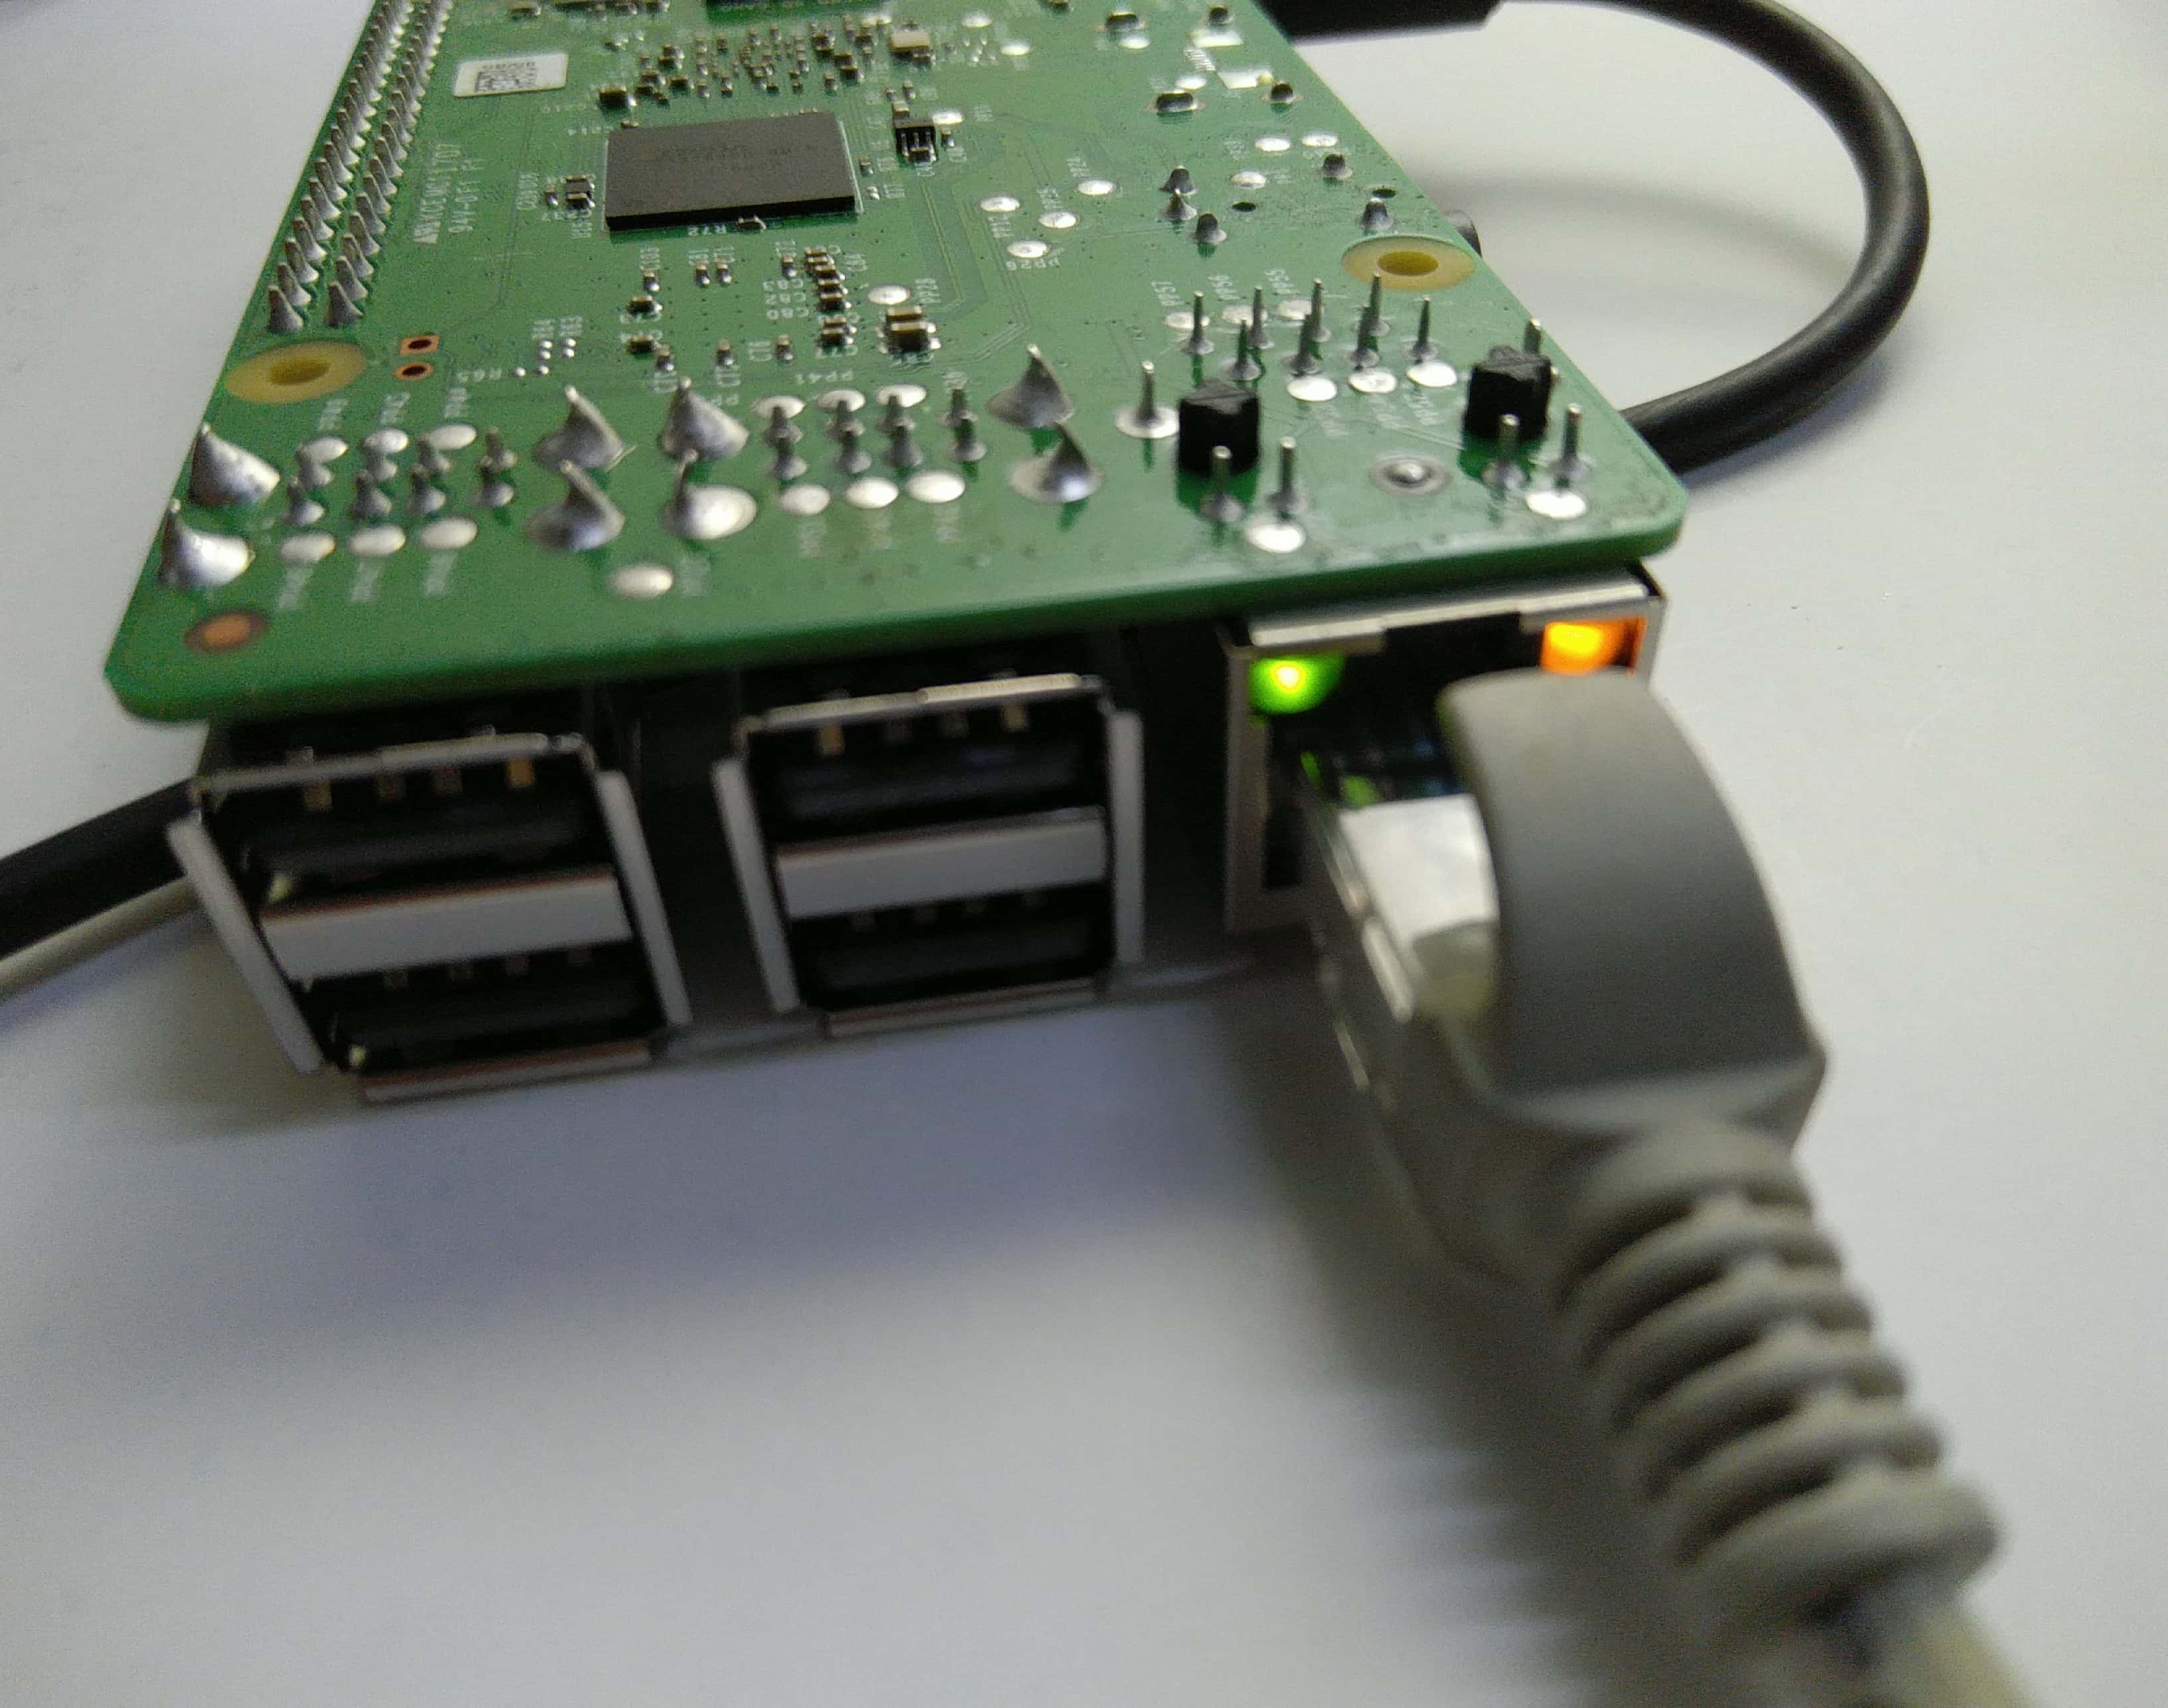
Step 23: On this side, we can confirm that an IP Address is given to “Raspberry Pi” via the connected “Ethernet Cable” by looking at the “GREEN” light on this side of “Pi“.
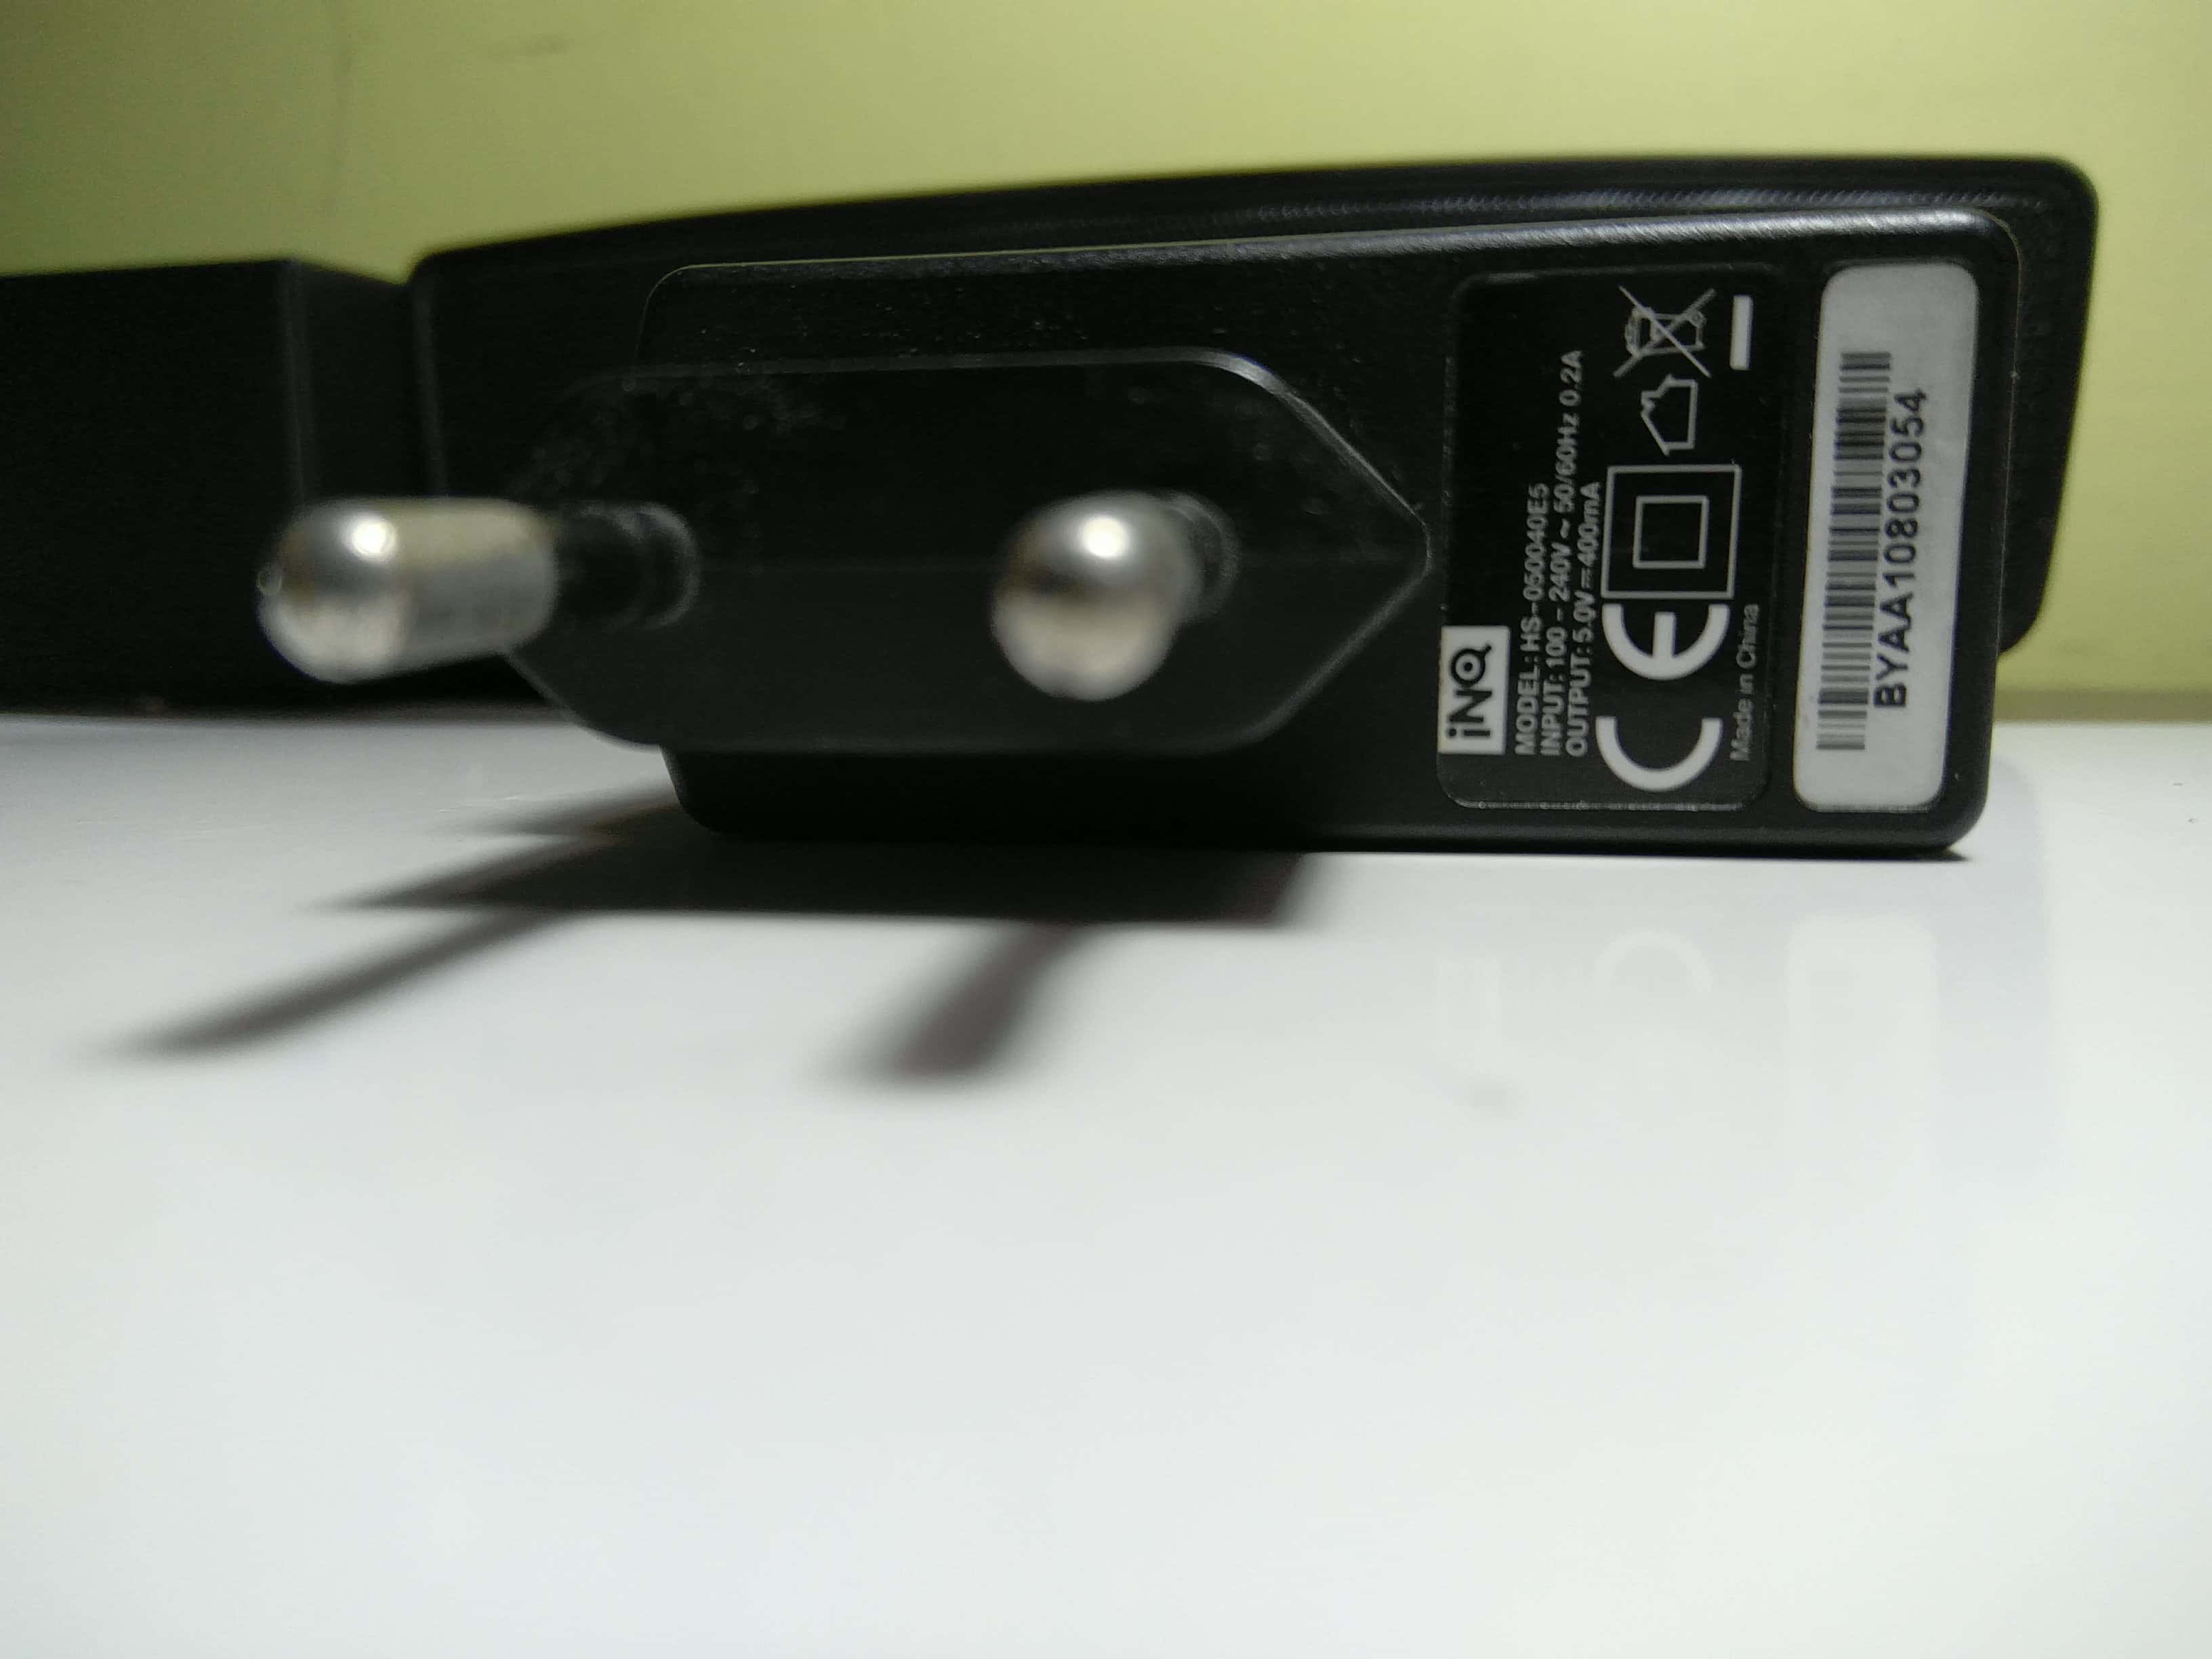
Step 24: Actually, this is not a step but rather an example of “Adaptor” which can be used to power up the “Raspberry Pi“.
More on “Raspberry Pi”