
It is by default, that the nginx server when started, does not enable the support for “text/
Today, in this post we are going to learn how to add “text/css” type to gzip when using it with nginx server.
Step 1: Check whether the “text/css” being delivered by the server is reaching to the client in the compressed form or not.
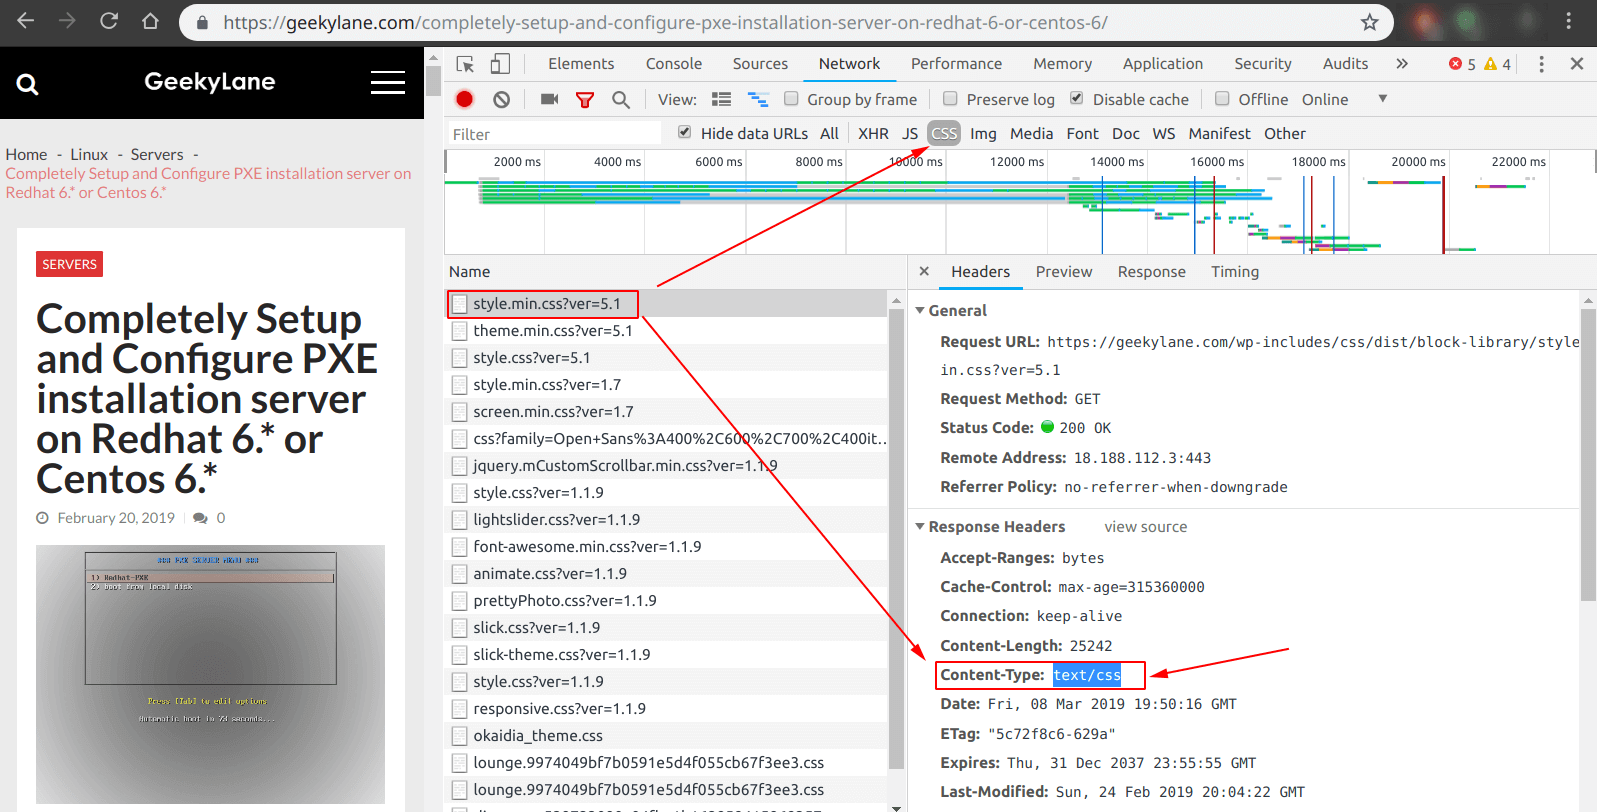
From the above, we can see that the content type “text/css” is being delivered to the client without any compression.
Note: Now is the time to add the “text/css” content type for gzip compression via nginx server.
Step 2: Adding “text/css” content type for gzip in nginx.

In the picture above, we have added the “gzip_types = text/css“.
Step 3: Verify the syntax and reload nginx server.

With the help of following commands, we have verified and reloaded our nginx configuration file:
sudo nginx -t
sudo nginx -s reload
Step 4: Now check whether the added content type is being delivered in compressed form using gzip.
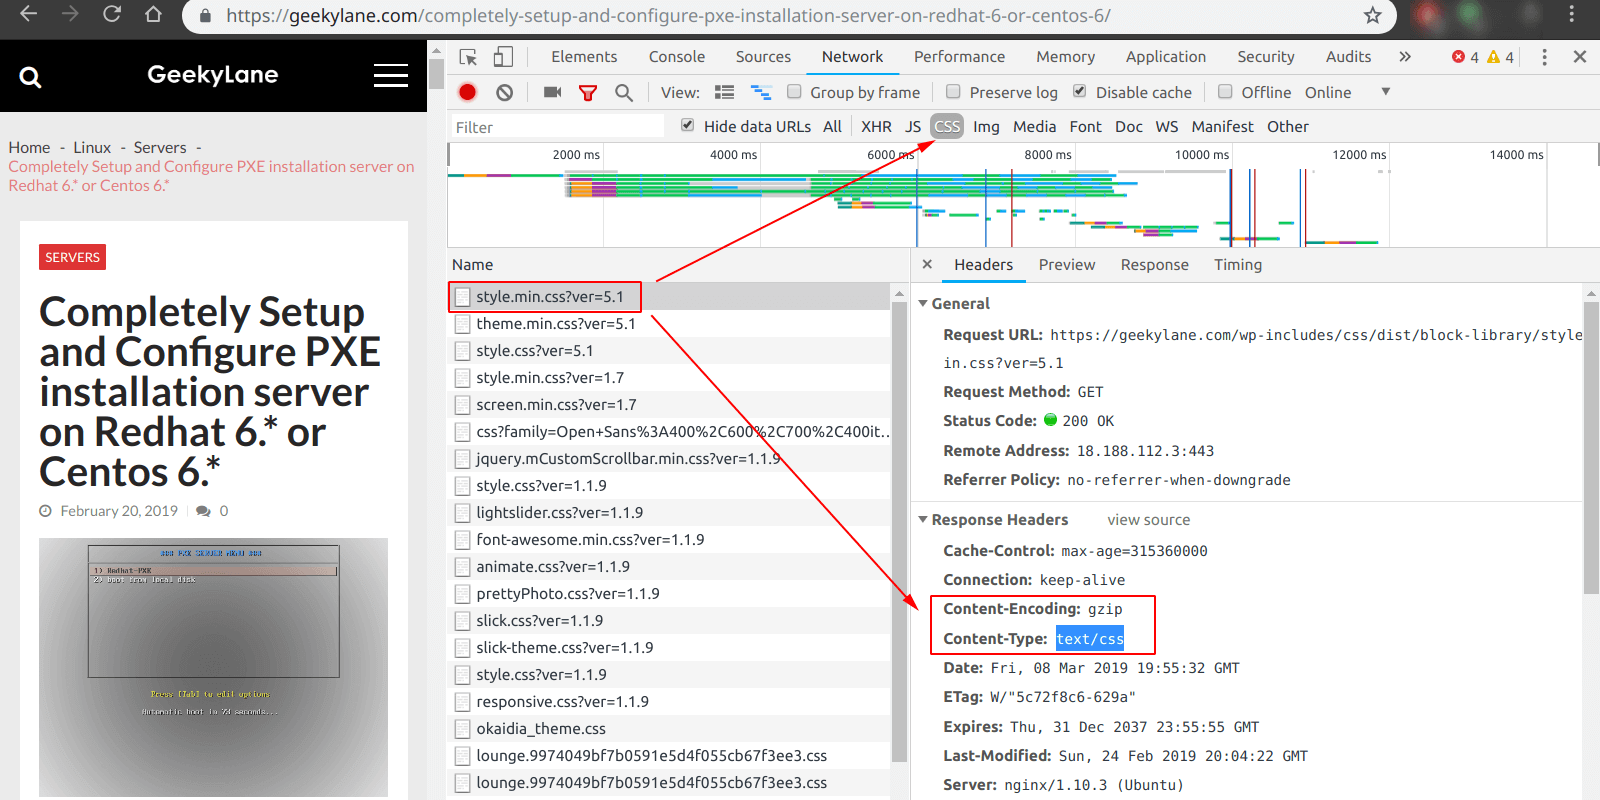
From the picture above, we can now confirm that the content is now being delivered in compressed form as it has now added the following to its “Response Headers“.
Content-Encoding: gzip
Conclusion
In this post, we have learned how to add “text/css” as a content type for compression in
More on Nginx:
- Set-up a Nginx web server on ubuntu 18.04 EC2 Instance AWS
- Nginx with gzip compression for “text/html” content type
Related post: Understanding Tadalafil: A Comprehensive Guide