
There are types of docker networks available now, but for standalone applications mostly “host” and “bridge” networks are used, which are “single-host networks“, means their effect is local to the individual host. Today, we are going to take a look at the difference both of them, host network V/s bridge network.
Note: Before proceeding further, make a note that this “host” network driver is only available to “Linux” as of now.
To learn more about docker networking, follow -> Learn Docker Networking
The main difference between both of them is:
- In the case of “host“, a container can directly use the host’s networking, for example in case of “Linux” the docker container can directly use the “eth0” for sending and receiving packets.
- In the case of “bridge“, there is a need for “port mapping“.
We are going to learn about this key difference by an example, depicted in the below photos, do follow along with this post carefully.
But, before going for the differences, we should learn about both of them:
To learn about bridge, follow -> Docker Bridge Network Driver
To learn about host, follow the post.
Learn the docker “host” network driver
Firstly, we are going to create an nginx container using the “host” network in docker.
Check the default available networks using the command below, we have to focus on the highlighted one.
$ docker network ls
Now, inspect the default configuration of host network driver, because later it is going to be modified by the docker.
$ docker network inspect host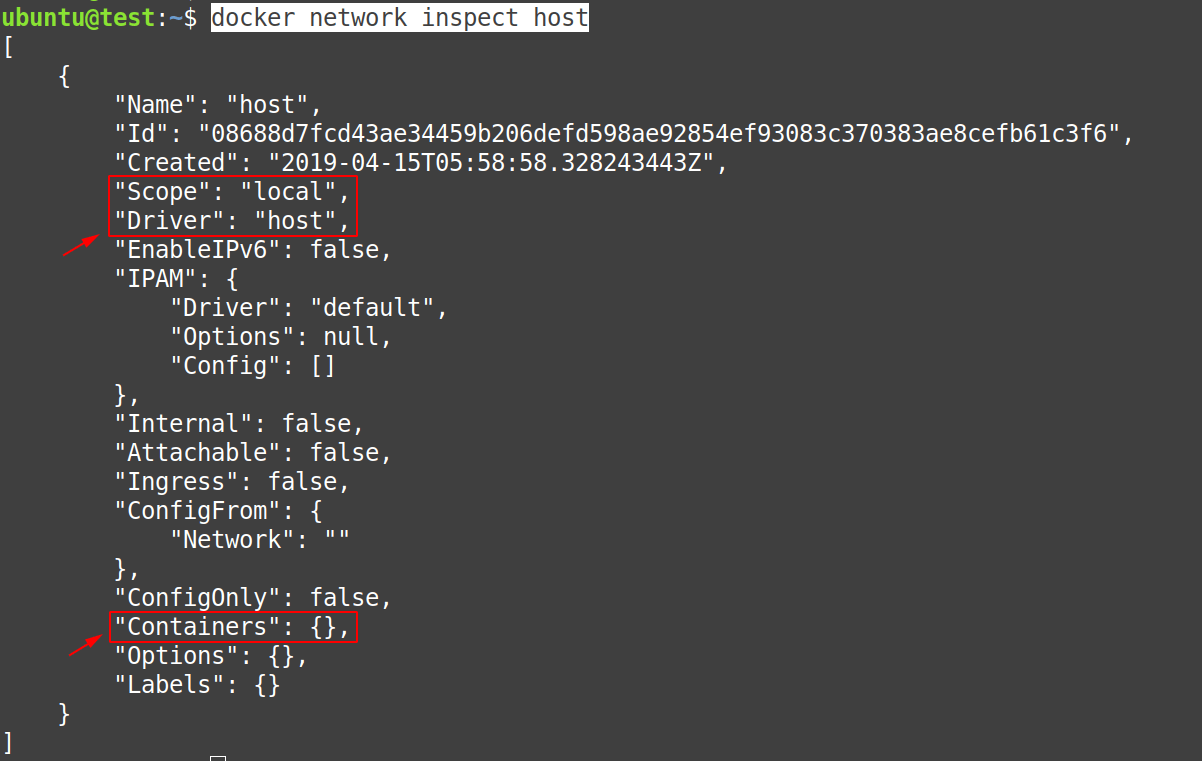
Now, create a Docker container named as “my-nginx” using the “– – network host” from the “nginx:alpine” image.
$ docker container run -d --network host --name m-nginx nginx:alpine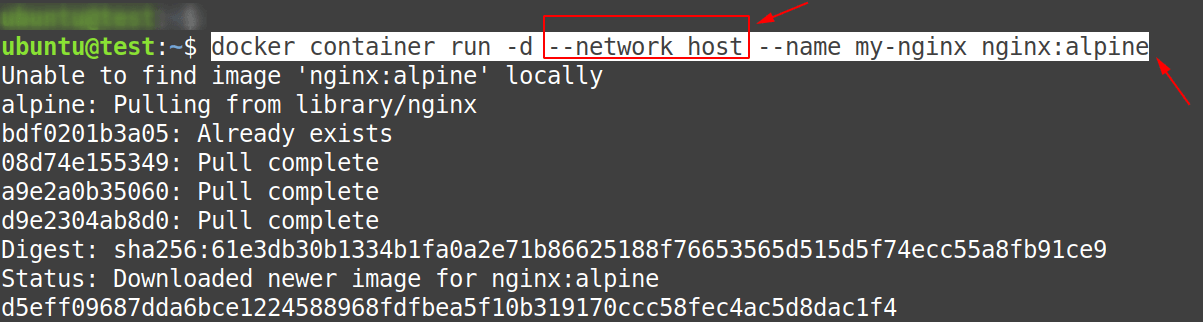
Note: Here we are running an “nginx” container without specifying the “port mapping“.
Question: Why we are not using the “port mapping” with “host” network driver?
Answer: Because the “host” network driver is directly going to use the “eth0“, on Linux systems.
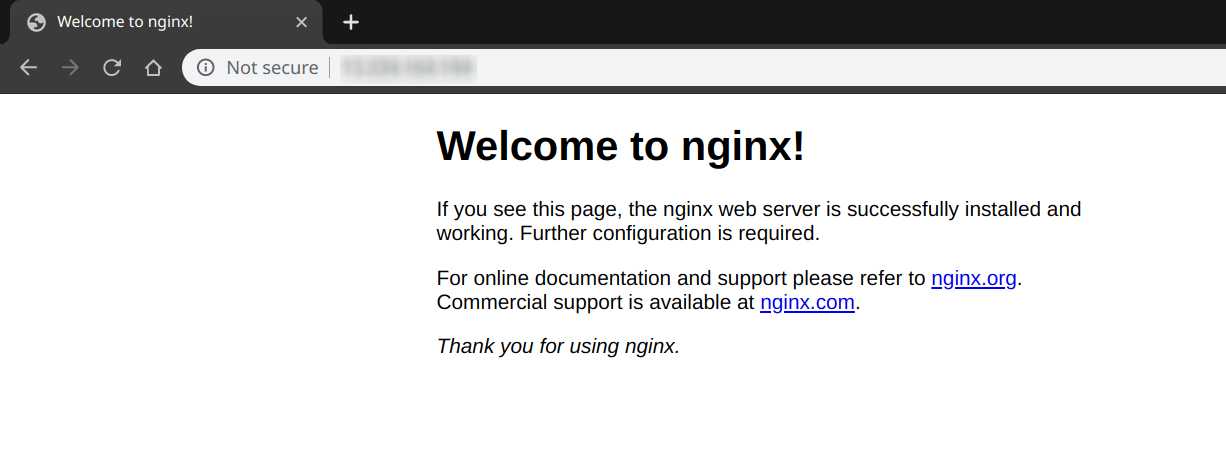
Now, after creating an “my-nginx” container without “port mapping” using the “host” network driver. Let us check whether our “nginx server” inside the “my-nginx” container is running correctly or not. Go to a browser and in the URL bar type the IP-Address of your docker host, as we did in the screenshot below.
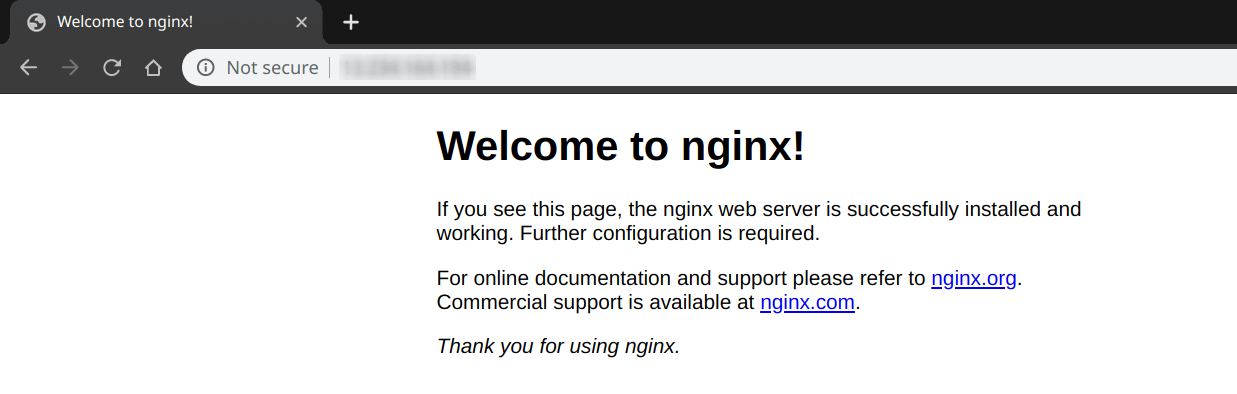

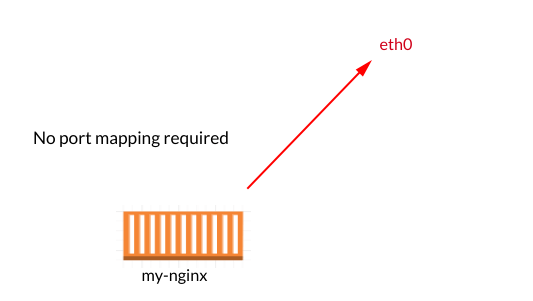
From the picture above, it can be seen that “no port mapping” is done and still our “my-nginx” is running perfectly.
Note: This is the power of “host” network driver.
Check and inspect the default “host” network driver configuration using the following command:
$ docker network inspect host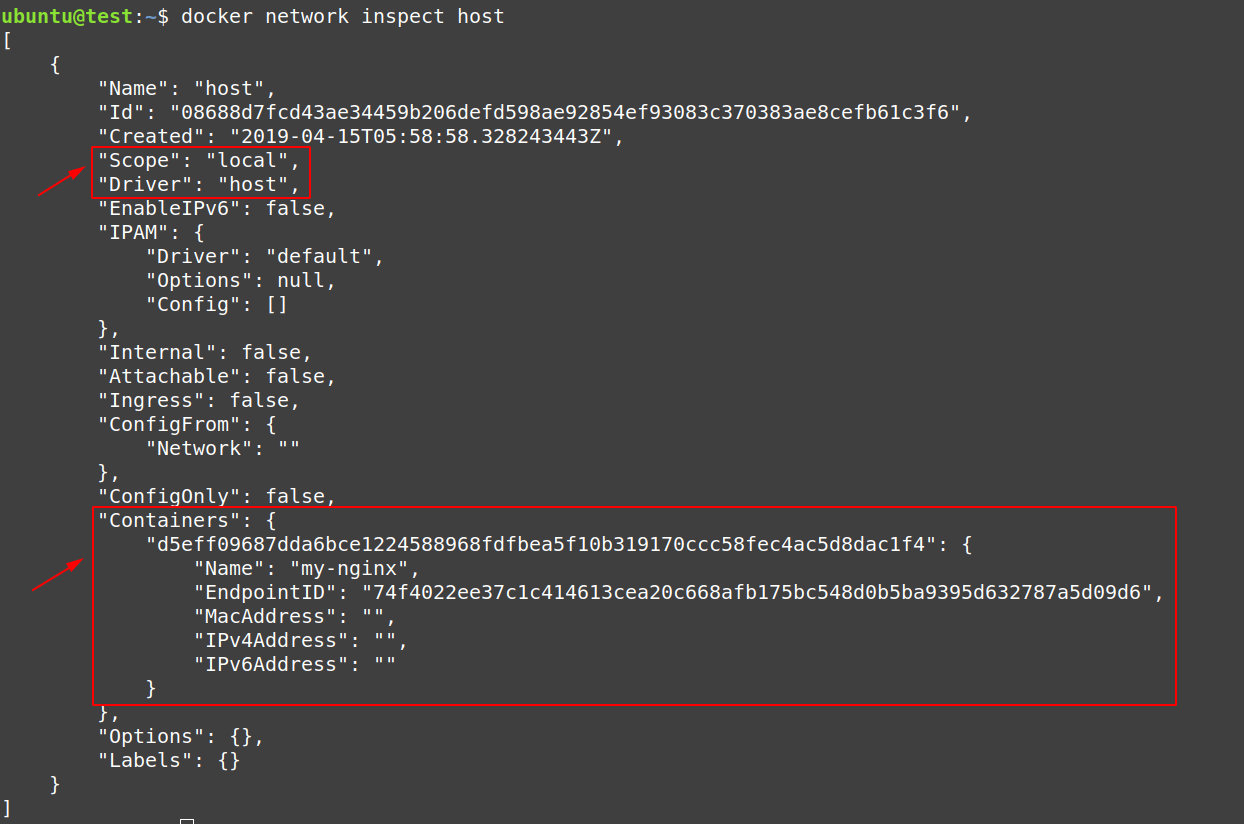
From the output of the command above, few points need to be noted:
- Scope = local <- the effect of this network is only to its docker host
- Driver = host <- the “host network driver” is being used
- Containers = {my-nginx} <- this confirms that our created container is attached to this network
Now that we have a little knowledge about both of them, proceed for the difference.
Host network V/s Bridge network
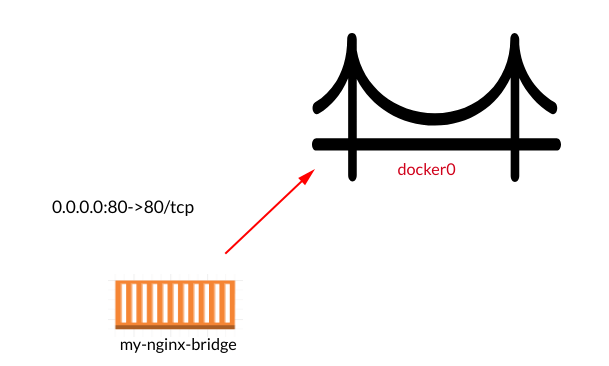
In order to understand this, we are going to create an “nginx” container named “my-nginx-bridge” using the “nginx:alpine” image, use the command below:
$ docker container run -d --network bridge --name my-nginx-bridge nginx:alpineNote: We have specified the “– – network bridge“, so that it will use bridge network.

The Difference
In the case of “bridge” network driver, it is showing a port opened, which was not the case with the “host” network driver, when we create the “my-nginx” container in the post’s earlier section.

So, because we have not specified any “port mapping“, the “nginx server” inside the “my-nginx-bridge” is running, but can not be accessed from the outside world, as shown below

Stop and Remove the “my-nginx-bridge” container.
$ docker container stop my-nginx-bridge$ docker container rm my-nginx-bridge
Now, that we have removed the “my-nginx-bridge” container, recreate it using the “port mapping“.
$ docker container run -d --network bridge --name my-nginx-bridge -p 80:80 nginx:alpineNote: We have specified the “port mapping” using the “-p 80:80” option.

As a result, we can now see that a “port mapping” is now available to the “my-nginx-bridge” container.
$ docker container ls
Again, go to the browser and type the IP-Address of your docker host in the URL bar, from the picture below we can confirm that now “nginx server” inside the “my-nginx-bridge” container is working correctly and can be accessible from the outside world because of “port mapping” we have used.
Check and inspect eh “bridge” network driver, using the command below. From the output, we can confirm that the “my-nginx-bridge” is connected or attached to the “bridge” network.
$ docker network inspect bridge | grep -A 7 Containers
Now, it is time to clean out docker host, stop an remove the “my-nginx-bridge” container.
$ docker container stop my-nginx-container$ docker container rm my-nginx-bridge
Conclusion
- No “Port Mapping” is required when the docker “host” network driver will be used.
- “Port Mapping” is required when the docker “bridge” network driver will be used.