Table of Contents
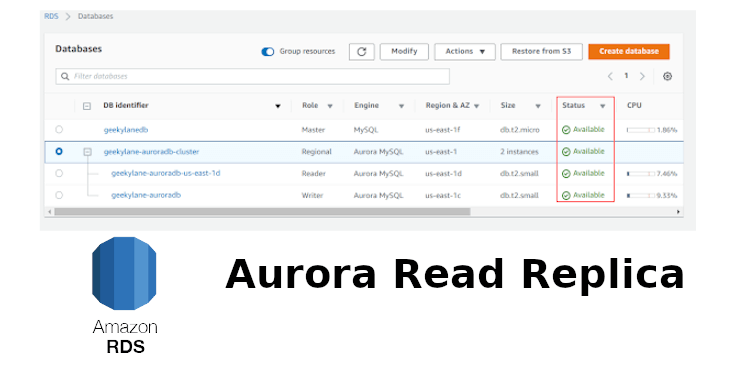
There are times when we want to scale up the existing databases deployed on the Amazon Aurora which is in house relational database written and created by Amazon itself from scratch. So today we are going to look at creating an “Aurora Read Replica of an RDS instance“.
Before going further, make sure you follow this -> MYSQL Database on Amazon RDS post because upcoming steps can only be performed when we have a running RDS instance, which we learned in that post, this post is in the continuation of that post.
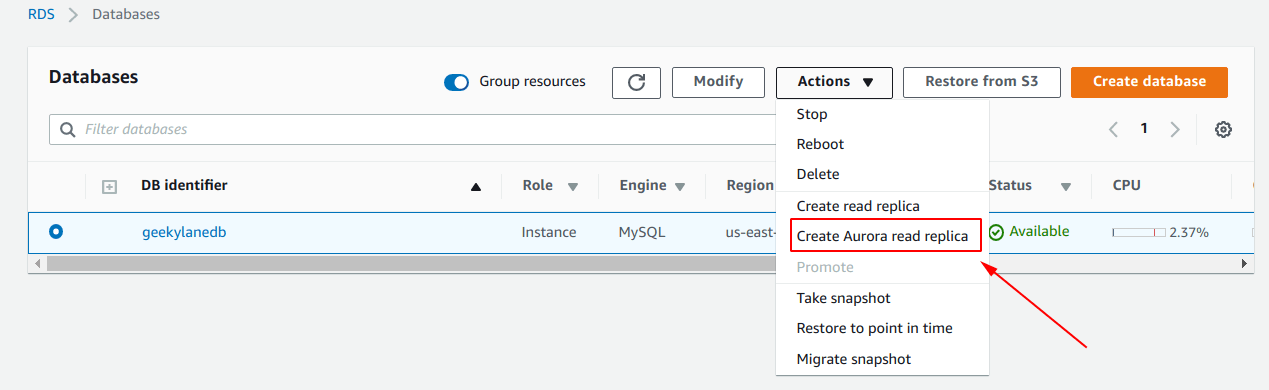
Step 1: Create Aurora Read Replica
We have to select the RDS database instance of which we want to create aurora read replica. As can be seen from the image below, we first select the “geekylanedb” then from the “Actions” menu we have selected the “Create Aurora read replica” option.
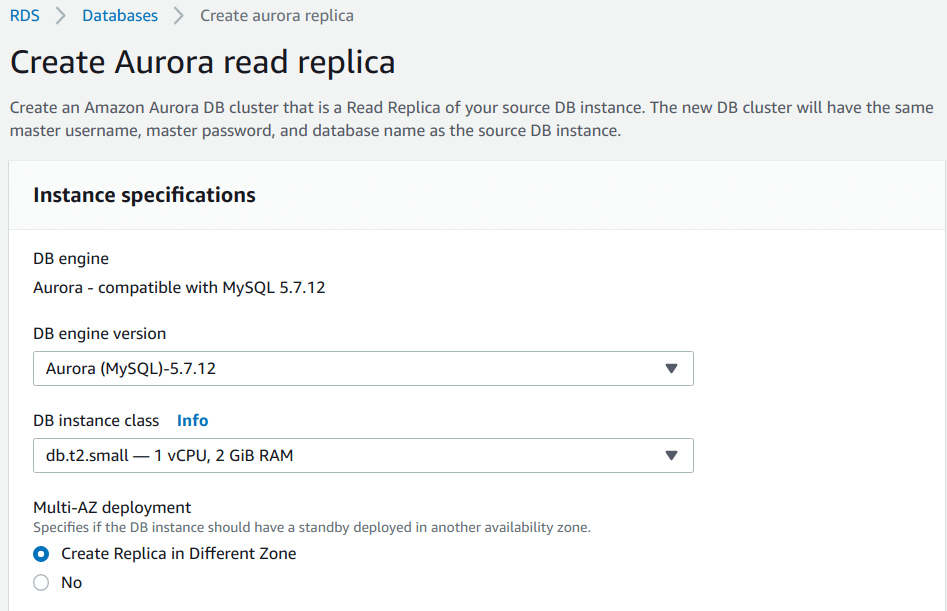
Instance specifications
It is time to provide specifications for our “Aurora Read Replica” instance. We have provided the following details:
- DB engine version = Aurora (MySQL)-5.7.12
- DB instance class = db.t2.small – 1 vCPU, 2 GiB RAM
- Multi-AZ deployment = Create Replica in Different Zone
Settings
A few more need to be provided, are as follows:
- DB instance identifier = geekylane-auroraDB

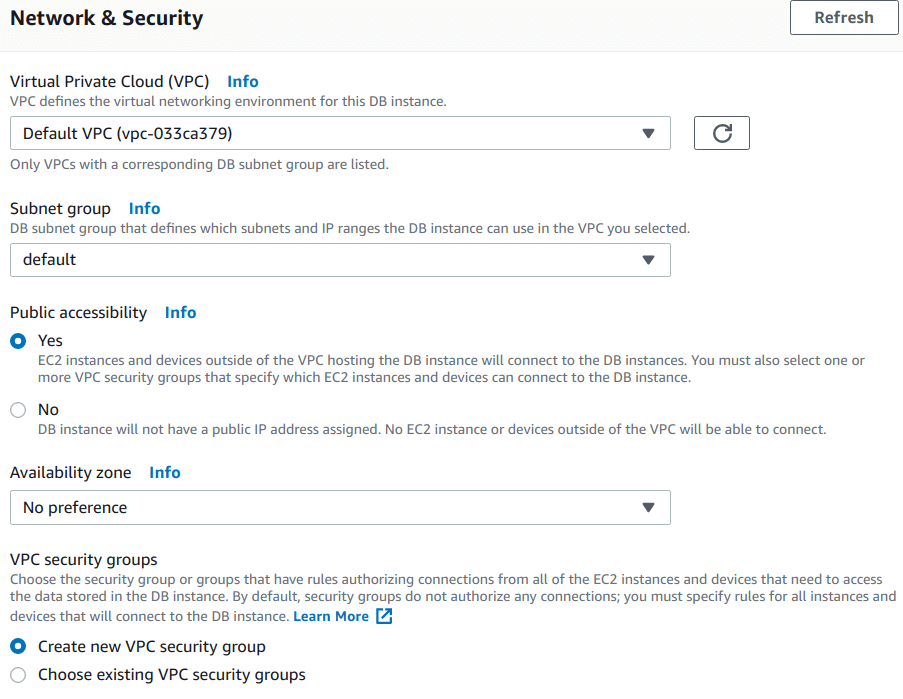
Network & Security
We also have to provide some network and security related details as well:
- Virtual Private Cloud (VPC) = Default
- Subnet group = default
- Public accessibility = Yes
- Availability Zone = No preference
- VPC security groups = Create a new VPC security group
Database Options
Some database related details are required for creating “Aurora Read Replica of an RDS Instance“, those details are as follows:
- Database port = 3306
- DB parameter group = default.aurora-mysql5.7

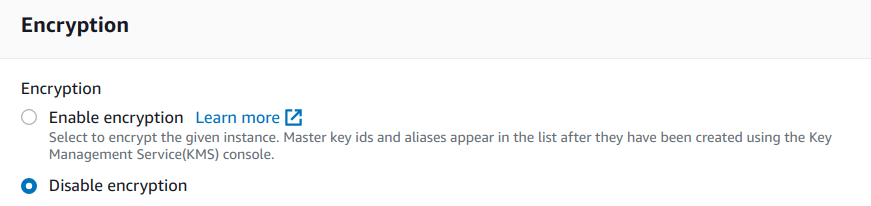
Encryption
For this, we have to specify whether we want to encrypt the data on the “Aurora Read Replica DB instance” or not. As of now, we have selected the “Disable encryption” option.
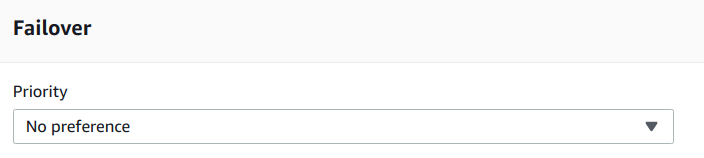
Failover
Priority, here we have selected the “No preference“.
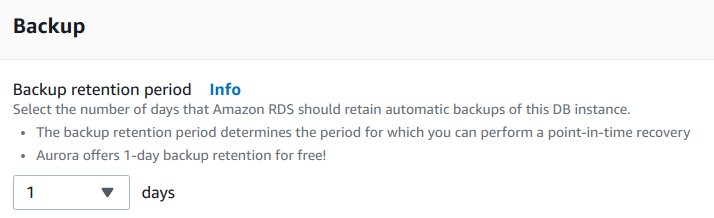
Backup
In this option, we are enabling the “Automatic Backups“, also we have specified about “up to how many days the Amazon should keep the backup“, we want it for only “1 day“.
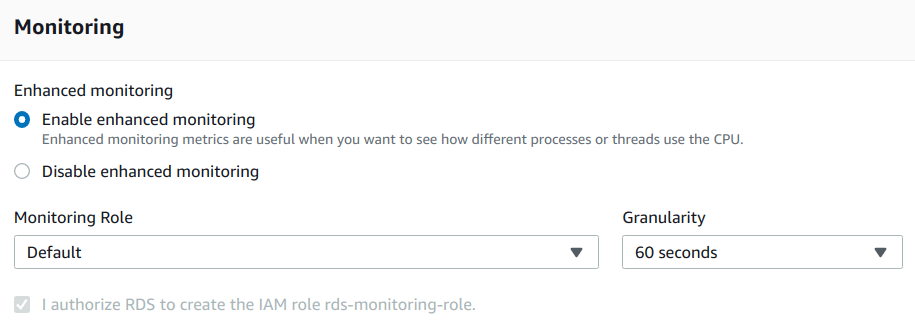
Monitoring
We have enabled the monitoring for this instance, with the following options:
- Monitoring Role = Default
- Granularity = 60 seconds
Log exports
We left it all blank because we do not want any kind of logs to be logged.

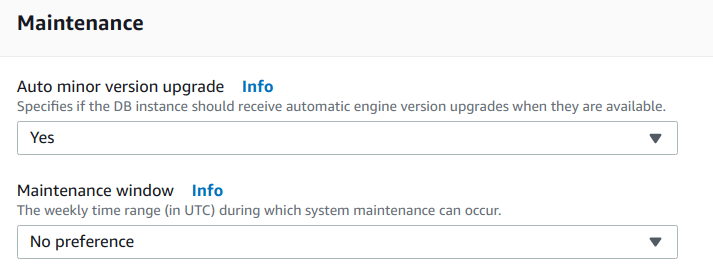
Maintenance
Also, we do want the “Auto minor version upgrade” so we selected the “Yes” option. Moreover, we also have to specify the “Maintenance Window“, we have opted for the “No preference” option.
After doing all the things mentioned above, you will be seeing a button like shown below, simply click on Create read replica button.

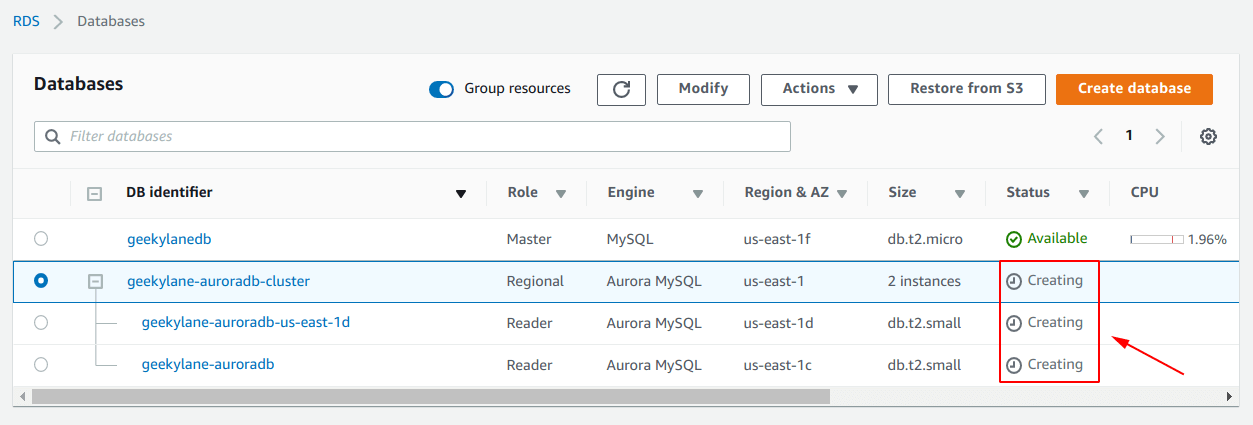
Status = Creating
After doing all the steps, it is going to take a few minutes in order to create “2 instances“.
Note: Both the instances do have their own unique names, but they come under a unique name “geekylane-auroradb-cluster“.
Also, both the instances are going to be created in different, which is Amazon AWS intelligence.
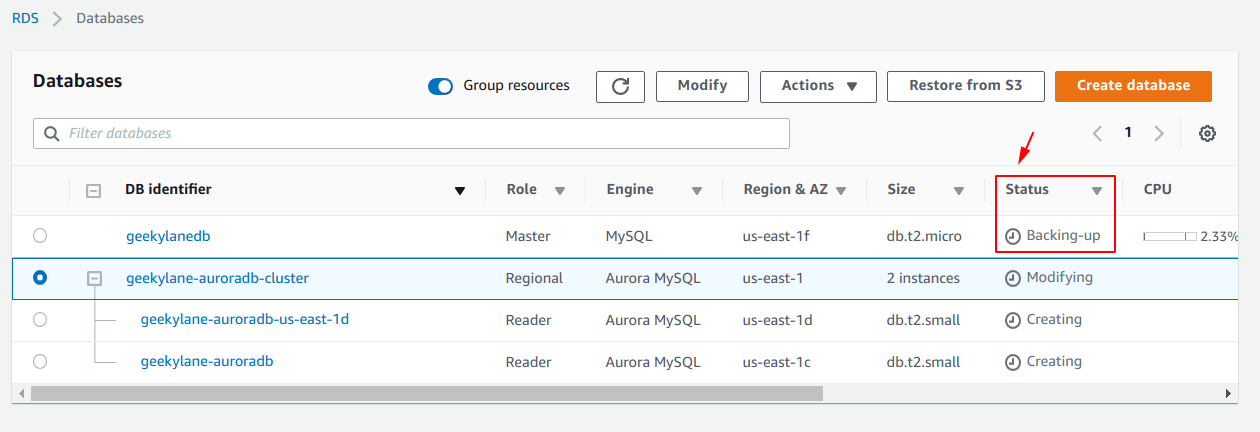
Status = Backing-up
Before it creates the final cluster, the Amazon AWS is going to “back up” the original “Amazon RDS DB instance“.
From the picture below, we can confirm that.
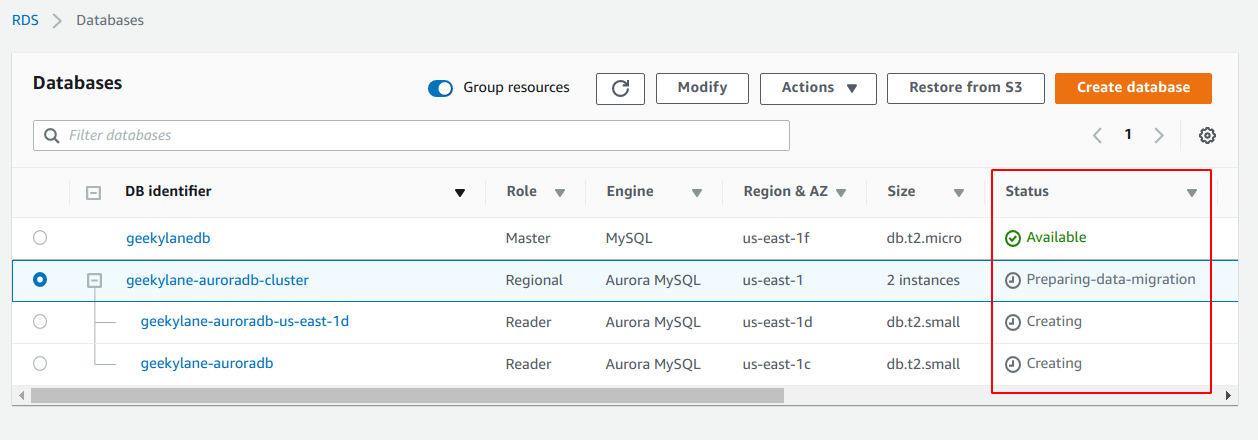
Status = Preparing-data-migration
After backing up the original RDS DB instance, the instance is “Available” again.
Also, now the cluster is migrating the data from the original instance to the “Aurora Read Replica cluster“.
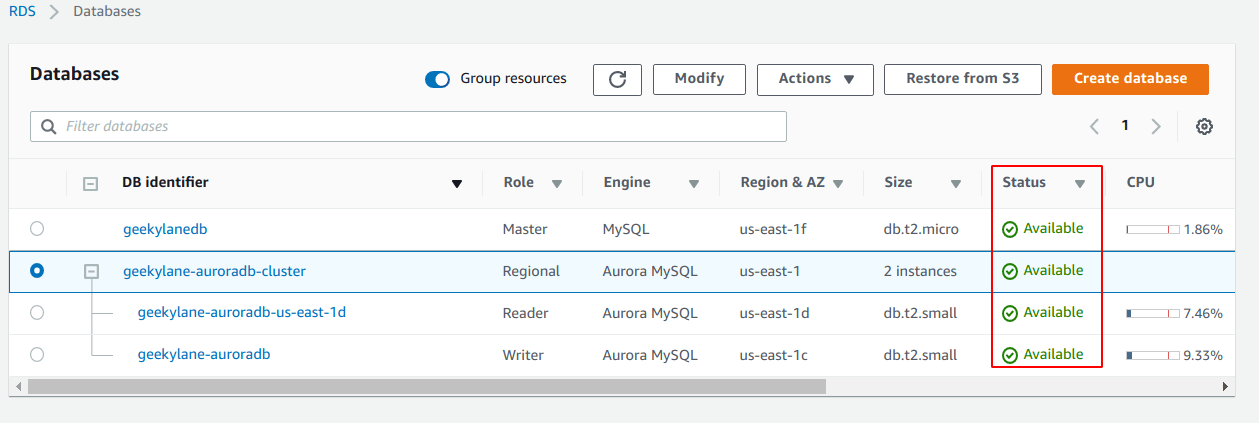
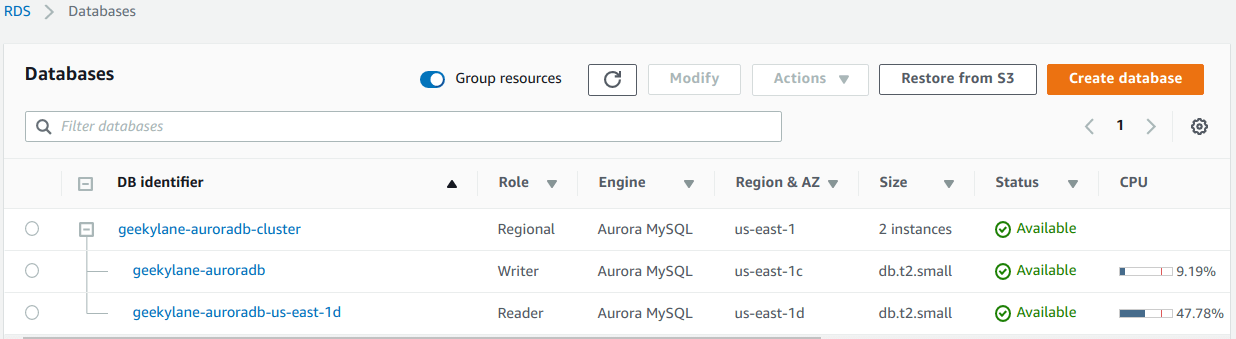
Status = Available
From the screenshot below, we can see that the status of all the instances (original + new) has been changed to “Available“, which means that our “Aurora Read Replica DB instance” has been successfully deployed.
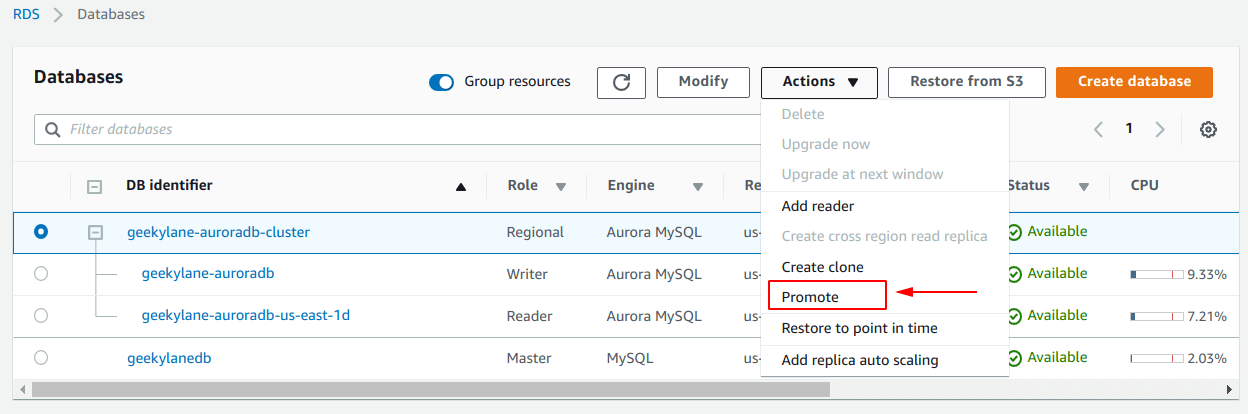
Step 2: Promote the Aurora Read Replica DB cluster
Now, we want to promote our newly created “Aurora Read Replica DB cluster“, and in order to do that, we have to select the “Actions” menu from there we have selected the “Promote” option, as shown in the picture below.
Step 3: Delete the original RDS instance
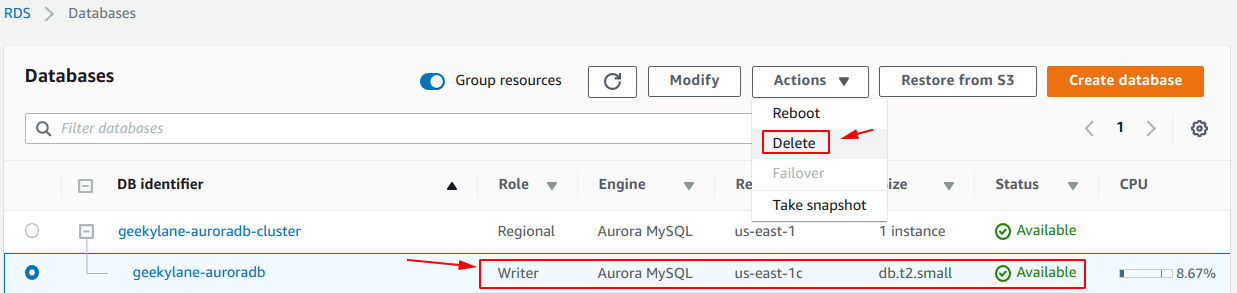
It is time to delete our original base RDS instance and to do that, again select the instance and go to the “Actions” menu and from there select the “Delete” option as shown in the screenshot below.

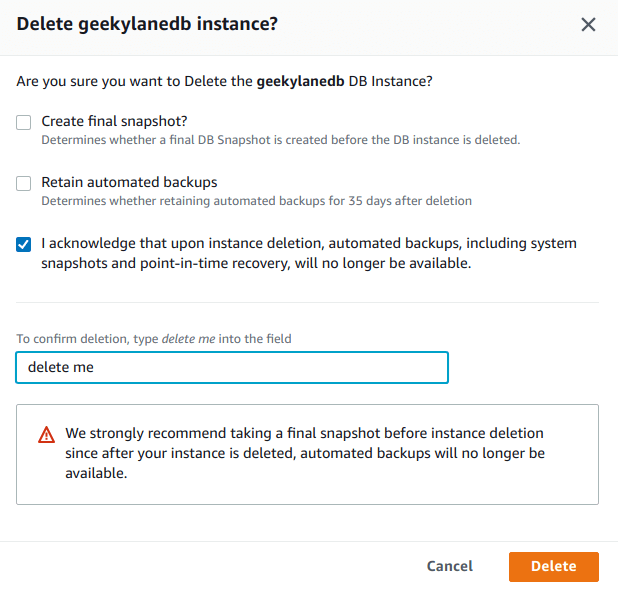
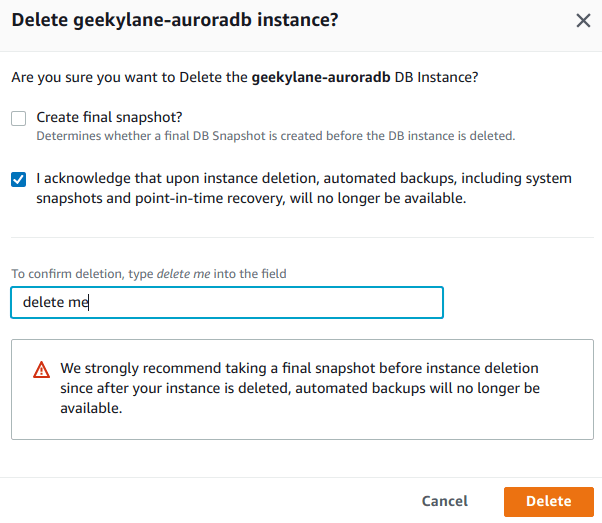
It is going to ask you for the confirmation on instance deletion, and a screen similar below is going to be shown to you.
Simply type the “delete me” and select the “I acknowledge….” option. After that click on the Delete button.
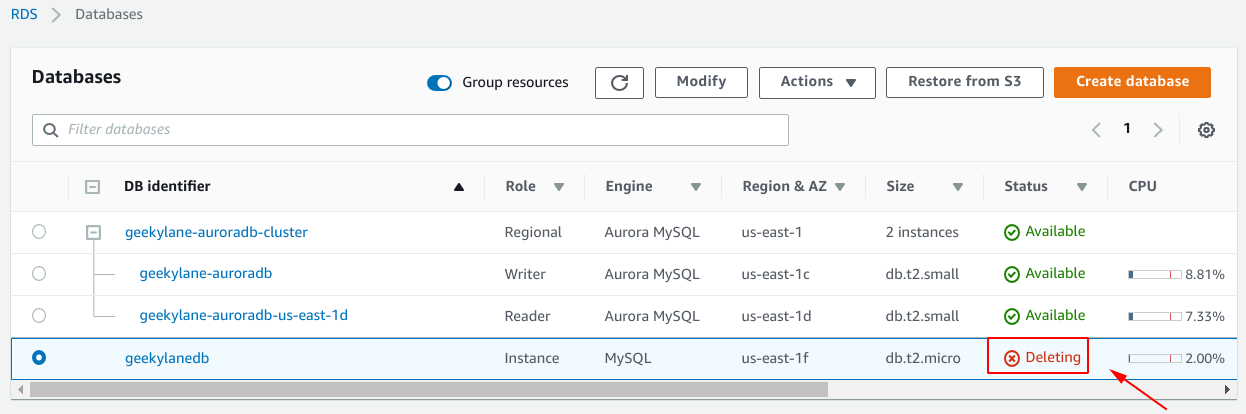
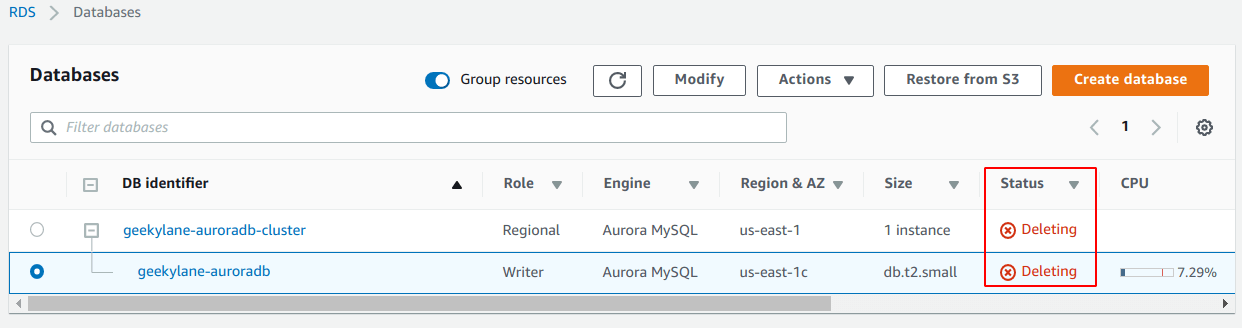
Status = Deleting
Firstly, it is going to create the original RDS DB instance and the status is going to change to “Deleting“.
Step 4: Stop the Aurora Read Replica Cluster
It is going to be a long step, and we want to cover each and every aspect of this step that is why we have provided images for each process-step.
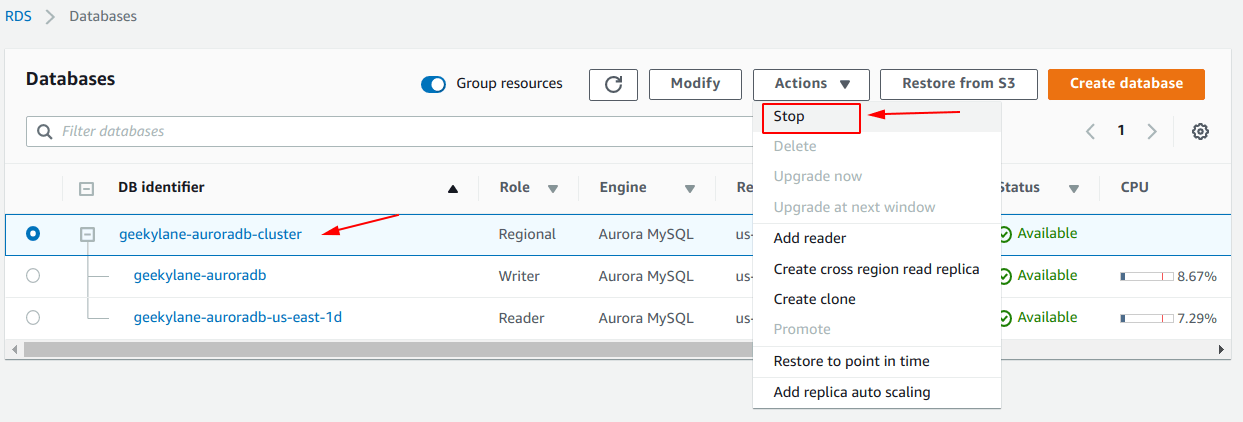
First of all, in order to start the “Aurora Read Replica Cluster” process, we have to select the “Actions” menu and from there we have to select the “Stop” option, as shown in the photo below.
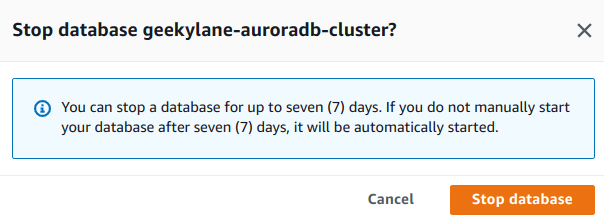
It is going to ask for the confirmation and you will be seeing a screen as shown below. Click on the Stop database button.
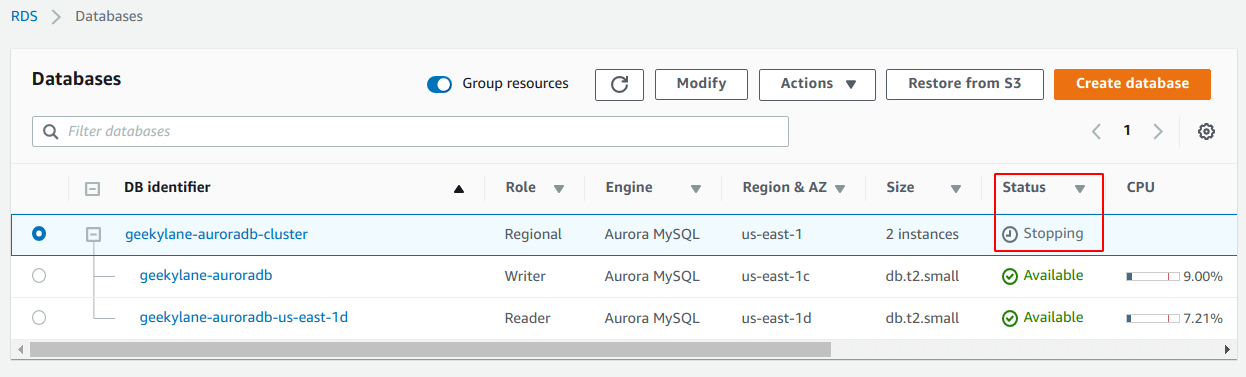
Status = Stopping
The status of the cluster has been changed to “Stopping“.
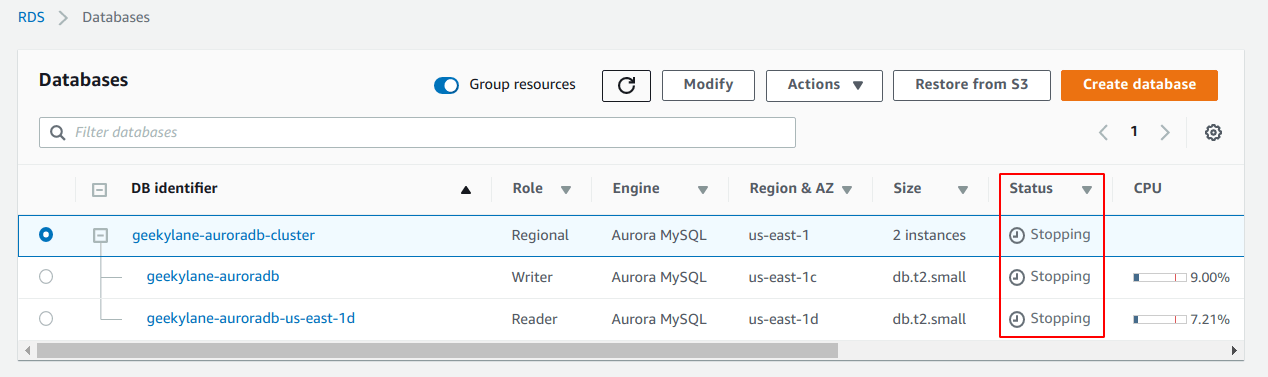
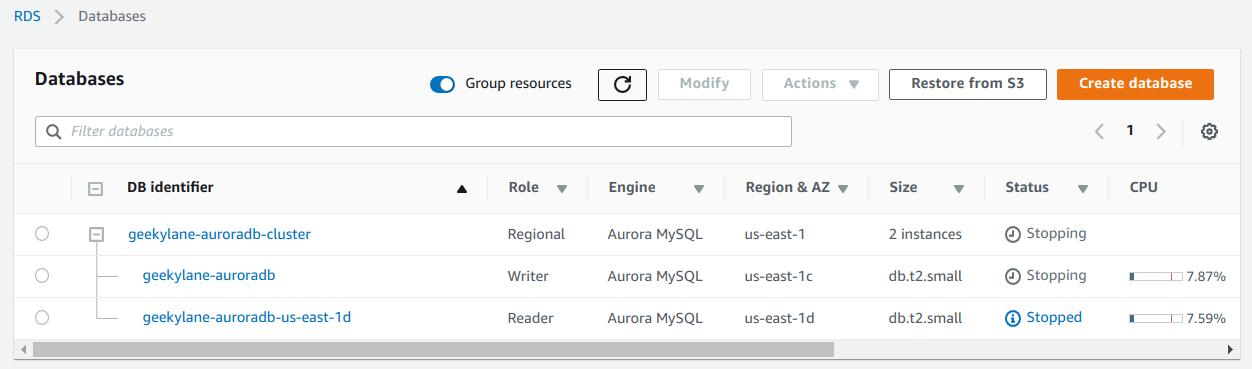
Soon, you will be seeing something as shown below. The status of both the instances in the cluster will be going to be changed to “Stopping” as well.
Status = Stopped
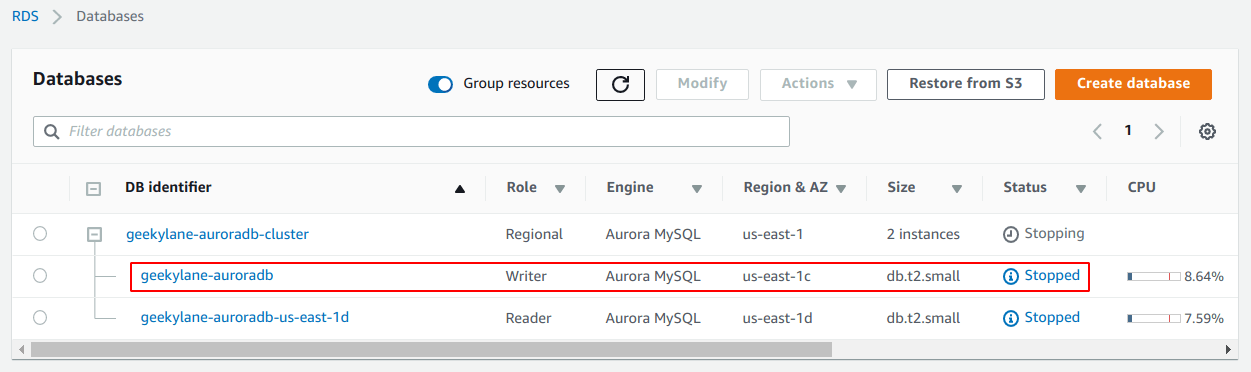
Notice that the status of the “Reader” instance is going to be changed to “Stopped” first.
After that, the “Writer” instance is going to get changed to “Stopped“.
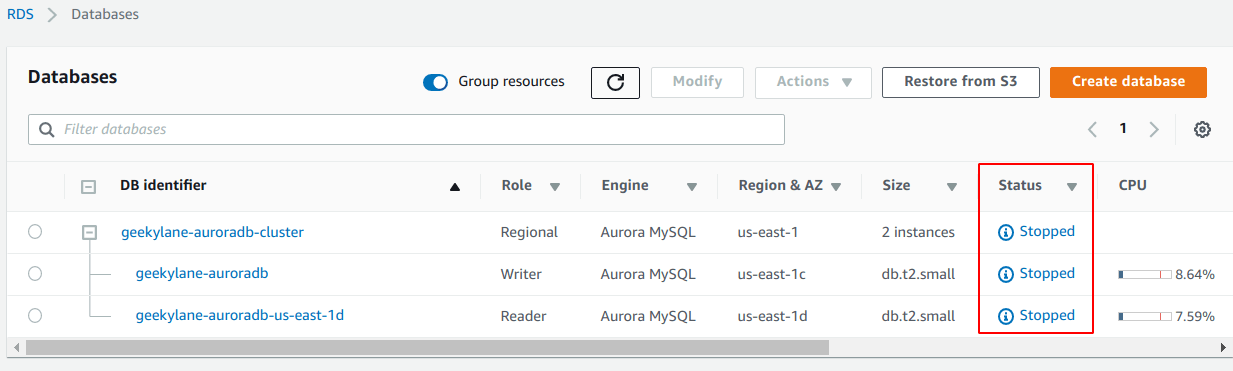
Soon, the overall status is going to be changed to “Stopped“.
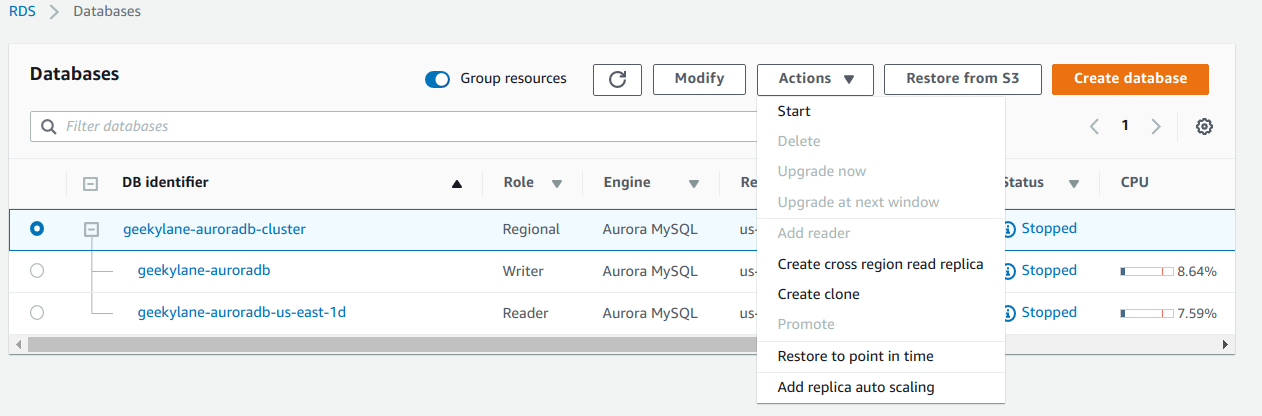
Note: Although we have stopped the Aurora Read Replica cluster in the previous step, in order to delete it, we have to first start it again. Also to confirm that, you can see the picture below for the reference, as it is not showing any “Delete” option for the cluster.
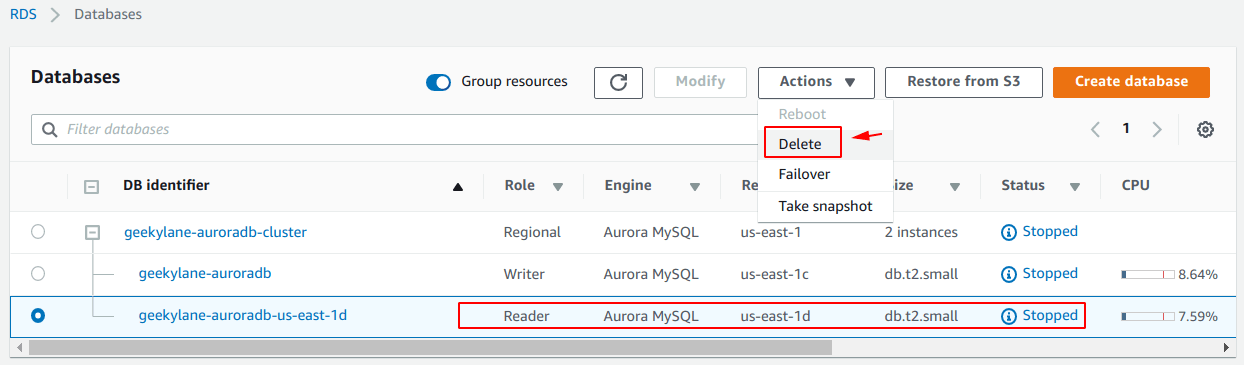
Step 5: Delete the Aurora Read Replica Cluster
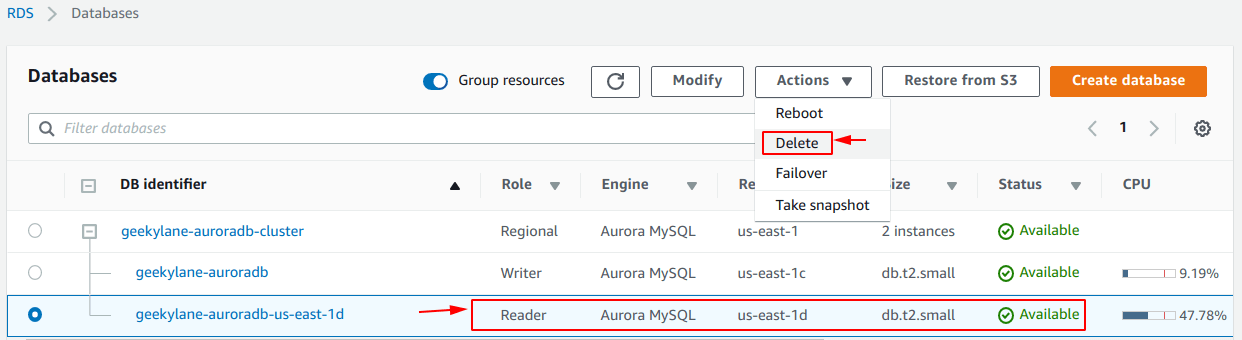
From the options under the “Action” menu, we have selected the “Delete” option particularly for the “Reader instance“.
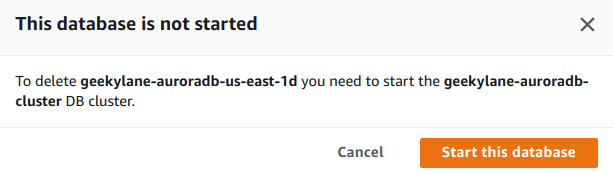
Note: The “database is not started” warning is going to pop up and we have manually “Start this database“.
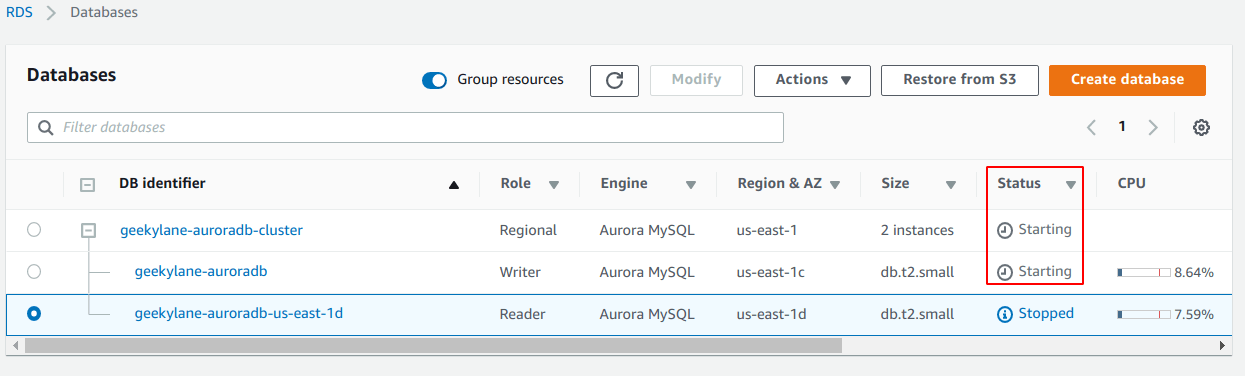
The status of the cluster is going to be changed to “Available“.
Firstly, it is going to start the “Writer” instance.
No, the status of the “Writer” instance is going to be changed to “Available“.
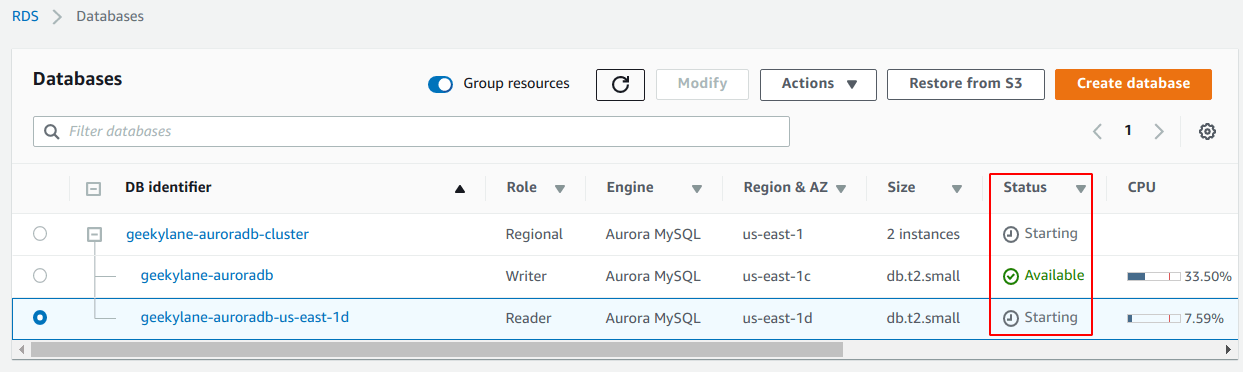
Status = Available
The status of the whole cluster is now changed to “Available“.
Now that the cluster it up and “Available” again, it is time to delete it.
Delete – Reader DB instance
If we click on “Delete” for the “Reader” instance, it is not going to give us the “Start the Database” warning.
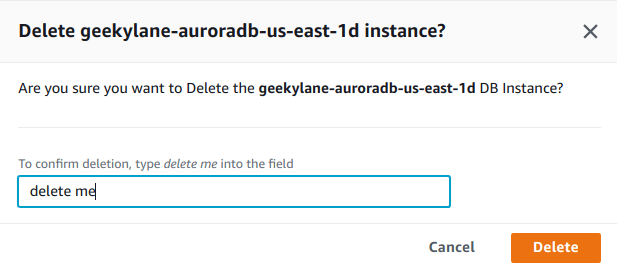
But, it is going to ask for the deletion confirmation, you simply have to write “delete me” and click on the Delete button
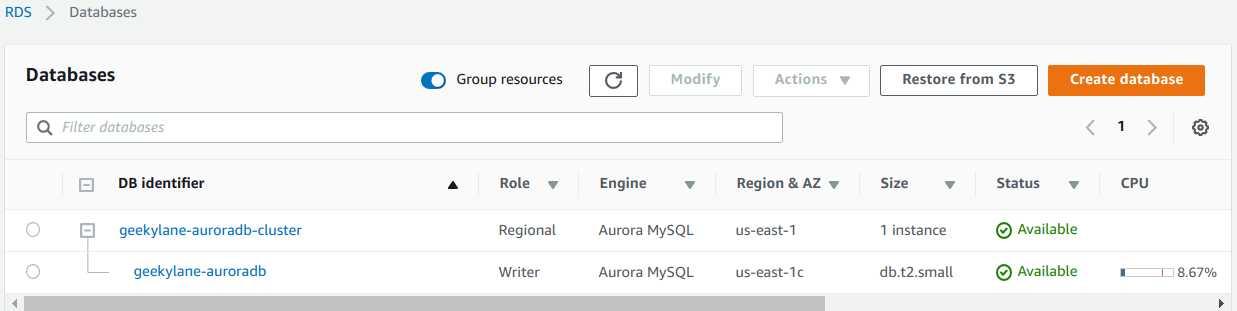
First of all, the “Reader” instance is going to be deleted.
Delete – Writer DB instance
After that, we have to separately delete the “Writer instance“.
Simply type the “delete me” and select the “I acknowledge….” option. After that click on the Delete button.
Status = Deleting
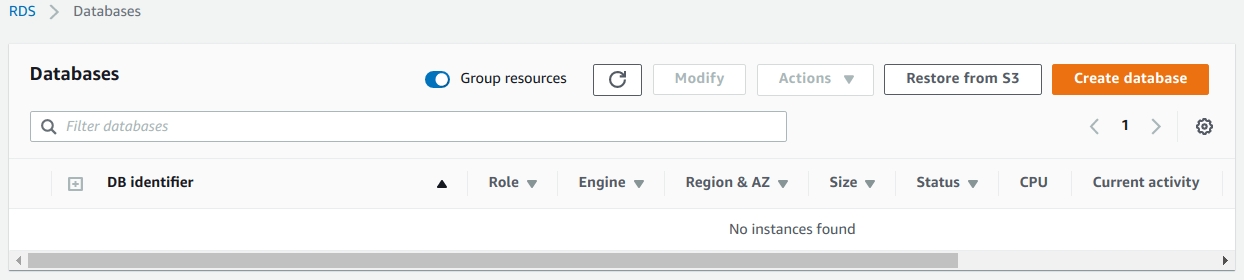
The Aurora Read Replica of an RDS Instance has been successfully deleted
Read this: Understanding Tadalafil: A Comprehensive Guide
More on AWS: