If you are familiar with the default behaviour of “docker containers”, they have nature sometimes called “use and through” but technically referred to as “non-persistent nature“. But there are situations, which require the sharing of files from the “docker engine host” to the “docker containers“. Further, we are going to focus on “how bind mount works”.
To learn more about docker storage, follow -> Docker Storage
In order to share the data between “docker host” and “docker containers“, we have two options available, as of now:
- Bind Mounts
- Docker Volumes
Today, we are going to understand about the first one, i.e. about “bind mounts“.
Question: What is a bind mount?
Answer: It is nothing but mounting the “files” or “directories” from the “docker host” to the “docker container“.
In order to learn “bind mounts” deeply, we are going to achieve that in the following steps.
Note: The best way to learn about “bind mounts” is with “nginx container”, so that we can see the changes via the “web browser” in case of file modification from “docker host” and then getting those changes in the “docker containers” using “bind mounts”
How bind mount works in docker with “-v” option
Step 1: Create an empty folder named as “test-nginx“, as shown below.
$ mkdir ~/test-nginx
Current files in the test-nginx directory
Before proceeding further, do note that currently we have two ways to create bind mounts:
- Using the “-v <source>:<destination>:<options>” flag with “docker container run” command
- Using the “– -mount type=<>,source=<>,target=<>,<options>” flag with “docker container run” command
Step 2: We are going to create a new “nginx container” named “web” using the following command.
$ docker container run -d -p 80:80 --name web -v ~/test-nginx/index.html:/usr/share/nginx/html -v ~/test-nginx/default.conf:/etc/nginx/conf.d nginxHere, with this command we have created “two” bind mounts.
- -v ~/test-nginx/index.html:/usr/share/nginx/html
From the 1st bind mount above, we have mounted the file “index.html” placed in the directory “~/test-nginx/” on the “docker host” to the directory path “/usr/share/nginx/html” inside the container.
- -v ~/test-nginx/default.conf:/etc/nginx/conf.d
From the 2nd bind mount above, we have mounted the file “default.conf” placed in the directory “~/test-nginx/” on the “docker host” to the directory path “/etc/nginx/conf.d” inside the container.

Note: In the step above, we have used the “relative paths” with the “-v” option.
Note: We can not use “relative paths” with “–mount” option.
Note: In the “step 2” we have created an nginx container, it is running but not serving anything.
Question: Why our nginx container is not showing anything in the web browser?
Answer: Because we have not specified the “default.conf” and “index.html” files correctly.
Question: What is the meaning of “not specified correctly” here?
Answer: We have not created the files before the “docker container run” command, so the option “-v” has created them, but not as “files” but as “directories“.
For the reference, you can see in the picture below, that the name of the files are created as folders/directories.

From the below, we can also confirm that our “nginx container” is running, but it is in a broken state.

Now, “stop” the “web” container and “remove” it, as shown below.

Step 3: Now, create new “nginx container” with “–mount” option named as “web“, using the following command.
$ docker container run -d -p 80:80 --name web --mount type=bind,source=~/test-nginx/index.html,target=/usr/share/nginx/html --mount type=bind,source=~/test-nginx/default.conf,target=/etc/nginx/conf.d nginx
Note: The command used above has thrown an ERROR.
Question: Why the command above has thrown an ERROR?
Answer: That is because of the “–mount” option does not access “relative paths” instead it will only work with “absolute paths“.
Further, replace the “relative paths” used in the command above, with the “absolute paths” as the command below.
$ docker container run -d -p 80:80 --name web --mount type=bind,source=/home/ubuntu/test-nginx/index.html,target=/usr/share/nginx/html --mount type=bind,source=/home/ubuntu/test-nginx/default.conf,target=/etc/nginx/conf.d nginx
Note: Again the modified command above, has thrown an ERROR, but notice this time the ERROR is different.
Question: What is the ERROR now? and Why the command has thrown an ERROR?
Answer: This is because, the “–mount” option does require that the “files” or directories which are going to be mounted in the “docker container” has to be already present on the “docker host“, in case of “bind mounts“.
Note: Up until now, we have seen the behaviours of both, “-v” option as well as “–mount” option.
It is time to use both of them, in a neat and efficient manner.
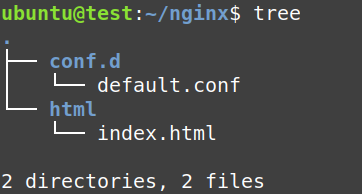
Step 4: Create a new directory named “nginx” as shown below, plus two sub-directories under it, as “conf.d” and “html“. Further, create two files also as “conf.d/default.conf” and “html/index.html“, as shown below.

Now, run the following command to run a new “nginx container” named as “web-with-v-option“.
$ docker container run -d -p 80:80 --name web-with-v-option -v ~/nginx/conf.d/default.conf:/etc/nginx/conf.d/default.conf -v ~/nginx/html/index.html:/usr/share/nginx/html/index.html nginx
See, from below the “web-with-v-option” container is running successfully on “port = 81“.

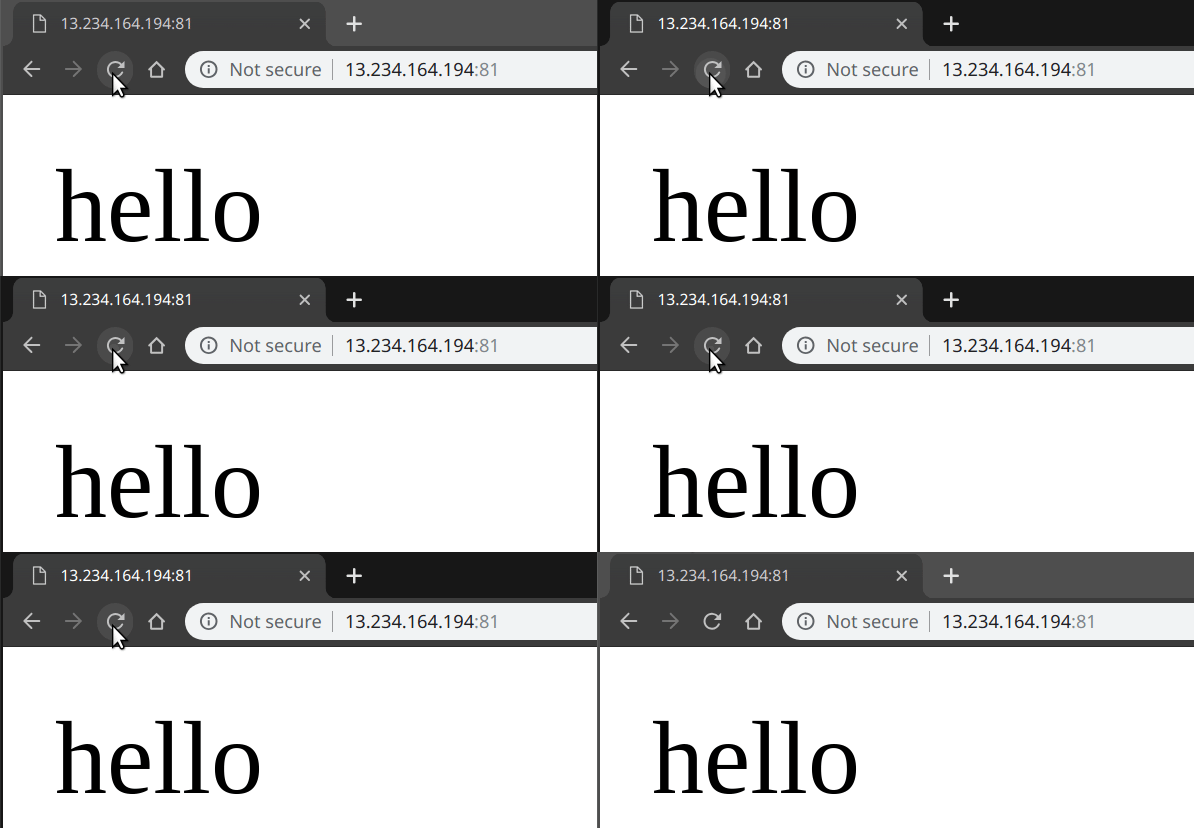
Go to the browser, and type the IP-ADDRESS of your server/system as we did by typing ours with the “port = 81” because we have used this port during “docker container run” command using “-p 81:80” option.

Question: Isn’t the reason for using bind mounts is to make the changes made on files stored on “docker host” to be available as fast as possible inside the “docker container“?
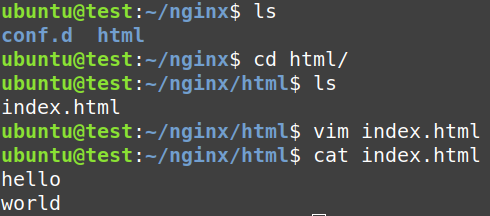
Answer: Yes, in order to do that we have modified the “index.html” file as shown below, we have appended “world” to the file, using the “vim editor“.

After updating the “index.html” file, let us look at the browser window, whether the changes have taken place in the container or not.
Notice, from the “gif” below the web-page is still showing the previous result.

Question: Why it is not showing the updated “index.html” file?
Answer: That is because the “bind mount” has broken here because we have used “vim editor” in order to modify the “index.html“.
Question: What does that even mean?
Answer: It is how the “vim editor” works, it creates a “.swp” file whenever it is used to edit a file, and because we have only mounted the “index.html” file and not the “.index.html.swp” file, the bind mount is broken now and no changes are going to be reflected inside the container.
For reference, from the picture below you can confirm that the changes to the file present on “docker host“, but does not get reflected in the “docker container“.

Question: What is the solution to this problem?
Answer: The overall solution and option is to “mount directories” instead of “files“.
From the screenshot below, now we are mounting directories to the directories inside the containers.
$ docker container run -d -p 80:80 --name web-with-v-option -v ~/nginx/conf.d/:/etc/nginx/conf.d -v ~/nginx/html/:/usr/share/nginx/html nginx
Now, we are going to make a modification to the “index.html” file again, as shown in the image below.

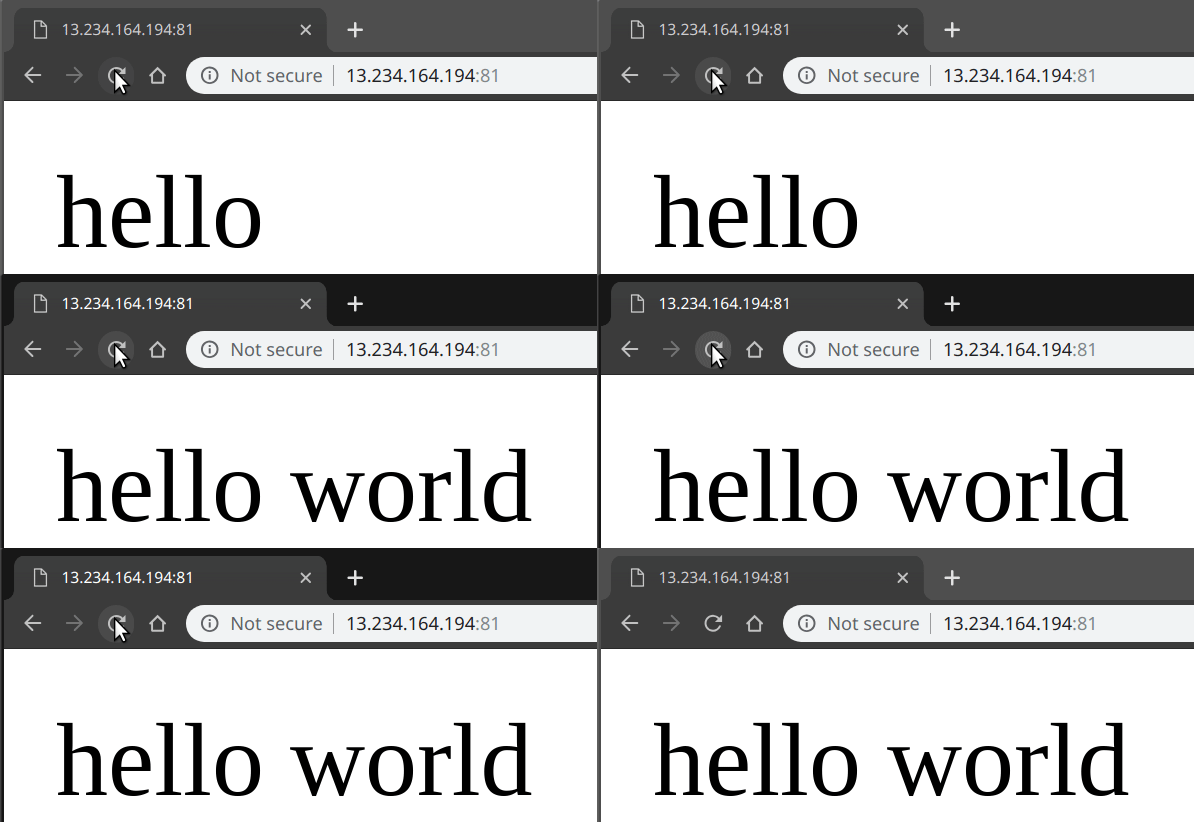
From the “gif” below, we can see that the “bind mount” is not broken now, and it is showing the modified “index.html” file as well.

How bind mount works in docker with “- – mount” option
Step 5: We are going to do the same thing as done above, but with the “–mount” option, creating a new “nginx container” named as “web-with-mount-option“.
$ docker container run -d -p 80:80 --name web-with-mount-option --mount type=bind,source=/home/ubuntu/nginx/html/,target=/usr/share/nginx/html --mount type=bind,source=/home/ubuntu/nginx/conf.d/,target=/etc/nginx/conf.d nginx
From below, you can confirm that our “nginx container” named as “web-with-mount-option” is running perfectly.

Now, go to the browser and check whether the file mounted with the “–mount” option is working or not. As can be seen from the picture, it is working perfectly.

Conclusion for “how bind mount works”
We know, that this post is quite difficult to follow, but if you want to learn docker bind mounts, this will be best explanation you are going to get on the internet.
Some Points:
- Always use “– – mount” option because it is more precise as compared to “-v“.
- Using “– – mount” option make sure you have already created the “files” or “directories” on the “docker host“, otherwise the docker command is going to throw an ERROR.
- Always mount the “directories” instead of “files“.
